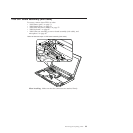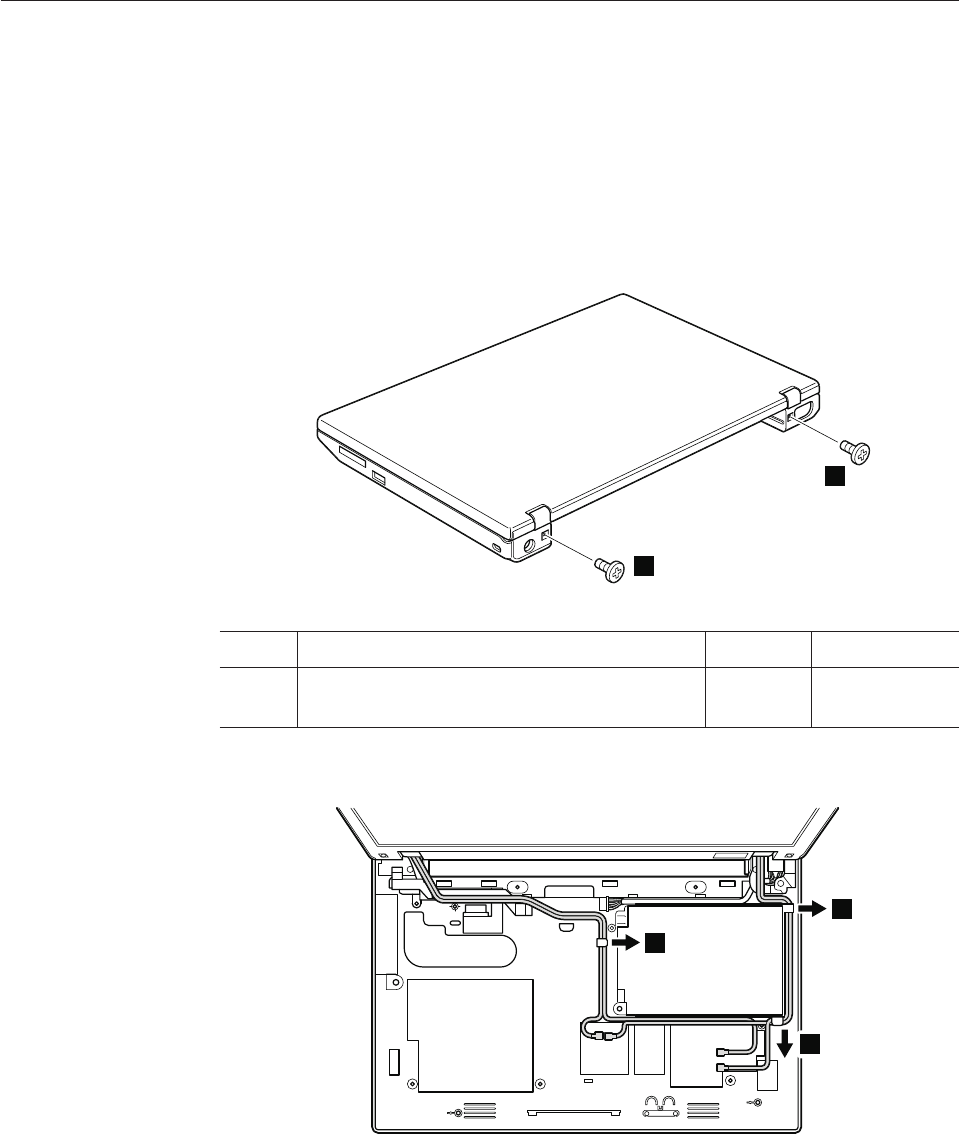
1130 LCD unit
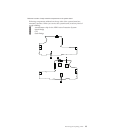
For access, remove these FRUs in order:
v “1010 Battery pack” on page 71
v “1020 Bottom door” on page 73
v “1030 Hard disk drive (HDD)” on page 75
v “1080 Keyboard” on page 82
v “1090 Palm rest assembly, power-on board assembly (with cable), and
microphone” on page 85
v “1120 System board, fan assembly, and backup battery” on page 92
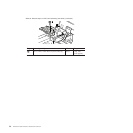
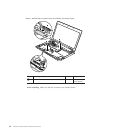
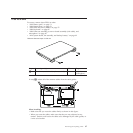
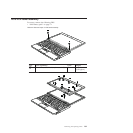
Table 22. Removal steps of LCD unit
1
1
Step Screw (quantity) Color Torque
1 M2 × 3 mm, wafer-head, nylon-coated (2) Silver 0.181 Nm
(1.85 kgfcm)
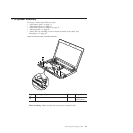
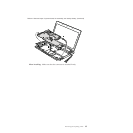
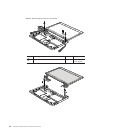
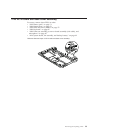
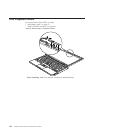
In step 2, release all of the antenna cables from the cable guides.
2
2
2
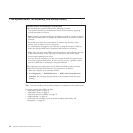
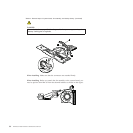
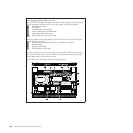
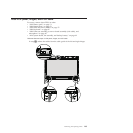
When installing:
v Make sure that you route the cables firmly as shown in this figure.
v When you route the cables, make sure that they are not subjected to any
tension. Tension could cause the cables to be damaged by the cable guides, or
a wire to be broken.
Removing and replacing a FRU 97


