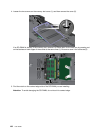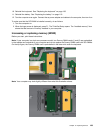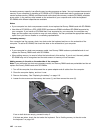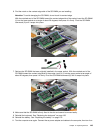
6. Find the notch on the contact edge side of the SO-DIMM you are installing.
Attention: To avoid damaging the SO-DIMM, do not touch its contact edge.
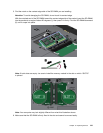
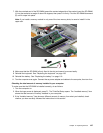
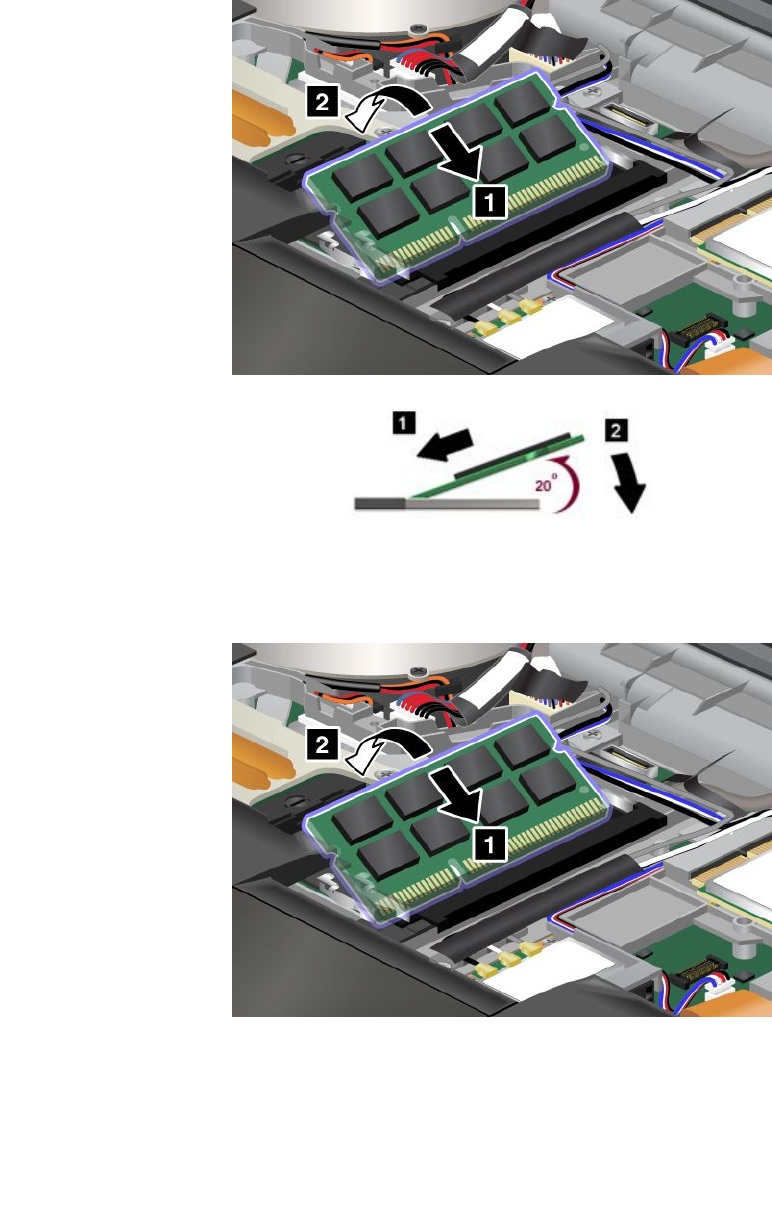
With the notched end of the SO-DIMM toward the contact edge side of the socket, insert the SO-DIMM
(1) into the lower socket at an angle of about 20 degrees; then press it in rmly. Pivot the SO-DIMM
downward (2) until it snaps into place.
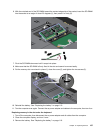
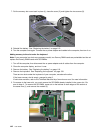
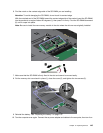
7. Retrieve the SO-DIMM that was originally installed in the upper socket. With the notched end of the
SO-DIMM toward the contact edge side of the socket, insert it (1) into the upper socket at an angle of
about 20 degrees; then press it in rmly. Pivot the SO-DIMM downward (2) until it snaps into place.
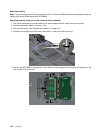
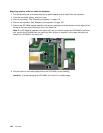
8. Make sure that the SO-DIMM is rmly xed in the slot and cannot be moved easily.
9. Reinstall the keyboard. See “Replacing the keyboard” on page 130.
10. Reinstall the battery. See “Replacing the battery” on page 119.
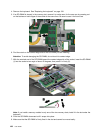
11. Turn the computer over again. Connect the ac power adapter and cables to the computer; then turn it on.
Chapter 6. Replacing devices 143


