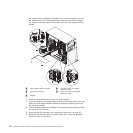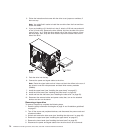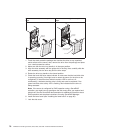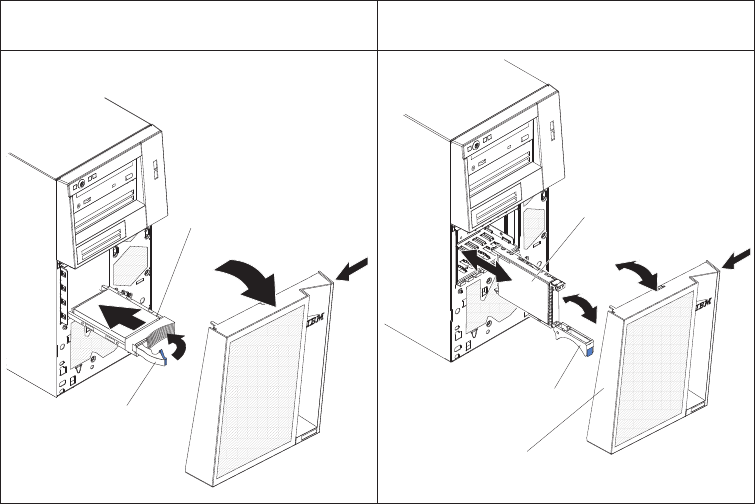
Server model with four hot-swap drive
bays
Server model with eight hot-swap drive
bays
Drive-tray
assembly
Drive tray handle
(in open position)
Drive-tray
assembly
Drive tray handle
(in open position)
Bezel
1. Touch the static-protective package that contains the drive to any unpainted
metal surface on the server; then, remove the drive from the package and place
it on a static-protective surface.
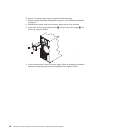
2. Make sure that the drive tray handle is in the open position.
3. Align the drive assembly with the guide rails in the bay; then, carefully slide the
drive assembly into the drive bay until the drive stops.
4. Rotate the drive tray handle to the closed position.
5. Check the hard disk drive status indicator to make sure that the hard disk drive
is operating correctly. (You might have to restart the server for the drive to be
recognized.) If the amber hard disk drive status LED for a drive is lit
continuously, it indicates that the drive is faulty and must be replaced. If the
green hard disk drive activity LED is flashing, this indicates that the drive is
being accessed.
Note: If the server is configured for RAID operation using a ServeRAID
controller, you might have to reconfigure the disk arrays after you replace hard
disk drives. See the ServeRAID documentation for additional information about
RAID operation and complete instructions for using ServeRAID Manager.
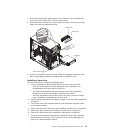
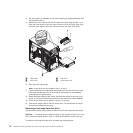
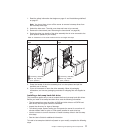
6. Install the lower bezel (see “Installing the lower bezel” on page 65).
7. Lock the side cover.
78 ThinkServer TS100 Types 6431, 6432, 6433, and 6434: Hardware Maintenance Manual


