4-13
4078-00X
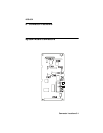
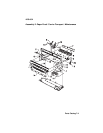
System Board Removal
1. Remove the front cover.
2. Remove the rear cover.
3. Remove the sheet feeder.
4. Unlock the two printhead cable connectors and disconnect the
printhead cables from the system board.
5. Disconnect the other cables from the system board.
6. Remove the three screws securing the system board to the
carrier frame and remove the system board. Note the routing of
all the cables.
7. Remove the system board being careful not to damage the End-
of-Form flag.
8. Set NVRAM to the country default on the replacement system
board; see Chapter 3.
9. See “Print Quality Notice” on page 2-15.


