Lightwave Communications USB SERVERSWITCH
Page 16 of 25 December 2001
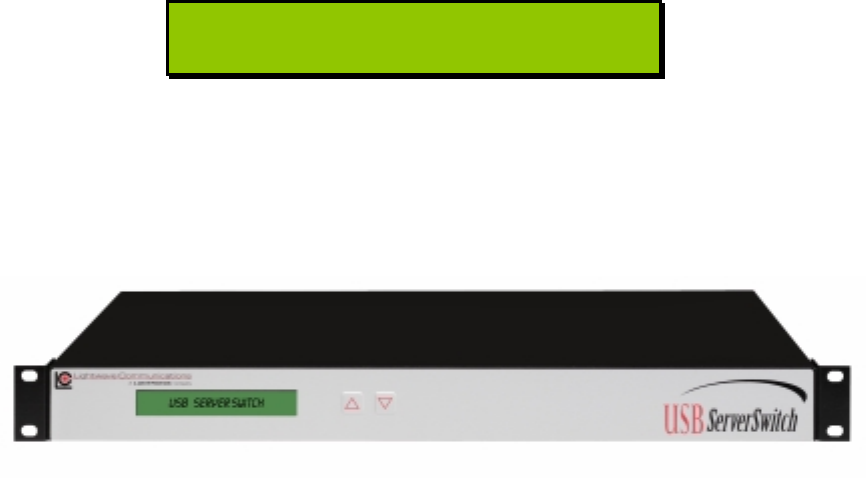
The display is 2 lines by 24 characters in each line. Note that the display will only
show Console A or Console B information at any time (not both Consoles at the
same time).
B: Port 13 name here
Inactive Port
The Port Name information entered from the System Setup screens (using the on-
screen System Setup commands) will be displayed. You can change the active
port on the USB ServerSwitch either via the on-screen menu or by using the up
and down buttons on the unit.
If multiple USBSS units are cascaded, the same display information is repeated on
all front panel displays, and is selectable from the Master USBSS unit.
Front Panel Controls
The front panel display shows which Console is connected to which Server; or, if
'disabled' appears, that Console is not connected to any servers at that time.
• Press and release the Up arrow button to select the next Server number.
If you reach the highest port number, the next value is 'disabled', and then
it restarts at Port 1.
• Press and release the Down arrow button to select the previous server
number. If you reach the lowest number, the next value is 'disabled'
followed by the highest port number.
• To switch between Console A and Console B, press and release both the
UP and DOWN buttons on the front panel at the same time. This option is
blocked while another user is accessing the System using the On-Screen
Menus.
• Front panel controls are disabled on Auxiliary USBSS units; only the
Master USBSS unit's front panel buttons will operate.
To switch between Console A and Console B, press both the UP and DOWN
buttons on the front panel at the same time. This option is blocked while another
user is accessing the System using the On-Screen Menus.
3.4 Status Messages
The bottom line of the front panel display will show a status message if an unusual
condition exists. The most common display message will be that of a Server's USB
cord becoming disconnected.
