


40
Setting Up: Advanced
Linksys E-Series
You can extend your network by turning the downstream router into an
access point. (See “How to use a router as an access point” on page36).
When you use a router as an access point, computers connected to the
access point are on the same IP subnet as all other devices connected to
the router. File, printer, and media sharing is much easier if all devices are
on the same subnet.
How to expose a device to the Internet
For
ALL
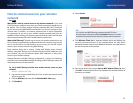
Why would I expose a device to the Internet? If you are operating a web
server, a mail server, or a web camera, you may want to expose that device to
the Internet so anybody can access it. Your router includes a DMZ (Demilitarized
Zone) feature that forwards all inbound ports presented on the WAN interface,
except those that are specifically forwarded, to an individual IP address or
MAC address. This feature is normally not used, because it presents significant
security risks to the device that you designate for the DMZ. The DMZ device is
not protected by the built-in firewalls, Internet filters, or router web filters, and
is open to attacks from hackers.
A much better way of “exposing” devices to the Internet would be to use port
forwarding. See “How to set up port forwarding” on page57.
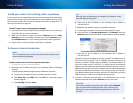
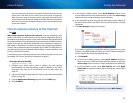
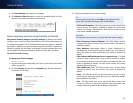
To set up a device in the DMZ:
Applications & Gaming > DMZ
1.
Configure your device with a static IP address. See your device’s
documentation for help with setting a static IP address or use DHCP
reservation (see “How to set up the DHCP server on your router” on
page29).
2.
Log into the browser-based utility (see “How to open the browser-based
utility” on page 25).
3.
Click the Applications & Gaming tab, then click the DMZ page.
4.
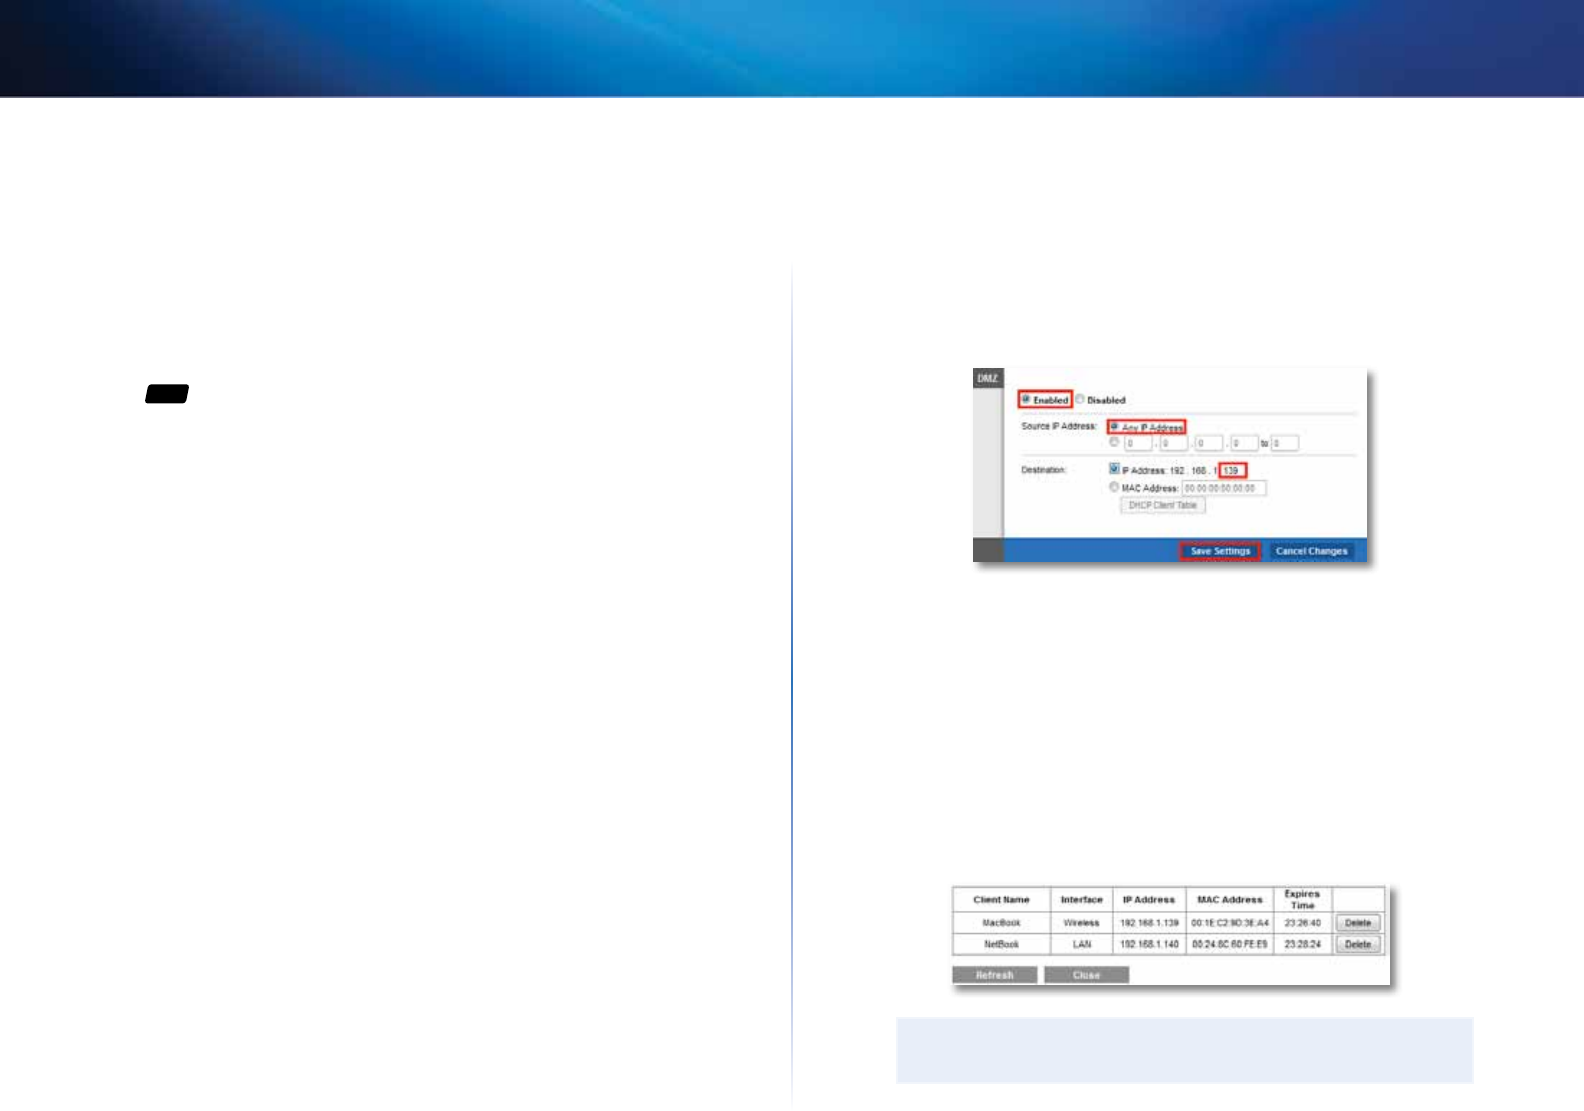
Select Enabled.
5.
In the Source IP Address section, select Any IP Address to allow access
to your DMZ device from the entire Internet, or select the source range
button and enter a range of allowed source addresses.
6.
In the Destination section, enter the last three digits of the IP address of
the device that will be in the DMZ. The rest of the IP address is already
completed.
7.
Click Save Settings to apply your changes.
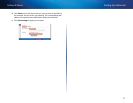
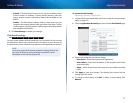
If you prefer to specify the 12-digit MAC address of the device you want
to place in the DMZ instead of setting up a DHCP address reservation,
you can replace Step 6 with the following steps:
a.
Click Enabled.
b.
In the Source IP Address section, select Any IP Address (default) to
allow access to your DMZ device from the entire Internet, or select the
source range button and enter a range of allowed source addresses.
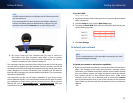
c.
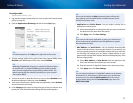
In the Destination section, select MAC Address, then click DHCP
Client Table. A separate window opens showing the current DHCP
client list.
TIP
The DHCP Client Table is only available if you select MAC Address.