9820/9830/9835 Service Manual Model 928 Stacker
60 TC9830SM Rev. B 7/98 Confidential July 1998
2. Turn printer off.
3. Lift the knife/printer slightly and slide the knife on
to the stacker mounting plate tabs.
4. Attach stacker AC power cable to stacker and AC
power outlet.
5. Attach knife-to-stacker cable.
6. Adjust cutter as necessary. Refer to Operating
Instructions TC0928OI.
CAUTION
To avoid damage to the motor, the stacker rollers and
front of knife must not be in direct contact.
NOTE: When installing, make sure the stacker is
properly aligned with the knife. The stacker
tray should angle down and away from the
926. Align the stacker by lowering the
stacker’s feet, turn them in to lower and out
to raise the stacker. Lock the legs in place
by tightening the locking nut provided.
TROUBLESHOOTING
1. Check AC inlet fuse and power switch.
2. Ensure the stacker-to-knife harness is properly
connected.
3. Inspect stacker drive belts for proper adjustment.
4. Check all wiring harness connector for proper
connection.
Error Messages
Error Message 761 is shown on the printer display if a
stacker fault or jam is detected.
Stacker Full: Empty the tray. Press Clear to
clear the error and resume printing.
Stacker Jam: Clear the jam. Press Clear to clear
the error and resume printing.
If the jam is not inside the stacker, check inside the
knife or printer.
Alignment
The stacker’s bed must slant slightly down (away from
the knife). Raise or lower the stacker’s feet by turning
them. Tighten leg nuts to lock into place. For
additional alignments, refer to the Operating
Instructions, TC0928OI.
CABLES AND CONNECTORS
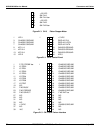
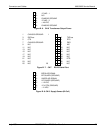
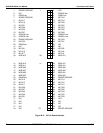
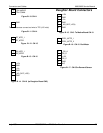
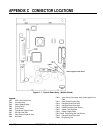
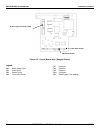
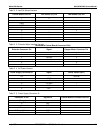
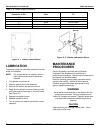
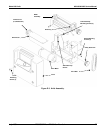
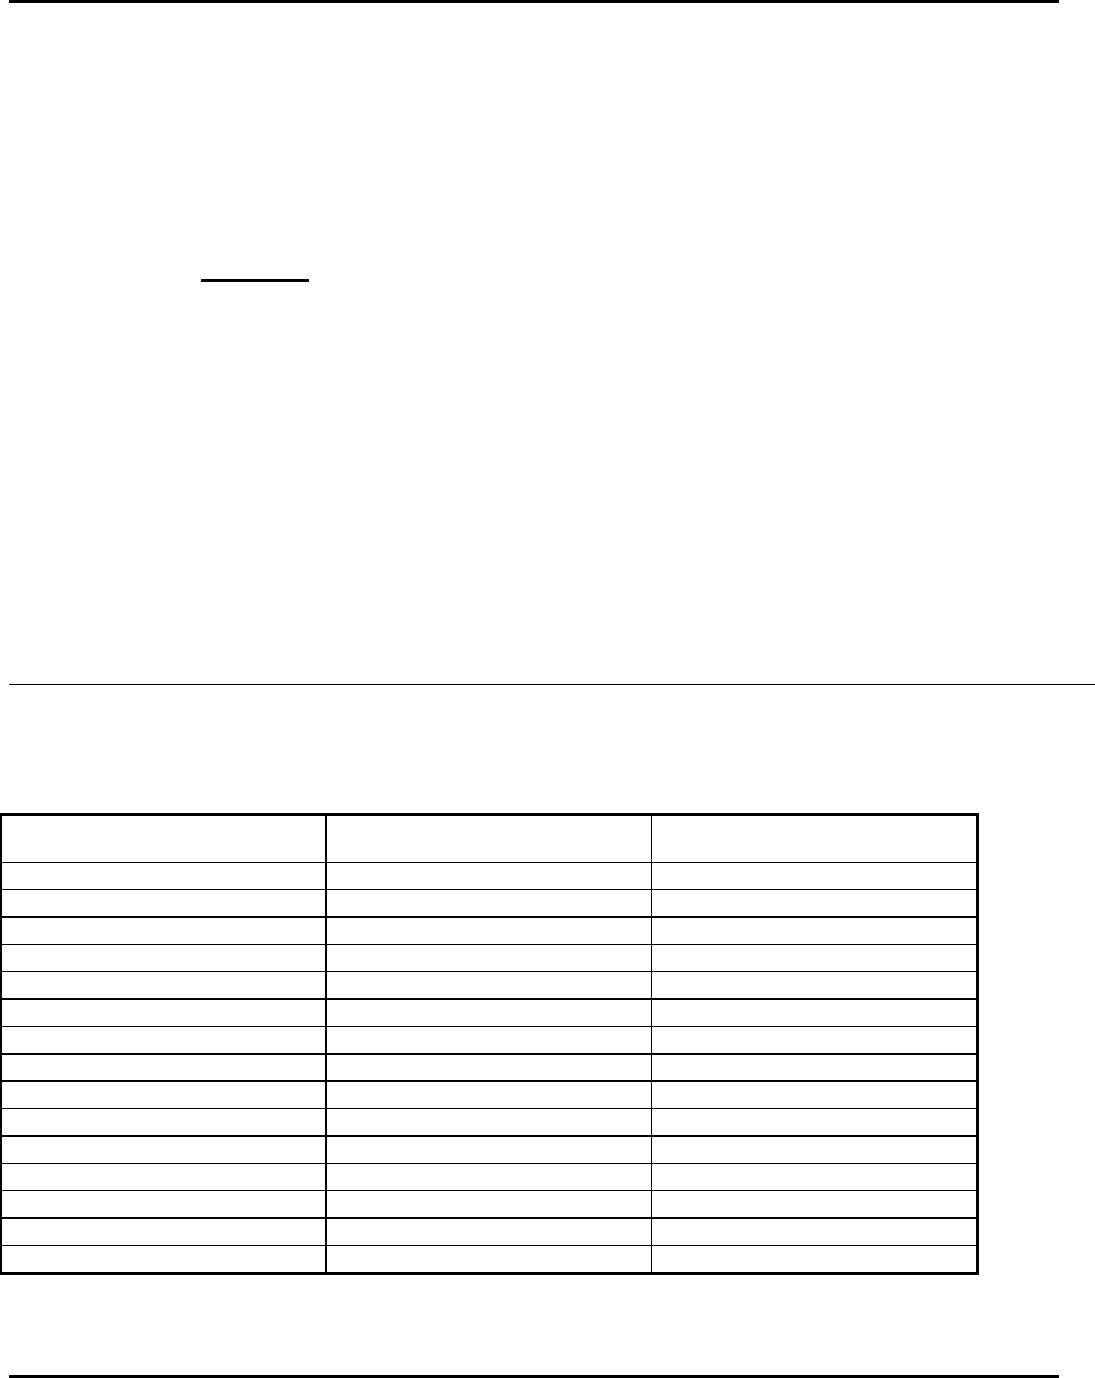
The following tables provide pinouts for stacker connectors. Connector locations are shown in Figure D-1.
Table D- 1. Stacker Control Harness.
Knife Connector Pin Signal Control Board CN1 Pin
1 STKR_ENABLE 1
2 STKR_PRESENT 3
3 GND 5
4 +12Vdc 7
5 GND 9
6 STKR_ERROR 10
7 N/C
8 N/C
9 +12Vdc 2
10 GND 4
11 6
12 8
13 10
14 N/C
15 N/C


