


28
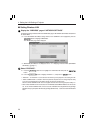
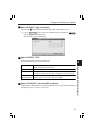
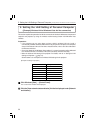
4-3. Wired LAN
When connecting a LAN cable to the LAN port of the projector, configure the LAN settings in the
“WIRED” page of “NETWORK SETTINGS” selected from On-Screen Menu.
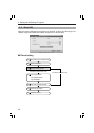
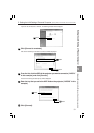
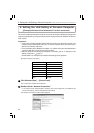
■ Flow of setting
1
3
Step
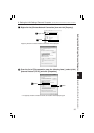
Display "WIRED" page of "NETWORK SETTINGS".
4
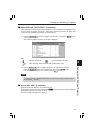
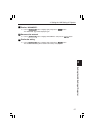
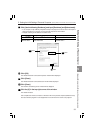
Step Input "IP ADDRESS".
Input "SUBNET MASK".
Input "GATEWAY".
2
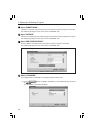
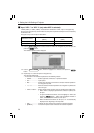
Step Select "PROFILES".
5
Step Input "DNS CONFIGURATION".
6
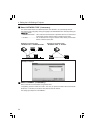
Step Reconnect the network.
7
Step Finalize the setting.
Step Enable or disable "DHCP".
If "Disabled" (without check mark)
If "Enabled" (with check mark)
4. Setting the LAN Setting of Projector