


29
■ Setting Wired LAN
1
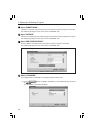
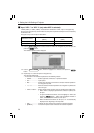
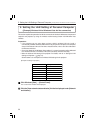
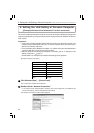
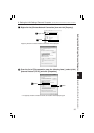
Display the “WIRED” page of “NETWORK SETTINGS”.
Configure the setting of wired LAN in the “WIRED” page of “NETWORK SETTINGS” selected from
On-Screen Menu. If “NETWORK SETTINGS” is not displayed, refer to “4-1. Displaying On-Screen
Menu (NETWORK SETTINGS)” ( page 17).
2
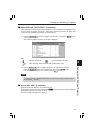
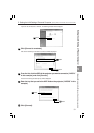
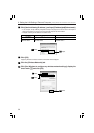
Select “PROFILES”.
“PROFILE 1” or “PROFILE 2” can be stored in the memory of the projector as the setting of LAN.
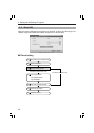
<1> Press the
SELECT ̄
button once to highlight the “PROFILES” field and press the
button.
<2> Use the
SELECT ̄/̆
button to highlight “PROFILE 1” or “PROFILE 2”, and press the
button.
3
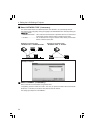
Set “DHCP”.
Follow the same procedure as in “4-2. Wireless LAN” ( page 19).
4
Input “IP ADDRESS”, “SUBNET MASK”, and “GATEWAY”.
Follow the same procedure as in “4-2. Wireless LAN” ( page 19,20).
5
Input “DNS CONFIGURATION”.
Follow the same procedure as in “4-2. Wireless LAN” ( page 20).
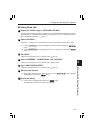
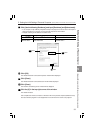
6
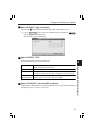
Reconnect the network.
<1> When all the above items have been input or set, use the
SELECT ̄/̆
button to highlight
“RECONNECT” and press the button.
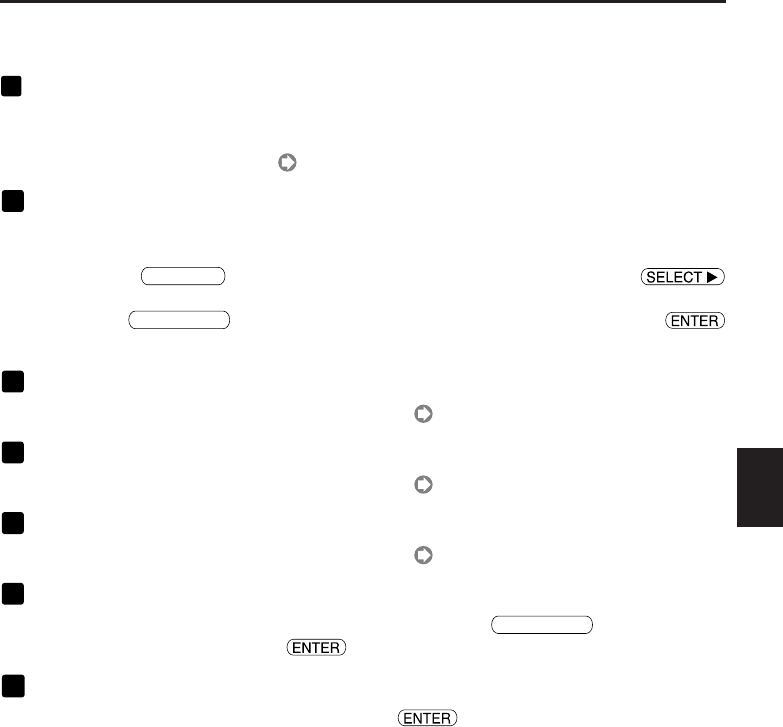
7
Finalize the setting.
<1> Use the button to highlight [OK] and press the button.
The setting will be stored in the memory of the projector.
4. Setting the LAN Setting of Projector
Setting the LAN Setting of Projector
4