


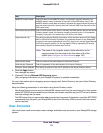
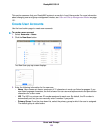
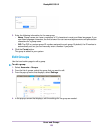
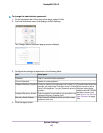
3. Enter the following information for the new group:
• Name. Group names can have a maximum of 31 characters in most non-Asian languages. If you
use Asian language characters, the limit is lower.You can use most alphanumeric and punctuation
characters for a group name.
• GID. The GID is a unique group ID number assigned to each group. By default, the ID number is
automatically set, but you can manually enter a number if you prefer.
4. Click the Create button.
The group is added to your system.
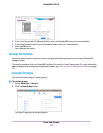
Edit Groups
Use the local admin page to edit a group.
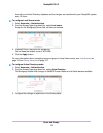
To edit a group:
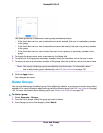
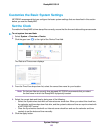
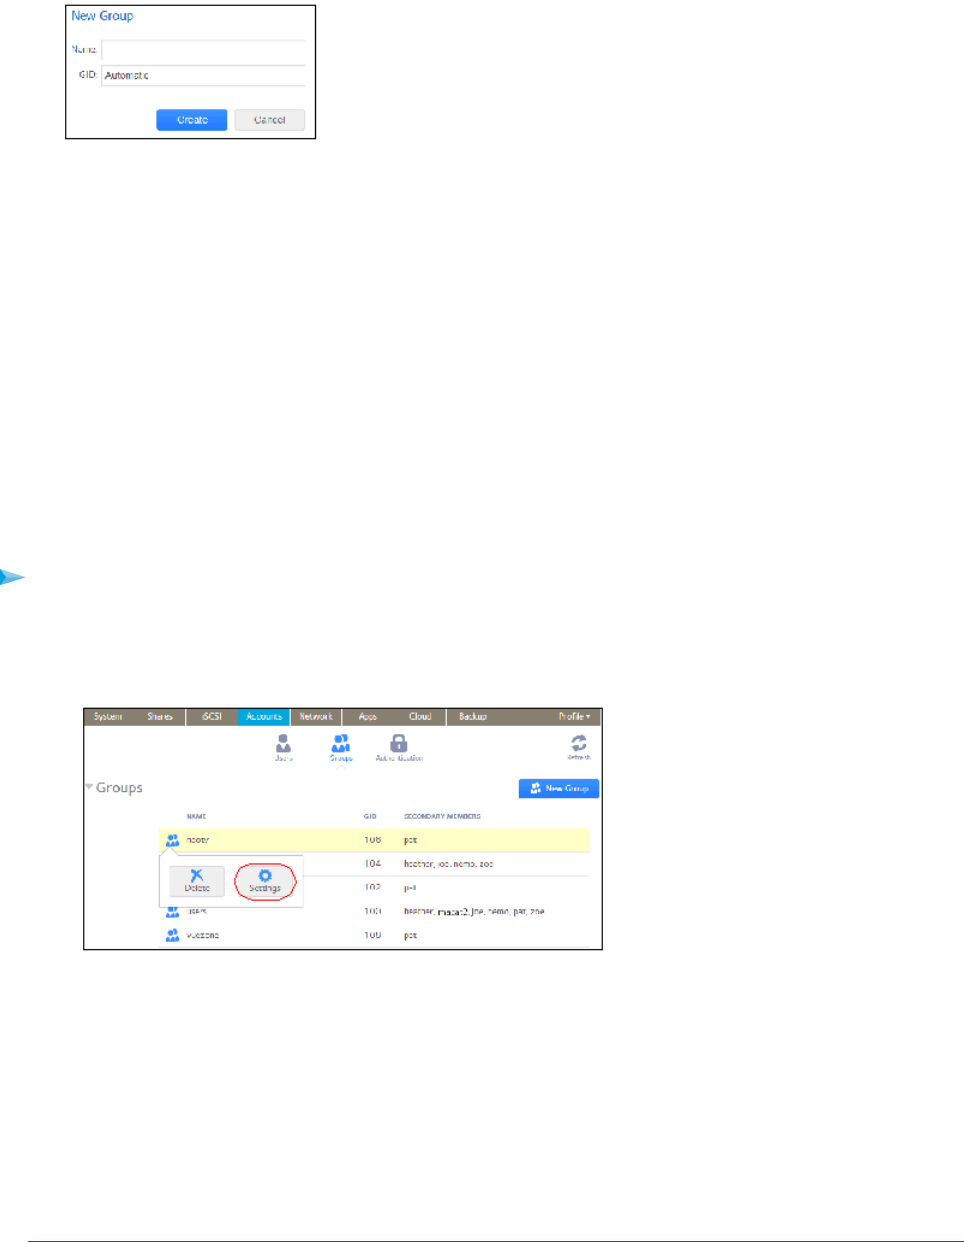
1. Select Accounts > Groups.
2. From the list of groups, select the group that you want to edit.
3. From the pop-up menu that displays, select Settings.
4. In the pop-up screen that displays, edit the settings for the group as needed.
Users and Groups
138
ReadyNAS OS 6.2