CaptureNX-D Reference Manual
45
Introduction Viewing Pictures Filters Image Adjustment Other Features Menu Guide
Menu Guide
• Load Adjustments: Load adjustments from a le created with Save Updated Ad-
justments or Save All Adjustments and apply them to the current image.
• Cancel Crop Area: Cancel the current crop (
page 35).
Using “Revert to Original State” with Images Modied in Other Applications
In the case of JPEG and TIFF images modied in Capture NX 2 or ViewNX 2, Revert to Original State
reverts the image to its last saved state.
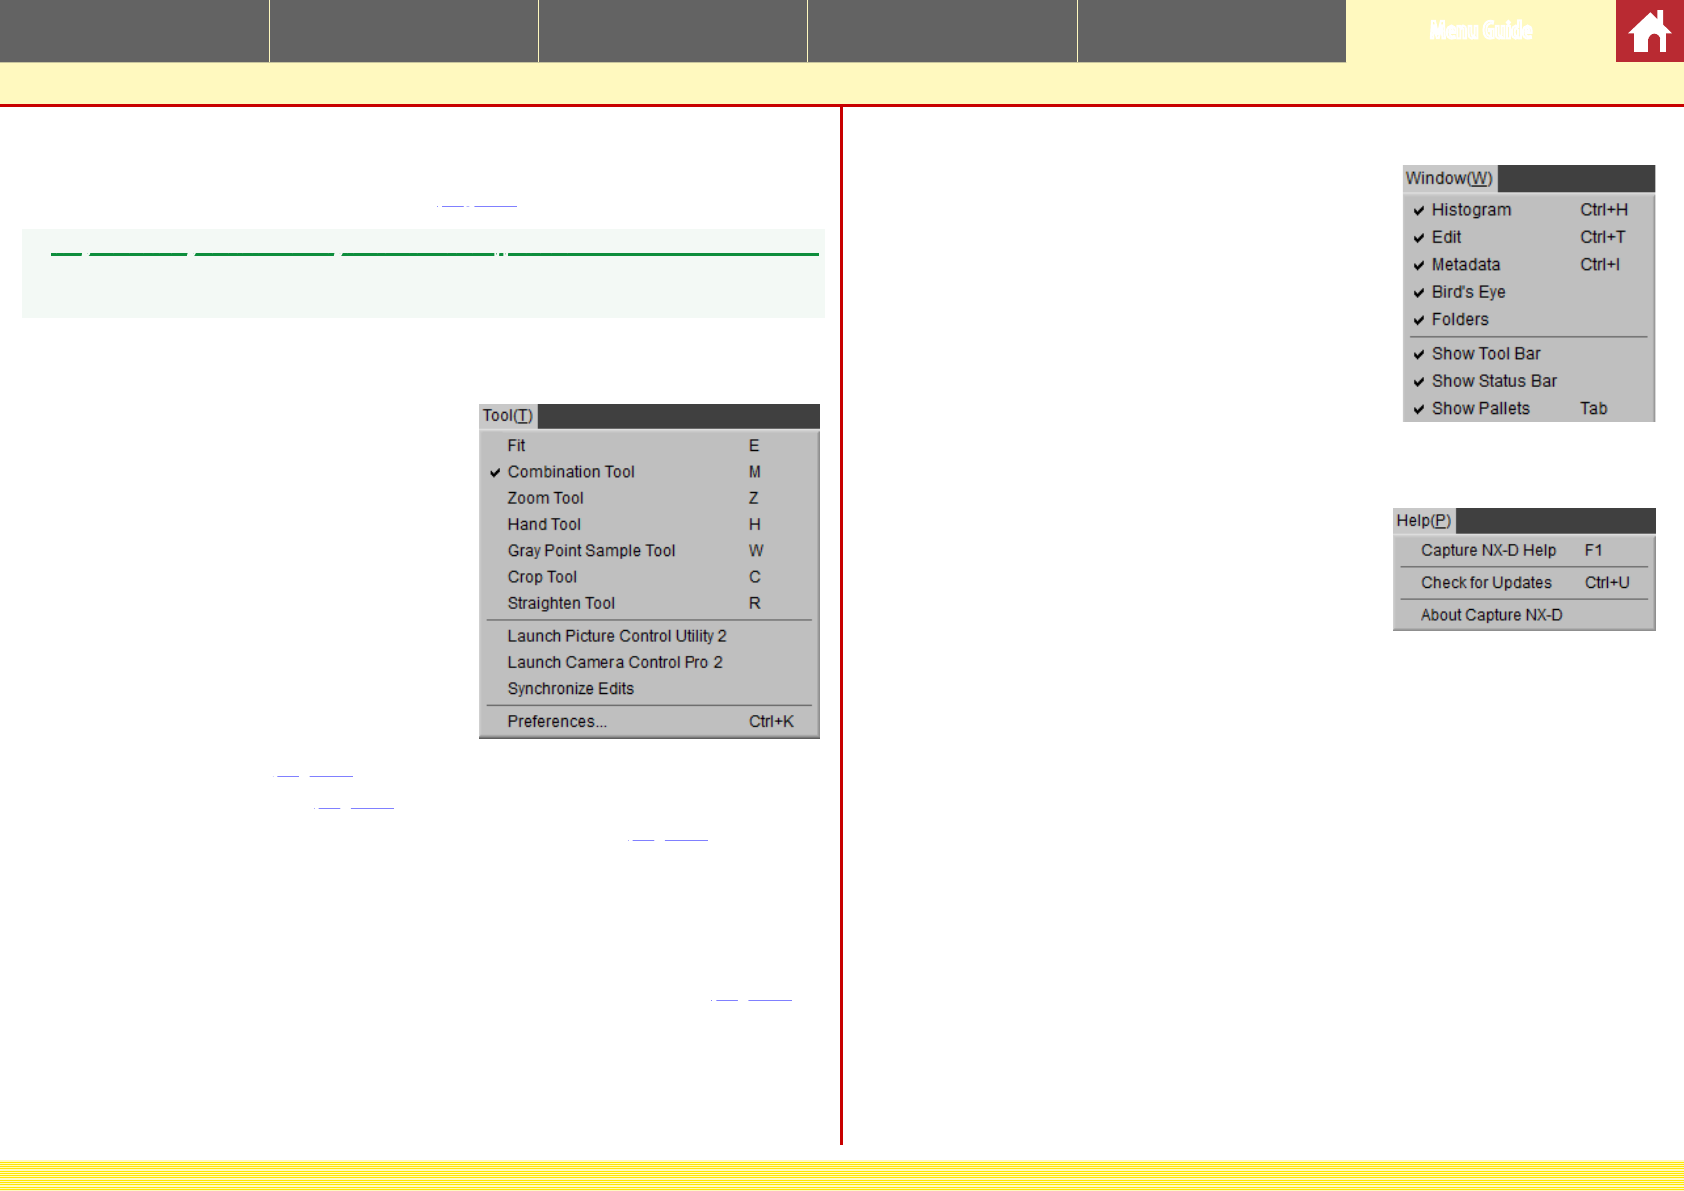
The Tool Menu
• Fit: Double-click the display to alternately
zoom the preview to t the palette and
zoom to a 100% view.
• Combination Tool: As above, except that the
preview can be scrolled by dragging the
cursor.
• Zoom Tool: Click to zoom in. To zoom out,
click while pressing the Alt key (or on Mac
computers, the option key).
• Hand Tool: Drag to scroll the preview.
• Gray Point Sample Tool: Set white balance by
sampling the preview (
page 21).
• Crop Tool: Crop the preview (
page 35).
• Straighten Tool: Straighten the image in the preview palette (
page 29).
• Launch Picture Control Utility 2: Launch Picture Control Utility 2.
• Launch Camera Control Pro 2: Launch Camera Control Pro 2.
• Synchronize Edits: Select this option to apply current settings to any images sub-
sequently added to the current folder.
• Preferences (Windows only): Open the CaptureNX-D preferences dialog (
page 42).
The Window Menu
• Histogram/Edit/Metadata/Bird’s Eye/Folders: View or hide
the selected palette.
• Show Tool Bar: View or hide the toolbar.
• Show Status Bar: View or hide the status bar.
• Show Pallets: View or hide all palettes.
The Help Menu
• CaptureNX-D Help: View online help.
• Check for Updates: Check for updates to CaptureNX-D.
• About CaptureNX-D (Windows only): Display the product
version number.
