SPECIAL MODES
5-4
Erase
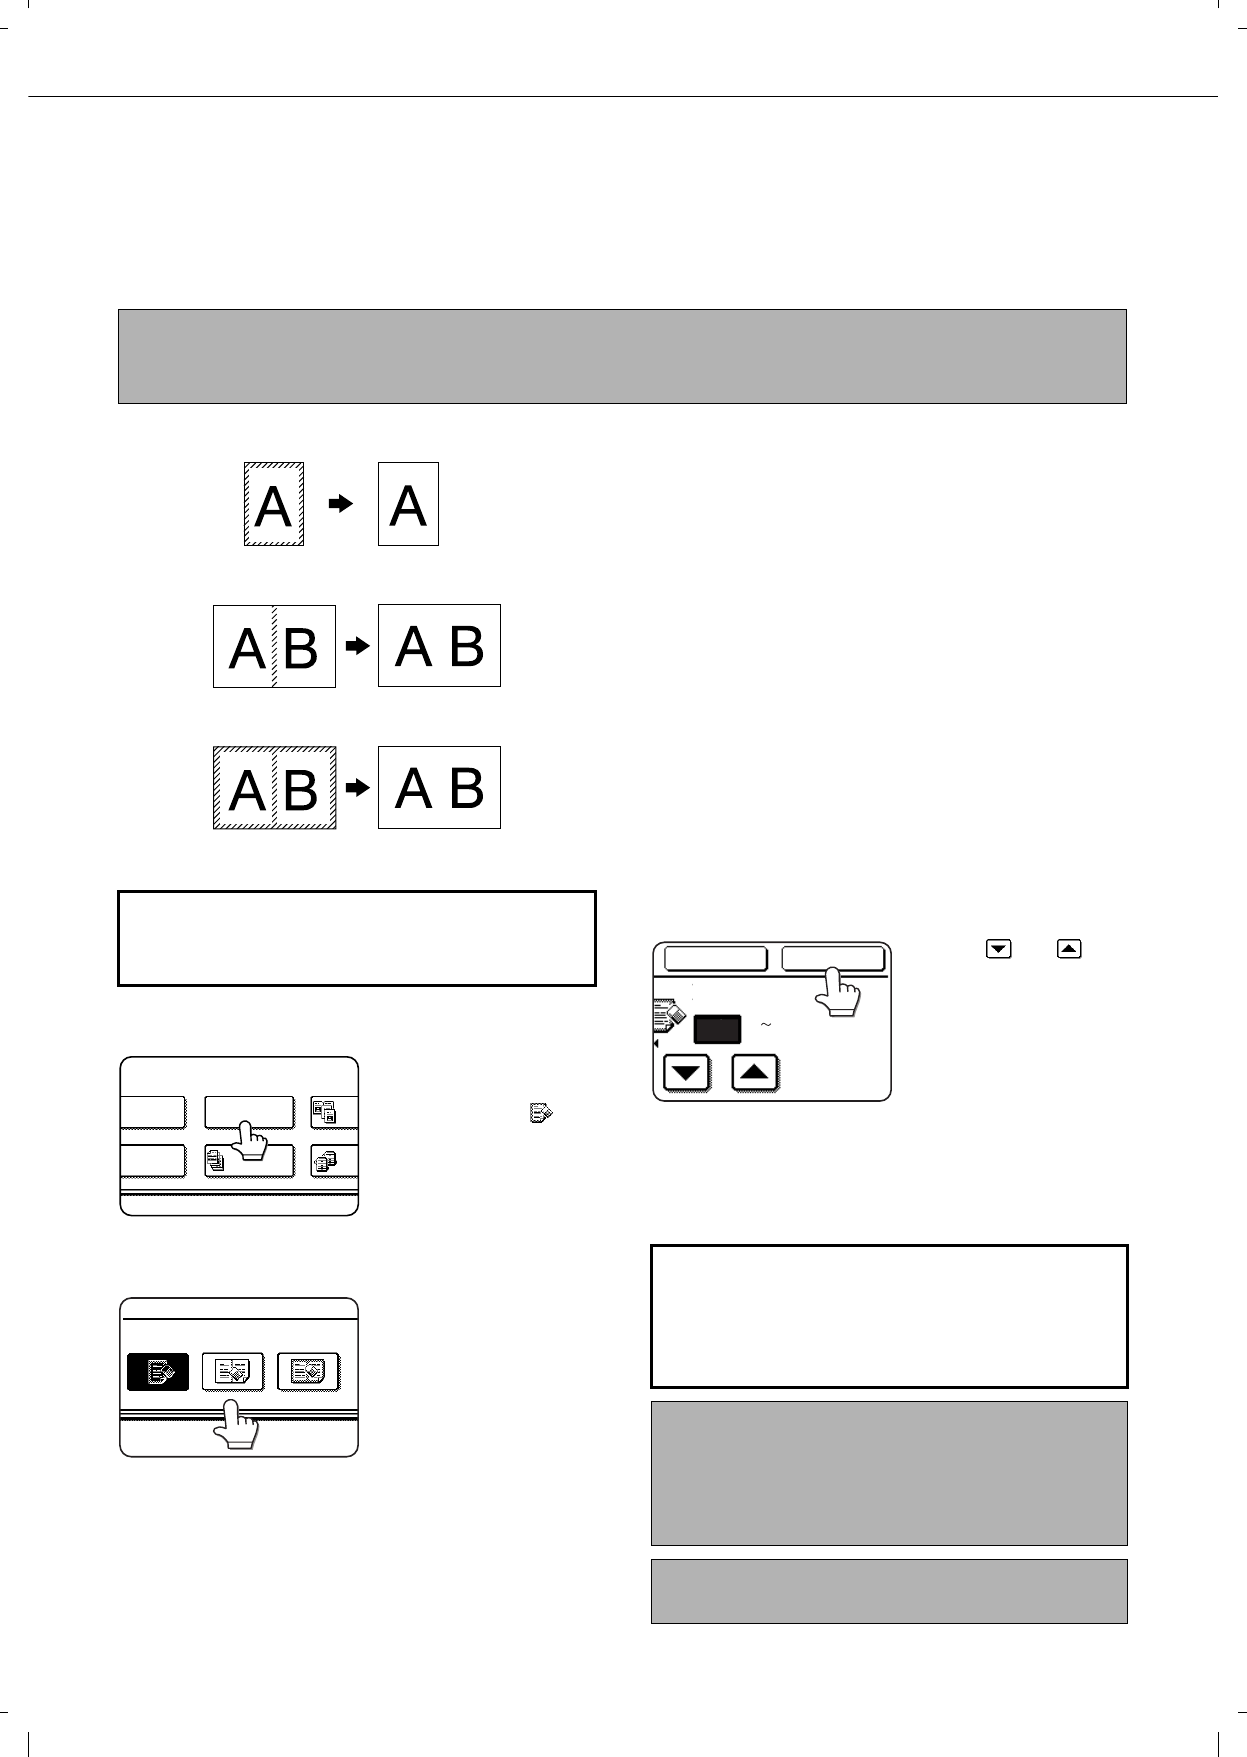
The erase function is used to erase the shadow lines on copies produced when copying thick originals or books. The
erase modes that can be selected are shown below. The erase width is approximately 10 mm (1/2") in it's initial
setting.
EDGE ERASE
Eliminates shadow lines around the edges of
copies caused when heavy paper or a book is used
as an original.
CENTRE ERASE
Eliminates shadow lines produced by the bindings
of bound documents.
EDGE + CENTRE ERASE
Eliminates shadow lines around the edges of copies
and eliminates the shadow at the centre of copies.
1
Touch the [ERASE] key on the special
modes screen.
The erase setting screen
will appear.
The erase icon ( ) will
also appear in the upper
left of the screen to
indicate that the function
is turned on.
2
Select the desired erase mode.
Select one of the three
erase modes. The
selected key will be
highlighted.
3
Adjust the amount of erase and touch the
[OK] key.
Use the and keys
to set the erase width to
any value from 0 to 10
mm in 1 mm increments
(0" to 1" in increments of
1/8").
4
Touch the [OK] key on the special modes
screen.
You will return to the main screen of copy mode.
NOTE
The initial setting for the erasure width can be changed in the key operator programs to any value from 0 to 20 mm
(0 to 1"). (Page 15 of the Key operator's guide)
Original Copy
To display the special modes screen...
See "General procedure for using special
functions" on page 5-2.
MODES
RGIN SHIFT
PHLET COPY
ERASE
DUAL
C
JOB
BUILD
TAN
C
EDGE
ERASE
ERASE
CENTRE
ERASE
EDGE+CENTRE
ERASE
About the steps that follow
If an automatic document feeder is being used,
see pages 4-7 through 4-10. If the document
glass is being used, see pages 4-11 through 4-
13.
NOTE
When erase is used, edge erase takes place at the
edges of the original image. If you also use a ratio
setting, the edge erase width will change according
to the set ratio.
To cancel the erase function, touch the [CANCEL]
key on the erase setting screen (step3).
EDGE
CANCEL OK
10
(0 20)
mm


