


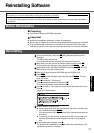


Reinstalling Software
28
Troubleshooting
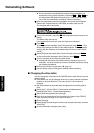
z Do not interrupt the reinstallation procedure before completion, for
example by turning off the computer or pressing
Ctrl
+
Alt
+
Del
, as
this may prevent Windows from starting up, or may cause data to be
lost so that the reinstallation procedure cannot be executed.
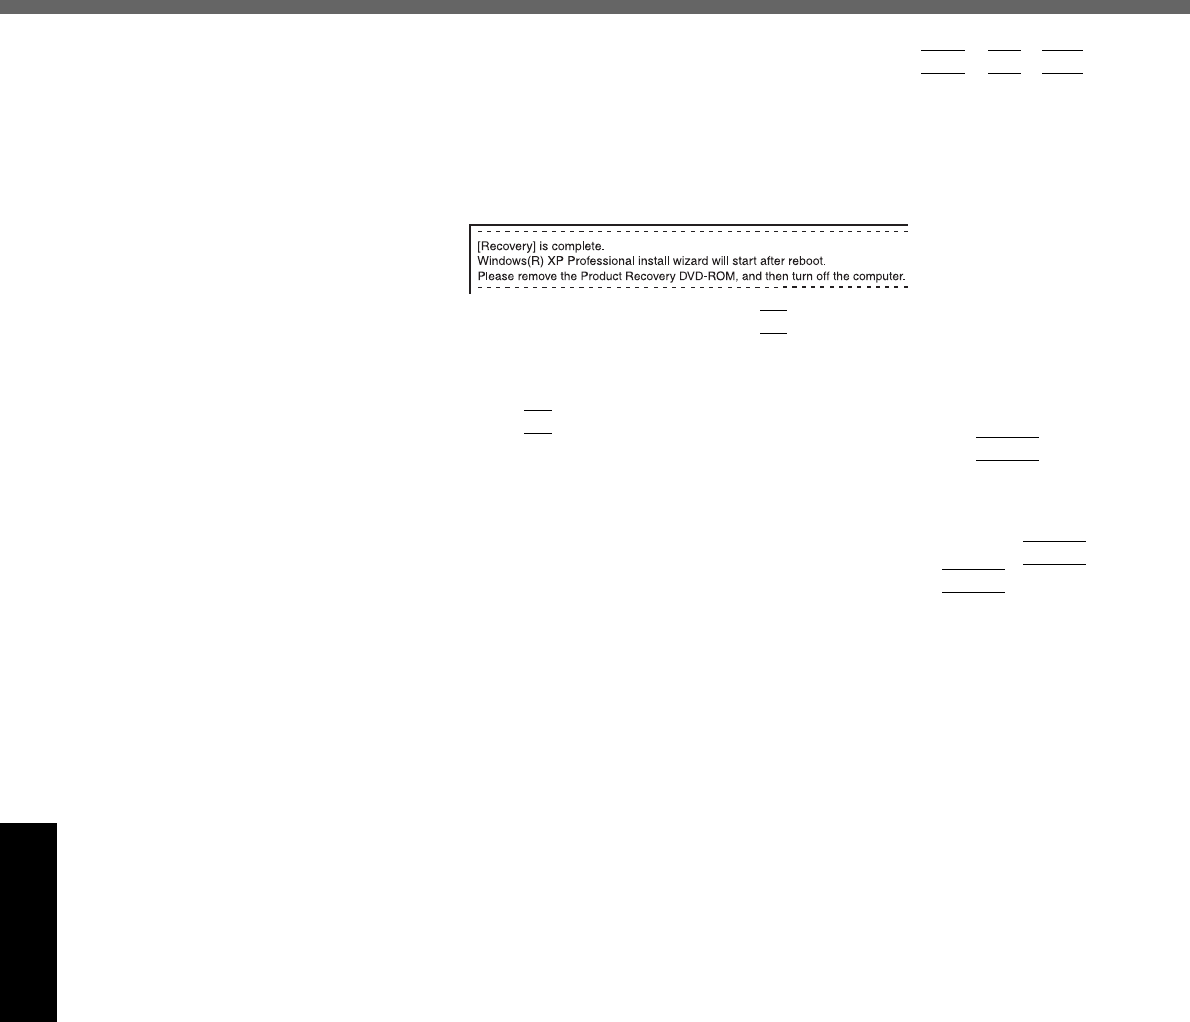
J After the reinstallation procedure completes, the screen should appear.
Remove the Product Recovery DVD-ROM, and then press any key.
The computer will be shut down.
K Turn on the computer, and press
F2
while [Panasonic] boot screen is dis-
played.
The Setup Utility will start up.
If the password has been set, enter the Supervisor Password.
L Press
F9
.
At the confirmation message, select [Yes] and then press
Enter
. (The
Setup Utility settings will return to their default values. Even the security
settings with the exception of the password(s) will return to their default
values.)
M Select [Exit] and then select [Save Current Values], then press
Enter
.
At the confirmation messages, select [Yes] and press
Enter
.
N Turn the computer off by using the power switch.
z If additional instructions are included with the computer, be sure to
read them. It may be necessary to perform additional operations during
the following procedures.
O Perform the first-time use operation. (Î page 10)
P Run the Setup Utility and change the settings where necessary.
Changing the drive letter
You can change the drive letter for the CD/DVD drive or hard disk drive by the
following steps.
z Drive letters can only be changed when two or more partitions have been
created on the hard disk drive. The name of the C: drive cannot be
changed.
z We recommend that you make these changes before installing applica-
tions.
A Select [start] - [Control Panel] - [Performance and Maintenance] -
[Administrative Tools] - [Computer Management].
B Select [Disk Management] from [Storage].
C Right click on the partition of the hard disk or the name of the CD/DVD
drive and select [Change Drive Letter and Paths...].
D Select [Change].
E Select [Assign the following drive letter] and the new drive letter, and then
select [OK].
F At the confirmation message, select [Yes].