ENGLISH - 73
Chapter 4 Settings — [DISPLAY OPTION] menu
Note
rf
The startup logo will disappear in approximately 15 seconds.
rf
To create the image for [USER LOGO], “Logo Transfer Software” included in the supplied CD-ROM is required.
[SHUTTER SETTING]
Set the opening and closing status of the shutter for when projection begins by switching on the projector, and for when the projector is
switched off.
To set [STARTUP]
1)
Press as to select [SHUTTER SETTING].
2)
Press the <ENTER> button.
rf
The [SHUTTER SETTING] screen is displayed.
3)
Press as to select [STARTUP].
4)
Press qw to switch.
rf
The setting will change between [OPEN] and [CLOSE] each
time you press the button.
rr
[STARTUP]
[OPEN] Projection begins with the shutter open when the power is turned on.
[CLOSE] Projection begins with the shutter closed when the power is turned on.
To set [SHUT-OFF]
1)
Press as to select [SHUTTER SETTING].
2)
Press the <ENTER> button.
rf
The [SHUTTER SETTING] screen is displayed.
3)
Press as to select [SHUT-OFF].
4)
Press qw to switch.
rf
The setting will change among [KEEP CURRENT STATE],
[CLOSE], and[OPEN] each time you press the button.
rr
[SHUT-OFF]
[KEEP CURRENT STATE] Enters standby with the opening and closing status of the shutter same as before switching off the projector.
[CLOSE] Enters standby with the shutter closed.
[OPEN] Enters standby with the shutter open.
Note
rf
It is recommended that you set the projector to enter standby with the shutter closed when you remove the projection lens for transport of
the set, etc. so that dust will not enter.
rf
When switching off the projector, the [POWER OFF(STANDBY)] conrmation screen appears regardless of the opening and closing status
of the shutter at that moment.
[FREEZE]
The projected image is paused temporarily regardless of the playback of the external equipment.
1)
Press as to select [FREEZE].
2)
Press the <ENTER> button.
rf
Press the <MENU> button to release.
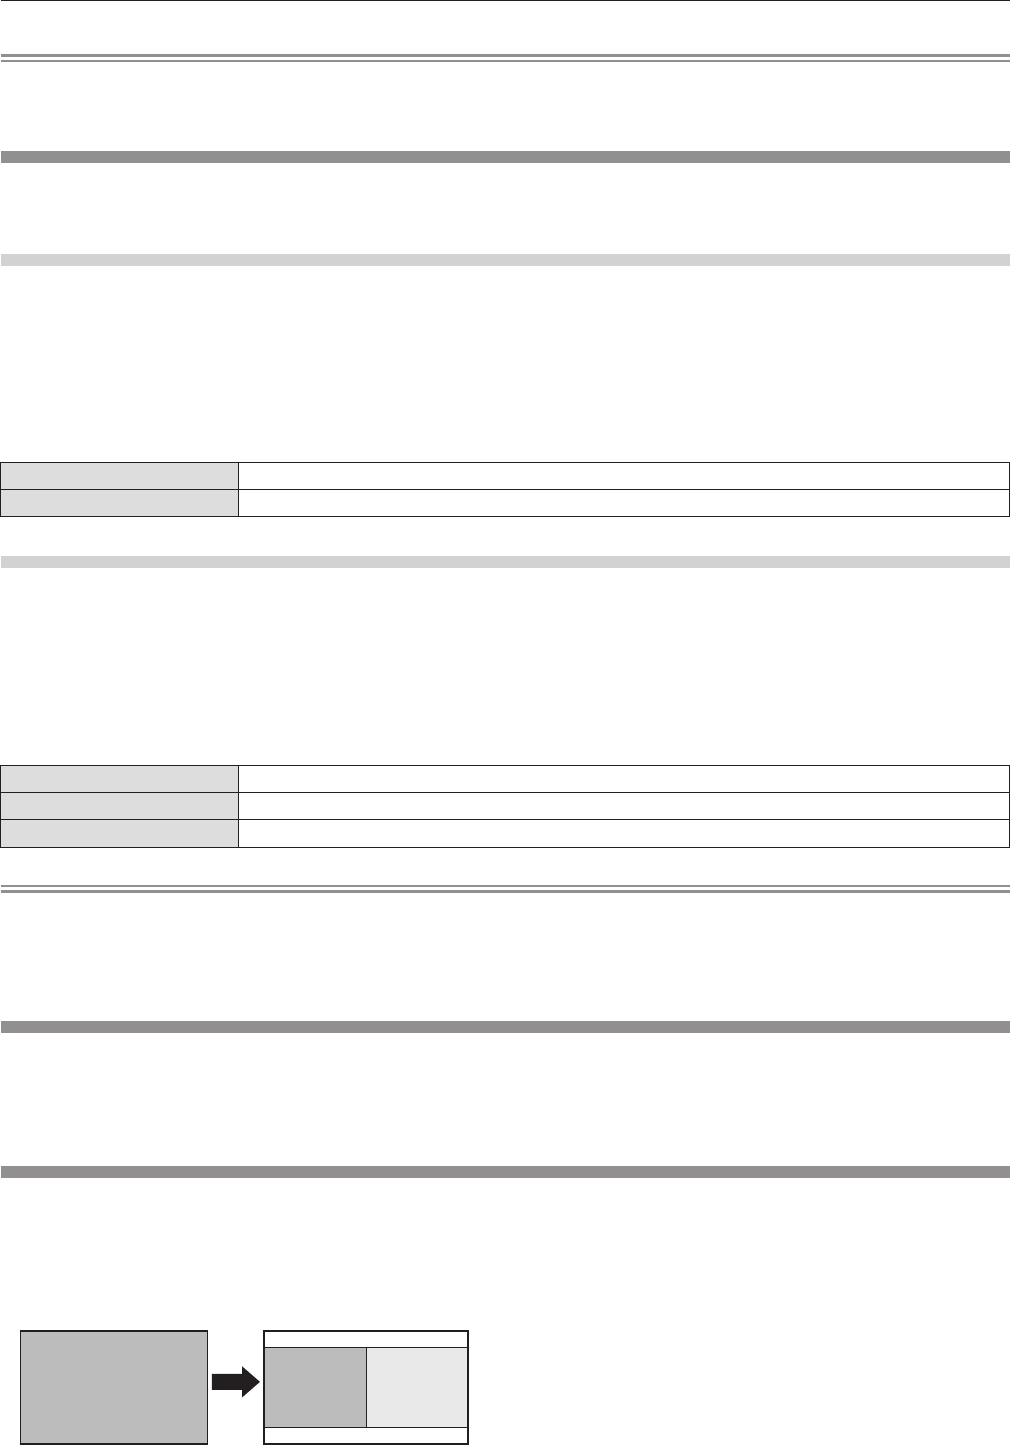
[SIDE BY SIDE](PT-DW740U only)
Displays two different input signals simultaneously.
1)
Press as to select [SIDE BY SIDE].
2)
Press the <ENTER> button.
rf
Displays the side-by-side screen.
Input A Input A Input B
3)
Press the <MENU> button.
rf
The [SUB INPUT SELECT] screen is displayed.
4)
Press as to select the image to display on
the Input B side.
rf
Press
as
to select an image to display on the right side of the
screen (Input B).
5)
Press the <ENTER> button.
