32
Playing back still pictures
one by one (P.Slide Show)
Plays back still pictures based on the Slide show data
set by SD-MovieStage Ver.2.0 (supplied).
1
11
1
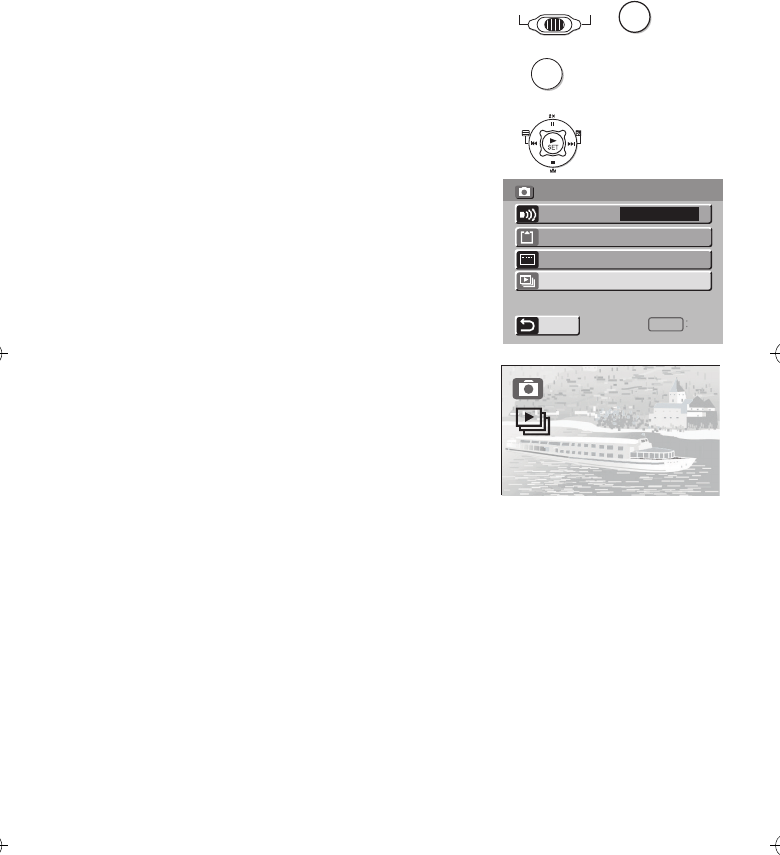
Set the Power/Mode Switch to [PLAY]
and set the operation mode to
[PICTURE].
2
22
2
Press the [MENU] Button.
3
33
3
Select the [P.SLIDE SHOW] and press the
[1 SET] Button.
≥P.Slide show starts.
≥Pictures set with SD-MovieStage are
sequentially displayed, each for approx.
5 seconds, and the P.Slide show stops.
≥Press [∫] to stop P.Slide show.
≥Press [;] to pause P.Slide show.
ªCreating P.Slide Show Data with SD-
MovieStage Ver.2.0
1 Install the SD-MovieStage Ver.2.0 on your
personal computer. (l
ll
l 38)
2 Insert the Memory Card into the SD Multi AV
Device and connect to the personal computer.
3 Start the SD-MovieStage Ver.2.0.
4 Drag and drop thumbnails in the content field to
the rehearsal field in your favorite order.
5 Click the “Windup” button in the reherasal field.
6 Drag and drop the Windup icon onto SD Memory
Card icon in the media field.
7 Select the type of P.Slide Show and click [OK].
≥Please refer to the PDF-based instruction of the SD-
MovieStage Ver.2.0 for further information.
CARD EDITING
DISPLAY SETUP
RETURN
P.SLIDE SHOW
BEEP SOUND
ON
SETUP MENU
EXIT
MENU
1
11
1
MODE
RECOFF
PLAY
2
22
2
3
33
3
MENU
