10
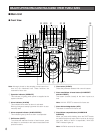
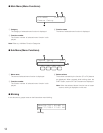
@8 Shuttle hold button (SHUTTLE HOLD)
• If you press this button while rotating the shuttle ring,
playback speed will be maintained even after removing
a hand from the shuttle ring. (The LED indicator on this
button blinks during the fast playback.)
Note: This operation differs from “Hold playback
speed” performed by holding the shuttle ring of
recorder. When you hold the playback speed from
the system controller, the EL-ZOOM, MULTI-
SCREEN, and OSD buttons are unavailable.
• If you press this button again, normal playback speed
is recovered.
@9 History button (HISTORY)
When you press the + or – button while holding down
this button, camera images selected in the past are dis-
played in order or in reverse order.
#0 – button [–]
This button is pressed when selecting a camera with
the lower channel number. During setup, this button is
pressed to decrease the value of selected parameter.
#1 + button [+]
This button is pressed when selecting a camera with
the higher channel number. During setup, this button is
pressed to increase the value of selected parameter.
#2 Recorder/Unit Selection button (RECORDER/UNIT)
• Selects a recorder.
• When you press while holding down the SHIFT button,
this button selects a system unit.
#3 Preset/Program preset button (PRESET/PGM
PRESET)
• Recalls a preset position or the home position of combi-
nation camera.
• When you press while holding down the SHIFT button,
this button programs preset positions.
#4 Camera position button (CAM POSI)
This button is pressed to select the camera position
(the combination of camera number and preset posi-
tion).
#5 Numeric buttons (0, 1 to 9)
Enters camera numbers, monitor numbers, or unit num-
bers, etc.
#6 Monitor/Escape button (MON (ESC))
• Selects a monitor.
• When pressed during setup, this button determines the
current selection to return to the main menu.
#7 Camera/Set button (CAM (SET))
• Selects a camera.
• When pressed during setup, this button selects an item
to go to a submenu.
#8 LCD (Liquid Crystal Display)
Displays the numbers of unit, monitor and camera cur-
rently selected. The LCD also displays the functions
assigned to F1 to F8 buttons.
#9 Adjustment button (ADJUST)
This button is pressed to perform the settings of LCD
brightness, LCD contrast, alarm buzzer, or button
buzzer.
$0 Menu button (MENU)
Displays the list of menu functions on the LCD. Menu
functions are assignable to the function buttons (F1 to
F4/F5 to F8) or joystick function buttons (A, B, and top
buttons).
$1 Function buttons (F1 to F4/F5 to F8)
Recall button functions you assign.
Note: When you press while holding down the SHIFT
button, the F1 to F4 buttons become F5 to F8.
$2 Exit button (EXIT)
While a menu function, determined with the ENTER but-
ton, is being displayed on the LCD, this button is
pressed to return to the upper menu.
$3 Enter button (ENTER)
While menu functions are displayed on the LCD, this
button is determines a function to assign.
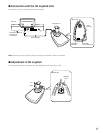
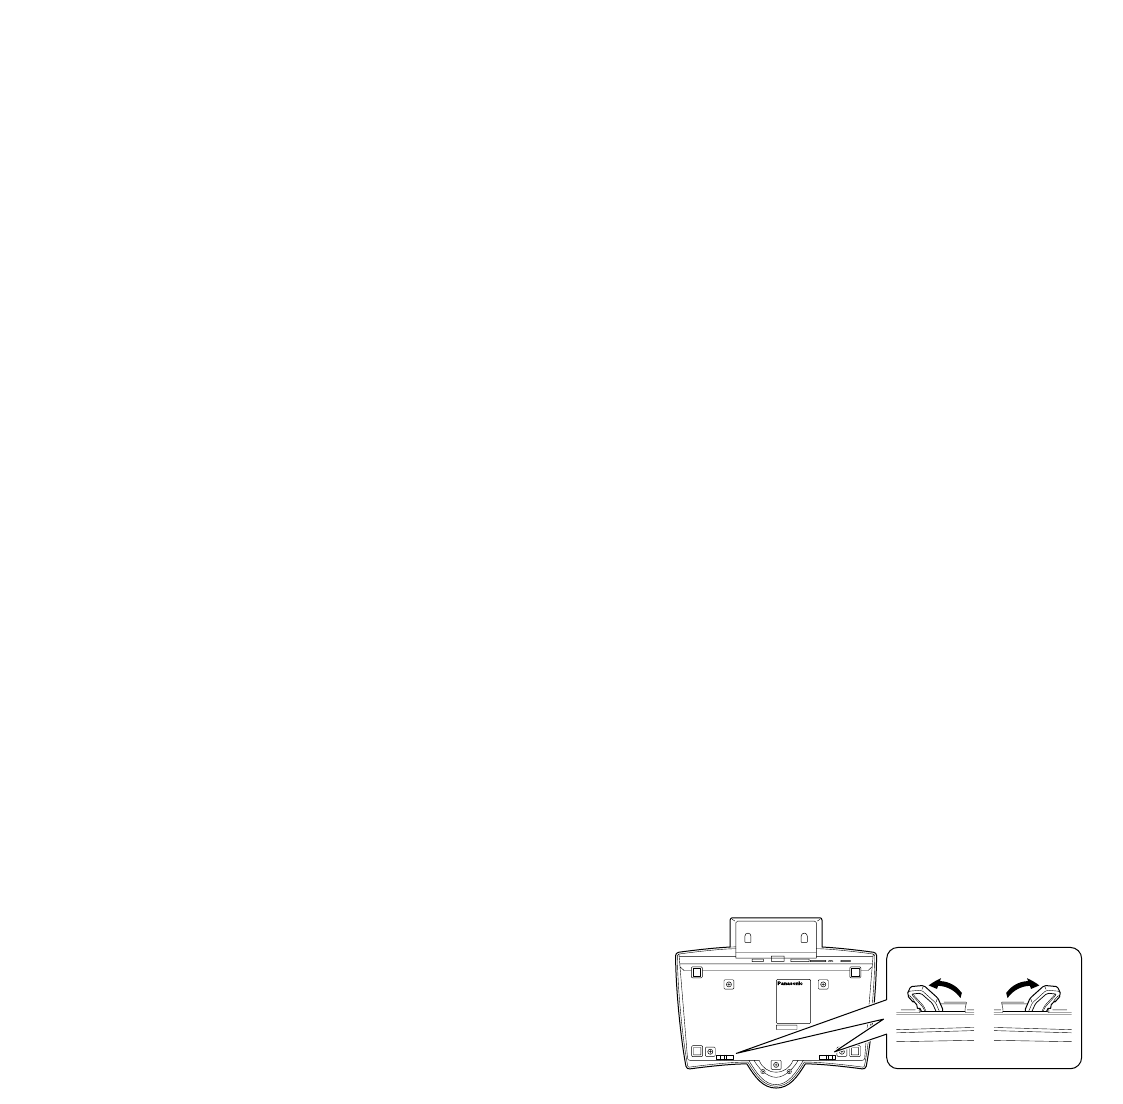
$4 Feet
When extending these feet, you can raise the front side
by approx. 1 cm {0.39 in.}.


