


Introduction 30
Model 3034/3038 Getting Started Guide 4 • Initial configuration
Introduction
This chapter leads you through the basic steps to set up a new Model 3034/3038. Setting up a new Model
3034/3038 consists of the following main steps:
Note If you haven’t already installed the Model 3034/3038, refer to chapter 3,
“Model 3034/3038 installation” on page 21.
• Connecting the Model 3034/3038 to your laptop PC
• Configuring the desired IP address
• Connecting the Model 3034/3038 to the network
1. Connecting the Model 3034/3038 to your PC
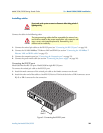
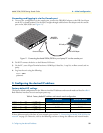
First the Model 3034/3038 must be connected to the mains power supply with the power cable (see “Connect-
ing the power supply” on page 26). Wait until the Power LED stops blinking and stays lit constantly. Now the
Model 3034/3038 is ready.
Connecting and logging in via the Ethernet port
The Model 3034/3038 Series is equipped with Auto-MDX Ethernet ports, so you can use straight-through
cables for host or hub/switch connections (see figure 10).
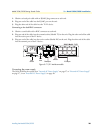
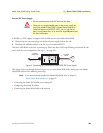
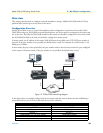
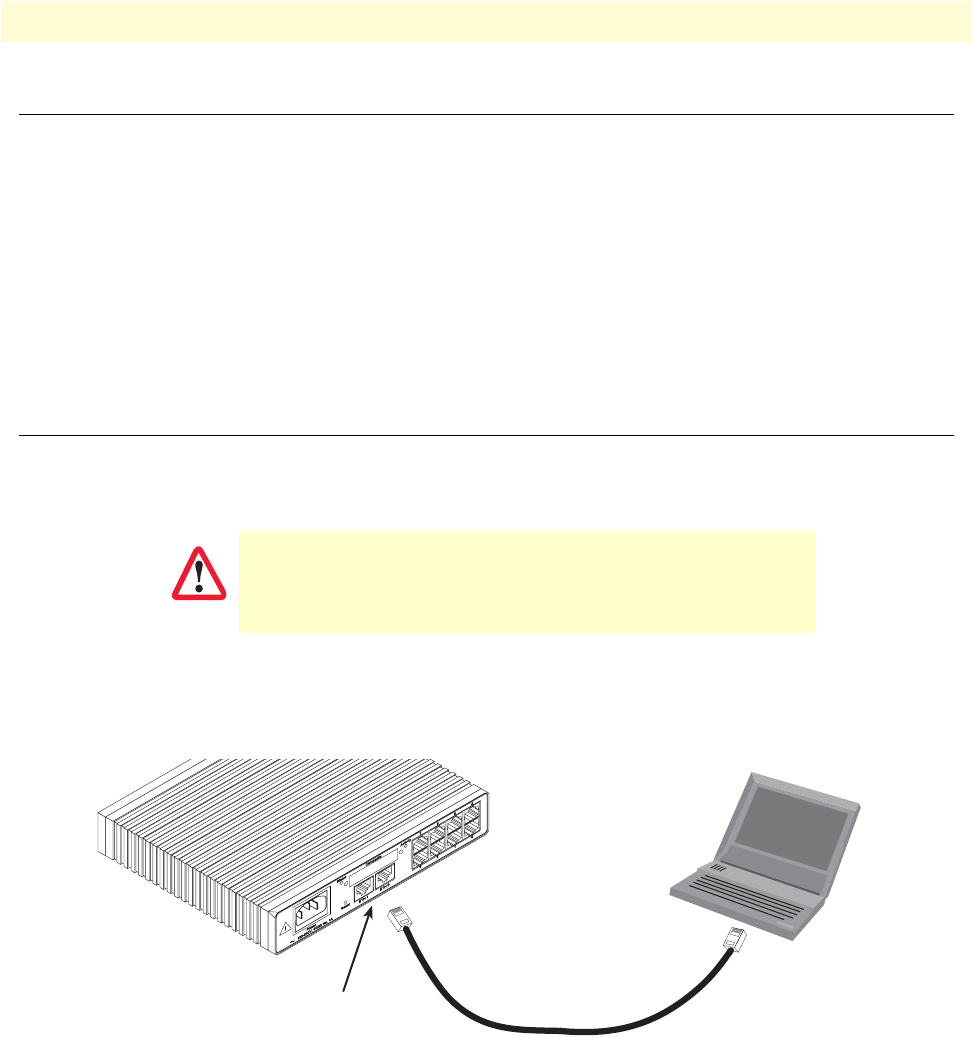
Figure 10. Connecting the Model 3034/3038 to your laptop PC via the Ethernet port
1. To access the configuration, connect a PC’s Ethernet port to the unit’s LAN port. Use the black Ethernet
cable included with your 3034/3038 for this purpose.
2. Configure your PC’s Ethernet port to be on the same subnet as the 3034/3038.
3. Open a Telnet connection to the default LAN IP address of the 3034/3038 (192.168.200.10).
Log into the unit using the following:
login: admin
password:
The interconnecting cables shall be acceptable for external use
and shall be rated for the proper application with respect to volt-
age, current, anticipated temperature, flammability, and
mechanical serviceability.
CAUTION
PC
Connect to Ethernet LAN
ports, ETH 0 and ETH 1
Model 3038
192.168.200.10
Ethernet port