


101
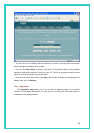
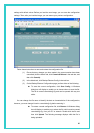
A complete SNMP setup includes the following items:
-- A management station equipped with an SNMP manager client that enables sending
messages to an SNMP agent (e.g., the modem). This configuration is not described here.
-- A MIB stored in the modem's memory. This must be preconfigured in the software image
by the ISP.
-- The SNMP service enabled on the modem, including defined communities that allow
read-only or read/write accesses from specific hosts. This configuration is described
below.
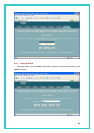
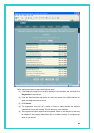
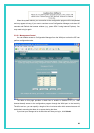
[Creating Communities]
1. If the SNMP configuration page is not already displaying, click the
Admin tab and then click SNMP Config in the task bar.
2. On the SNMP Configuration page, type a community name in the
empty text box in the left column of the table.
3. From the Access column of the table, select the privileges (read-only
or read/write) to assign to all hosts that are part of this community.
4. Click Add Comm.
A page displays briefly to confirm your changes, and then the SNMP
Configuration page redisplays with the new entry.
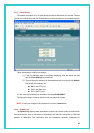
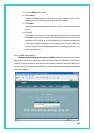
Now, you can add hosts to the new community:
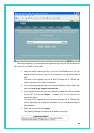
[Adding Hosts to Communities]
(a) In the Action column, click Add Host.
(b) Enter the IP address of the host computer you want to add and click
Submit.
A page displays briefly to confirm the addition, and the SNMP - Add Host
page redisplays
(c) Continue adding hosts as required and click Cancel when done.
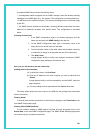
The newly added hosts now have access to the MIB with the privilege level associated
with the community.
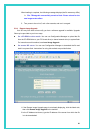
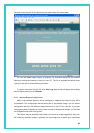
[Viewing Hosts]
To view all hosts and the communities to which they are assigned, click View Hosts on the
main SNMP Configuration page.
[Viewing Global SNMP Statistics]
To view statistics relating to SNMP packets received and sent and packet errors, click
Global Stats on the main SNMP Configuration page. The SNMP Global Statistics page shows
the number and type of packets transmitted.