


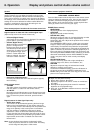
– PROJECTION
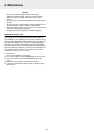
The projector can be used in various positions with respect
to the viewers and the projection screen. With the
PROJECTION function via setup menu the picture can be
displayed in a way that is suitable for a specific application.
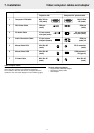
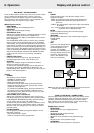
Use the cursor / keys to select a projection type in
accordance with the set conditions. The setting items will
change as shown below each time a key is pressed.
NORMAL VERTICALLY+HORIZONTALLY
REVERSED VERTICALLY REVERSED HORIZONTALLY
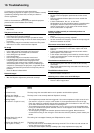
NORMAL (table projection)
The image can be flipped to a horizontal mirror image of the
input signal for rear screen projection.
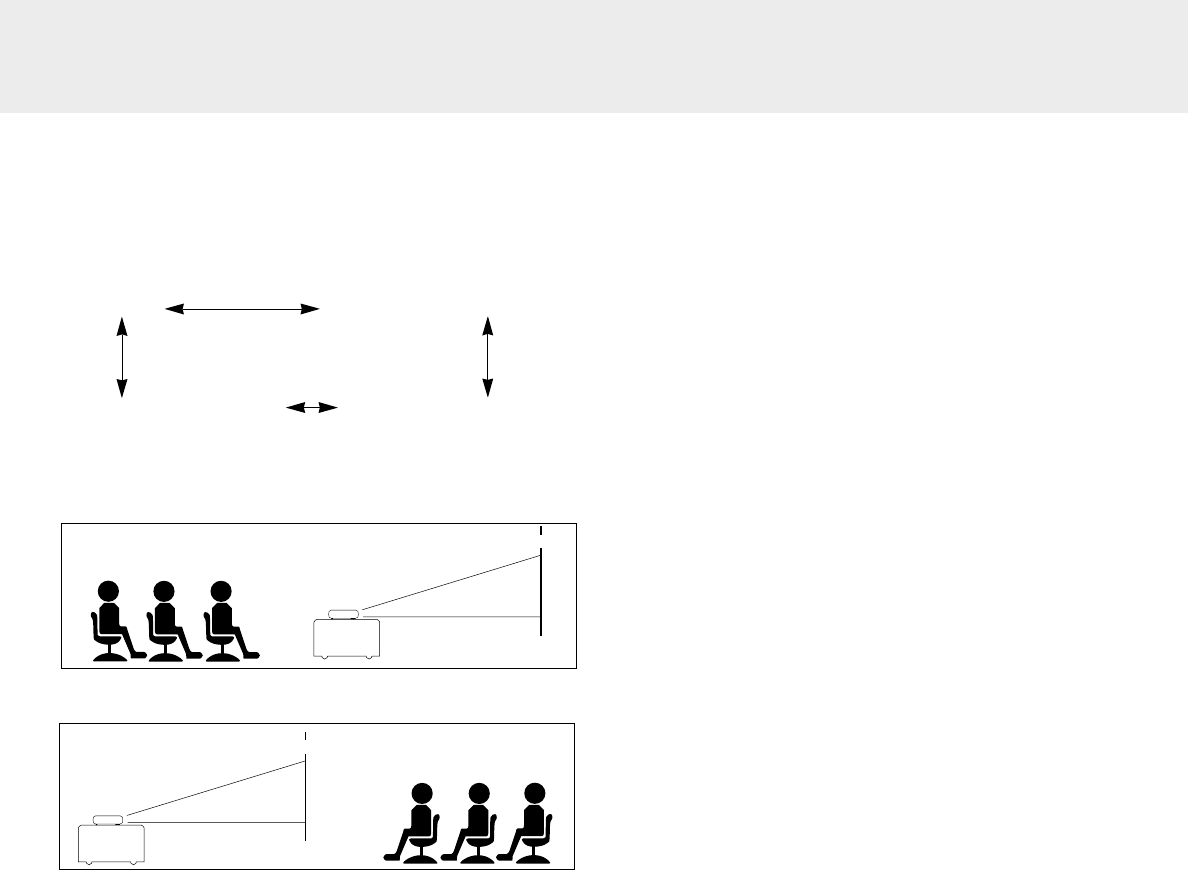
REVERSED HORIZONTALLY (rear table projection)
– AUTO POWER OFF
When there is no signal input for a period of 5 min. or more,
the power is automatically turned off and standby status is
activated.
- OFF
- ON
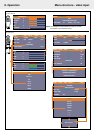
OPTION (Option changings)
With the Flip cover of the remote control open press the Menu
button to display the advanced menu, then use cursor control
(left/right) to select OPTION selection functions.
Use the cursor up/down keys to select the required option
setting. After selection of the required option, set the required
value setting by means of cursor control (left/right).
– LANGUAGE (Language selection)
To activate the Language selection, press the OK button on
the remote control when LANGUAGE has been adressed in
the OPTION setting menu. Use the cursor key to select one
of the following languages:
English
German
French
Italian
Spanish
Swedish
Chinese
Japanese
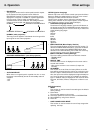
– MENU POSITION (Menu Display Position)
The menu display position can be set with this function. To
activate the MENU POSITION feature, press the OK button
on the remote control when MENU POSITION has been
adressed in the OPTION setting menu. With the cursor key
you can move to menu to any desired position;
– MENU TYPE (Menu Viewing Settings)
The menu viewing method can be set with this function.
- TRANSLUCENT
- OPAQUE
– DISPLAY TIME
The time that the menu is displayed on the screen can be
set with this function.
- Value can be set from 5 sec to 30 sec (in steps of 5
seconds).
– ON SCREEN
This function is set to ON at the factory. When set to ON,
input will be projected onto the screen for a period of 3 sec.
when the input is switched with the remote control button.
Also, the Input menu will be displayed for approximately 20
sec. when the power is turned on to indicate the selected
input. In addition, status is displayed on the menu bar when
D-Freeze, A/V Mute, D-Zoom, D-Keystone or Volume is set.
- ON
- OFF
INFO (Information)
– RESET
This function is used to reset all user settings to the default
factory settings.
1.
Press Menu.
– The menu bar appears on the screen.
2.
Use Cursor Control to move the cursor to INFORMATION.
3.
Select RESET by using Cursor Control.
4.
Press OK
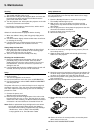
– LAMP USAGE HOURS RESET
This function is used to reset the hours of lamp usage after
replacing the lamp.
SCREEN
SCREEN
8. Operation
21
Other settings