


4.
To switch off the mains supply completely, pull the mains
plug out of the wall socket.
Note: Before disconnecting the power cord, make sure that the
cooling fan has stopped (about 3 minutes after the
projector has been switched to Standby).
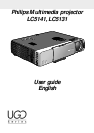
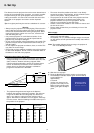
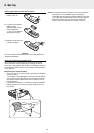
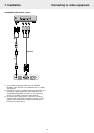
Adjusting the focus of the image
• Use the Focus ring to adjust the focus of the image.
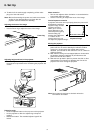
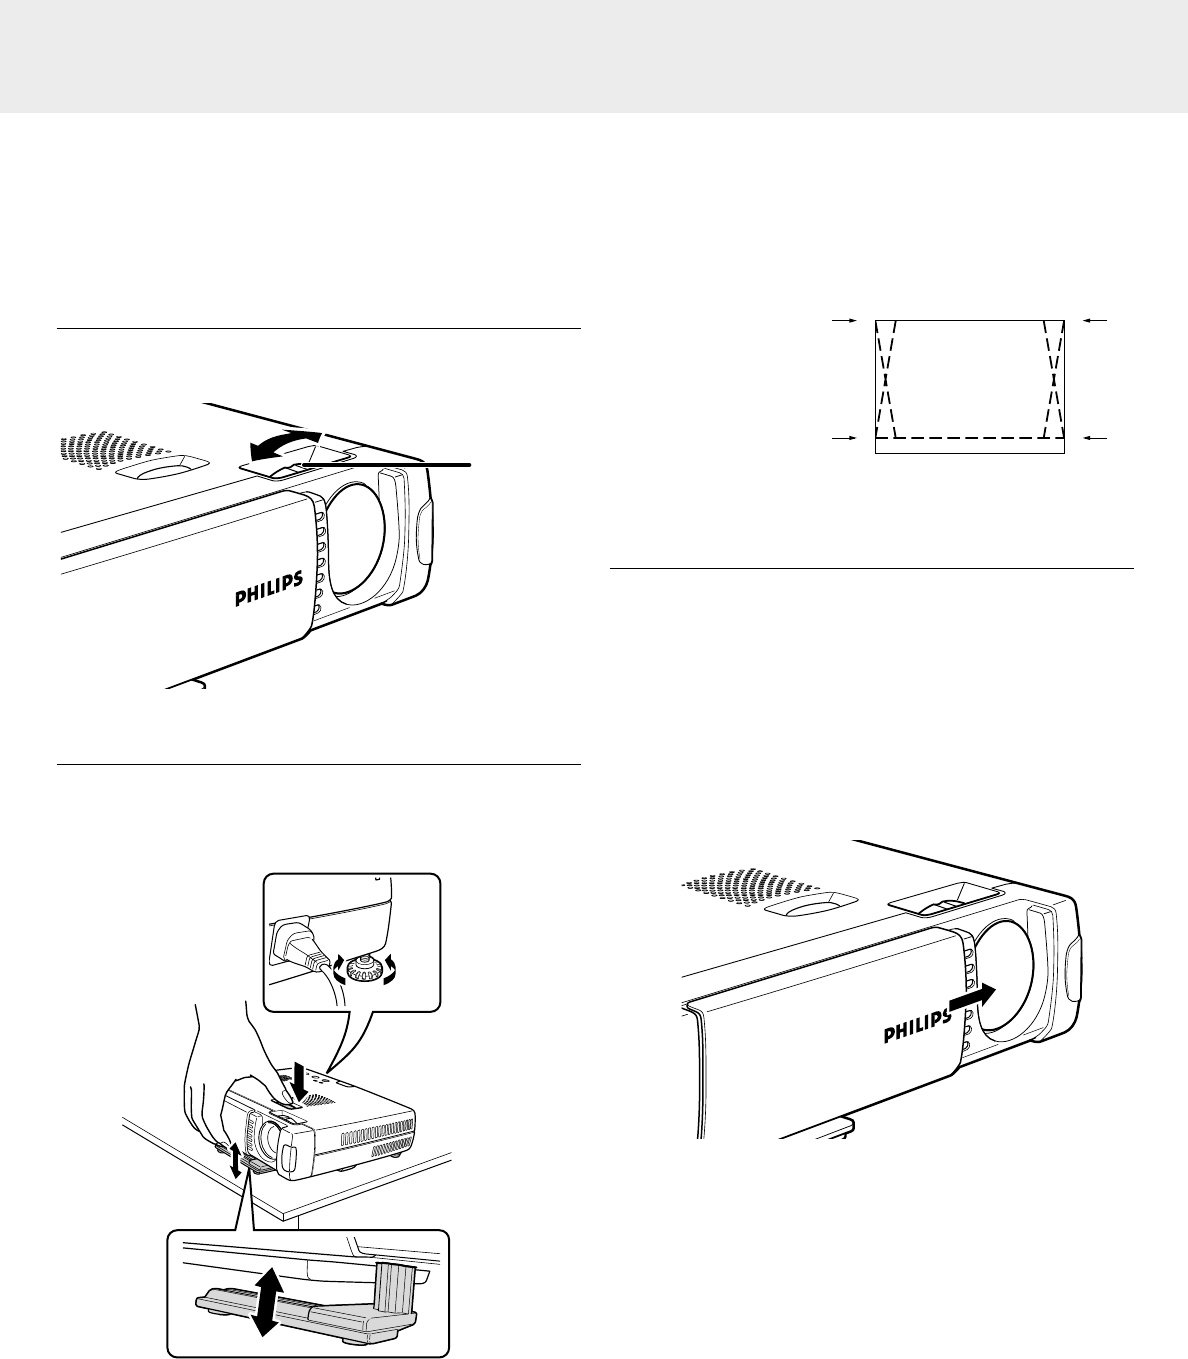
Adjusting height and level of the projector
• Use the Height/Level Adjuster to adjust the vertical angle of
the projector as specified under ‘Positioning the projector and
screen’.
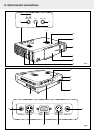
Projection angle
• Press the adjuster button on the top cover of the projector.
• Lift the projector to allow the adjuster leg to drop into
position.
• Release the button. The extended adjuster legs will be
locked.
Skew correction
• Turn the rear adjuster either clock-wise or counterclockwise
to accurately adjust the skew.
• Use the Focus ring to readjust the focus of the image.
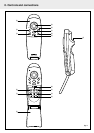
Vertical keystone correction
If projector and screen are not properly placed, the picture will
be distorted, producing a
keystone image. Vertical
keystone correction
allows you to correct
picture distortion of the
vertical keystone type by
internal scaling. By
pressing the D-Keystone
+/– buttons of the
remote control you can
fine adjust the projected image.
Moving the projector
1.
Press the Standby/On button to switch off the projector. The
power will turn off and the Standby/On indicator will blink
orange for 1 minute before the standby status will be
activated. (The exhaust fan will continue to run for a while for
cooling purposes)
2.
Wait until the cooling fan has stopped (about 3 minutes after
the projector has been switched off) and disconnect the
power cord and all other cables.
3.
Slide the lens cap back in place to prevent dust, dirt or other
contamination from harming or damaging the front of the
projector lens when moving the projector.
Note: Never place the projector on the back where the
connections are located.
6. Set Up
9
Focus ring
Keystoned image