4-6 CHAPTER 4: SOFTWARE INSTALLATION AND CONFIGURATION UNDER WINDOWS 3.X
The following procedures are general. If you require more detail,
see the configuration documentation that accompanied your PC.
Changing NIC Configuration from ISA to EISA
Follow these steps to configure the 3C509B ISA NIC for an
EISA PC:
1 Run the installation program as described in the
previous section.
2 From the main menu of the installation program, select
Configuration and Diagnostic Program.
3 If you have more than one NIC installed, use the arrow keys
to select the NIC you want to configure. Tab to the Select
button and press Enter.
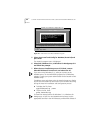
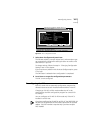
A screen identifying the NIC is displayed with the Test menu bar
item highlighted.
4 Use the arrow keys to select Install. The Configure NIC
option is selected. Press Enter.
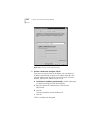
5 When the NIC Configuration dialog box is displayed, select
Modify and press Enter.
The I/O Base Address field is selected. An I/O Base Address dialog
box appears.
6 Use the arrow key to select EISA and press Enter.
The I/O base address setting is changed.
7 Select OK to save the new configuration setting and
press Enter.
8 Exit the program and remove EtherDisk diskette 2 from
drive A.
9 Insert the EISA configuration utility diskette provided with
your PC in drive A.
10 Turn the power off. Wait 10 seconds, and then turn the
power on.
11 Follow the instructions accompanying your EISA PC to run
the EISA Configuration Program.
When the program prompts you for .CFG files to copy, insert
EtherDisk diskette 2, press Enter, and select the appropriate file:
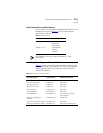
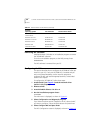
For the 3C509B-COMBO NIC, select: !TCM5094.CFG.
For the 3C509B-TP NIC, select: !TCM5090.CFG.
For the 3C509B-TPO NIC, select: !TCM5095.CFG.
For the 3C509B-TPC NIC, select: !TCM5098.CFG.


