


Getting Started with the DA700/DA750 Printer • 2
2-9SV61027 Rev. D
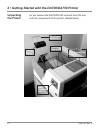
Connecting the
DA700/DA750 to
Your Computer
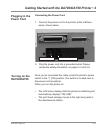
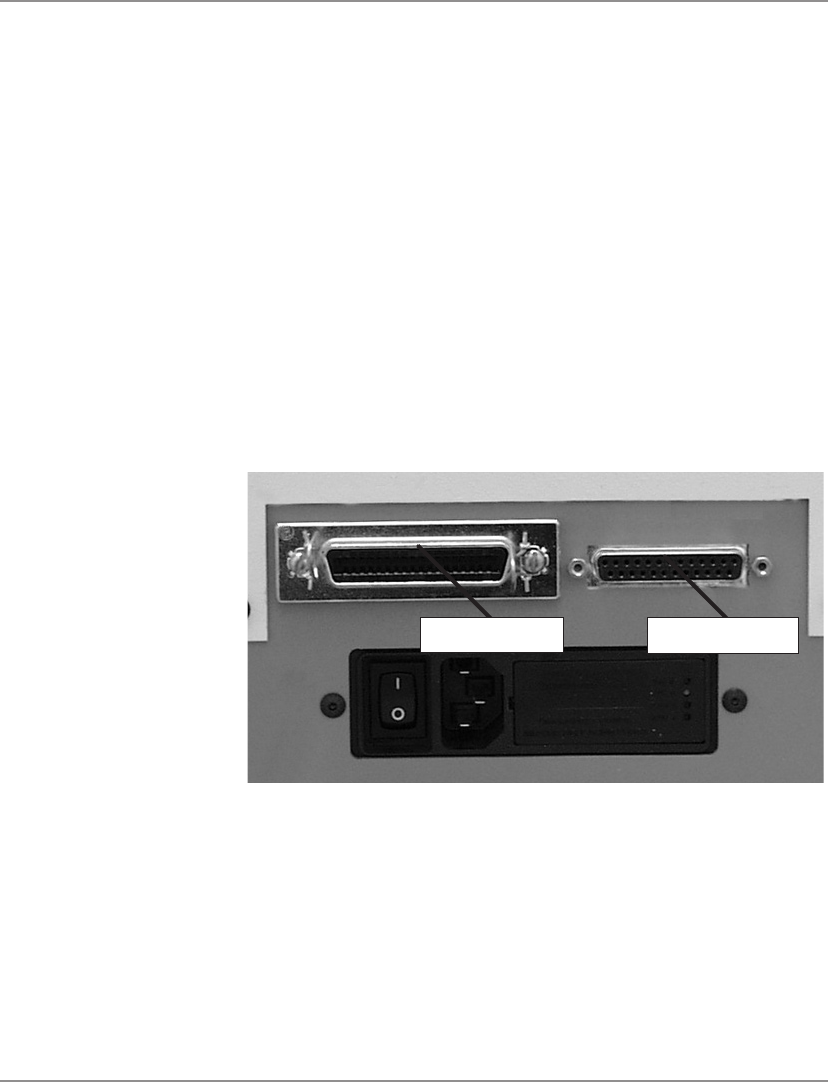
Serial Port
Parallel Port
2. Secure the connector by snapping the two wire clips
over the corresponding tabs on the connector.
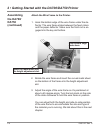
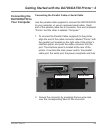
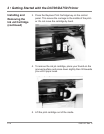
Connecting the Parallel Cable or Serial Cable
Use the parallel cable supplied to connect the DA700/DA750
to your computer, or use an approved serial cable. Each
end of the parallel cable has a connector. One end is labeled
“Printer” and the other is labeled “Computer.”
1. To connect the Parallel Cable (supplied) to the printer,
align the end of the cable connector labeled “Printer” with
the parallel port located on the right side of the printer’s
interface panel, and push the cable connector into the
port. The interface panel is located at the rear of the
printer. It contains the main power switch, the parallel
cable port, the serial port, the power receptacle and fuse.