


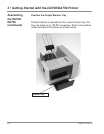


2 • Getting Started with the DA700/DA750 Printer
2-10 SV61027 Rev. D
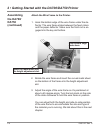
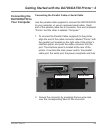
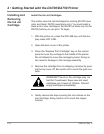
Connecting the
DA700/DA750 to
Your Computer
(continued)
3. Align the end of the cable connector labeled “Computer”
with the printer port on your computer and push the ca-
ble connector into the port.
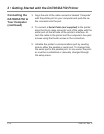
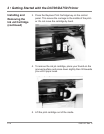
4. To connect a Serial Cable (not supplied) to the printer,
align the 25-pin male connector end of the cable with the
serial port on the left side of the printer’s interface. At-
tach the cable to the printer and the computer’s hex jack
screws using the thumb screws in the connectors.
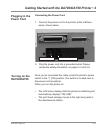
5. Initialize the printer’s communications port by sending
data to either the parallel or serial port. To change from
the serial port to the parallel port, or vice versa, the print-
er must be re-initiailized or manually changed through
the setup menu.