


40
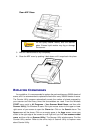
CALIBRATING THE SCANNER
Calibrate the scanner if colors appear in areas that should be white, or colors of the
scanned image and the original vary a lot. This allows you to adjust and compensate
for variations that can occur in the optical component over time by its nature.
The following describes how to calibrate the scanner:
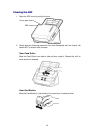
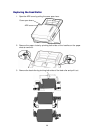
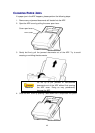
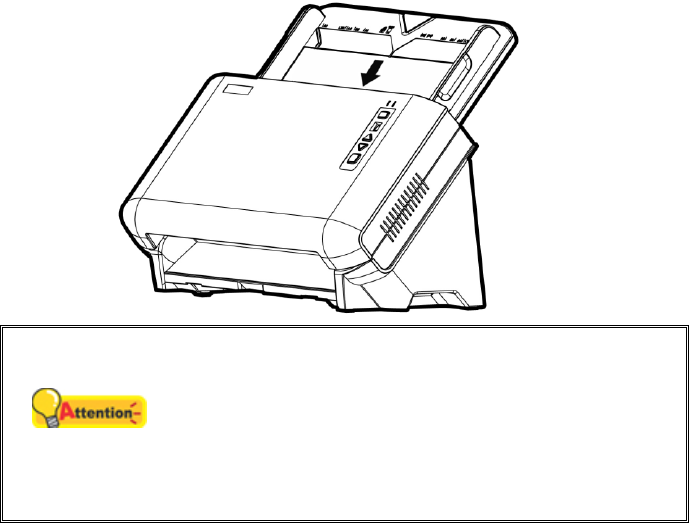
1. The Calibration Sheet, marked with an arrow on either edge at both sides, is
used specially for ADF Scanning calibration.
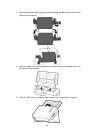
2. Insert the special calibration sheet into the ADF of the scanner, with an arrow
toward the scanner buttons.
Attention
Please insert the special calibration sheet
included with the scanner. Alternatively you may
also use any plain white sheet of paper sized in
A4 (216 by 297 mm) instead; however, the
calibration effect may be less good than the
special calibration sheet.
3. Click Start > All Programs > Your scanner model name > Calibration
Wizard. (For Windows 8 users: Point your mouse cursor to the upper or lower
right corner of your screen to open the Charm bar. Click on the Search charm.
The Apps screen will be shown. Click on an empty space in the Apps screen,
move your cursor to the right edge of the screen to scroll right until you find
Your scanner model name, and then click on Calibration Wizard.)
4. Click Next from the Calibration Wizard that pops up and then click Calibrate
Now....
5. Click on the Start button to begin the calibration process.
6. The scanner pulls the calibration sheet through the scanner, which completes
this scanner calibration. After the calibration is complete, click OK and then
click Finish.