Chapter 2 - Hardware Installation
2-6
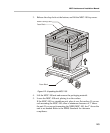
8. Place the MCU in a 23” rack and while supporting it, screw the mounting
brackets to the rack securing it with bolts and self-locking nuts.
Mounting the MGC-100 on a 19” Rack
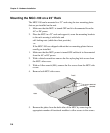
The MGC-100 can be mounted in a 19” rack using the mounting kit (P/N-
KIT2026A). It is highly recommended that the 19” rack be located in an air-
conditioned room.
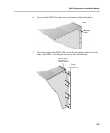
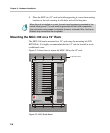
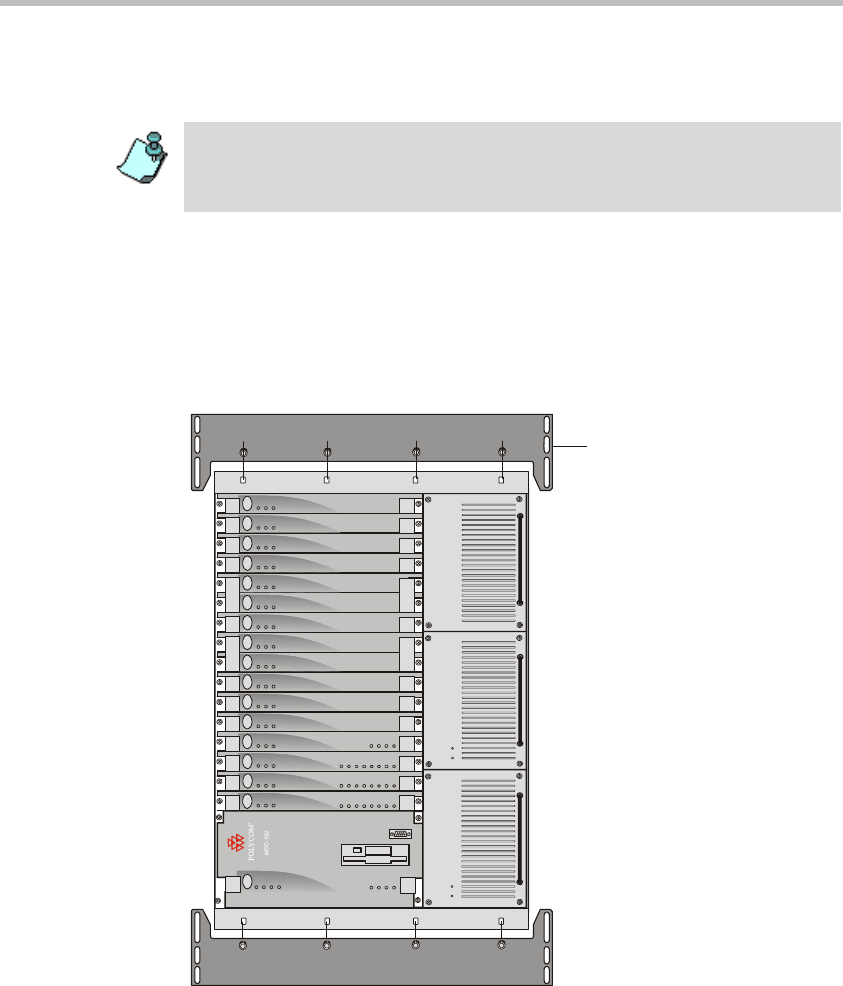
Figure 2-3 shows how to mount the MGC-100 on the 19” rack.
Figure 2-3: MCU Rack Mount
When the unit is installed on a rack, the rack must be properly grounded to the
central office ground. The rack must be grounded with two-hole compression-
type connectors using copper conductors (tinned or untinned). Wire, bus bar or
braided strap connectors are acceptable.
Power
L1
L2
L3
Critical
Major
Minor
L0
PWR
IN
OUT
CONT
PWR
IN
OUT
PWR
IN
OUT
Line A
Line B
Stby
Fail
Active
Stby
Fail
Active
Stby
Fail
Active
Stb y
Fail
Active
Stby Stby
Fail Fail
Active Active
Stby
Fail
Active
Stby Stby
Fail Fail
Active Active
Stby
Fail
Active
Stby Stby
Fail Fail
Active Active
Stby
Fail
Active
Stby
Fail
Active
Stby
Fail
Active
NET-E1
MUX MUX DATA DATA VIDEO VIDEO VIDEO AUDIOVIDEO AUDIO
Stb y
Fail
Active
AUDIOAUDIO
Line 6
Line 7
Line 8
Line 3
Line 4
Line 5
Line 1
Line 2
Line 6
Line 7
Line 8
Line 3
Line 4
Line 5
Line 1
Line 2
Line 6
Line 7
Line 8
Line 3
Line 4
Line 5
Line 1
Line 2
NET-8NET-8 NET-8
19" Attachment Bar


