30 Creating Discs on a Mac
4. Select the drive that contains your master as the source
drive.
5. Click the Burn… button
6. The Robot Write Options window contains selections to
help you control the printing of the image, number of
discs, recording options and more.
7. Click the Print Image on Discs button to enable
printing. This will enable other buttons in this pane.
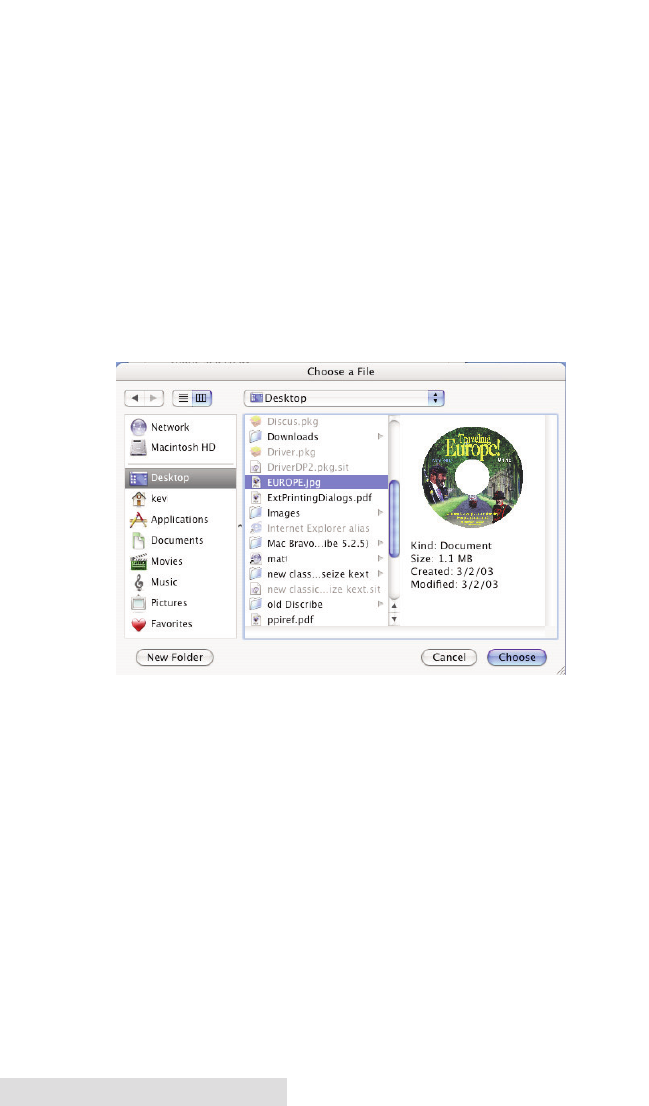
8. Press the Choose Image button to select an image to print.
This will allow you to select any file type Apple's Preview
supports including JPEG, TIFF, PICT, PDF, GIF, BMP and
more. Refer to Section 4-C for label format requirements.
Labels can be created in any graphics program.


