


10
Operation
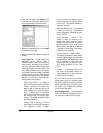
6. From the
File
menu, click
Acquire
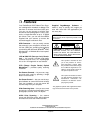
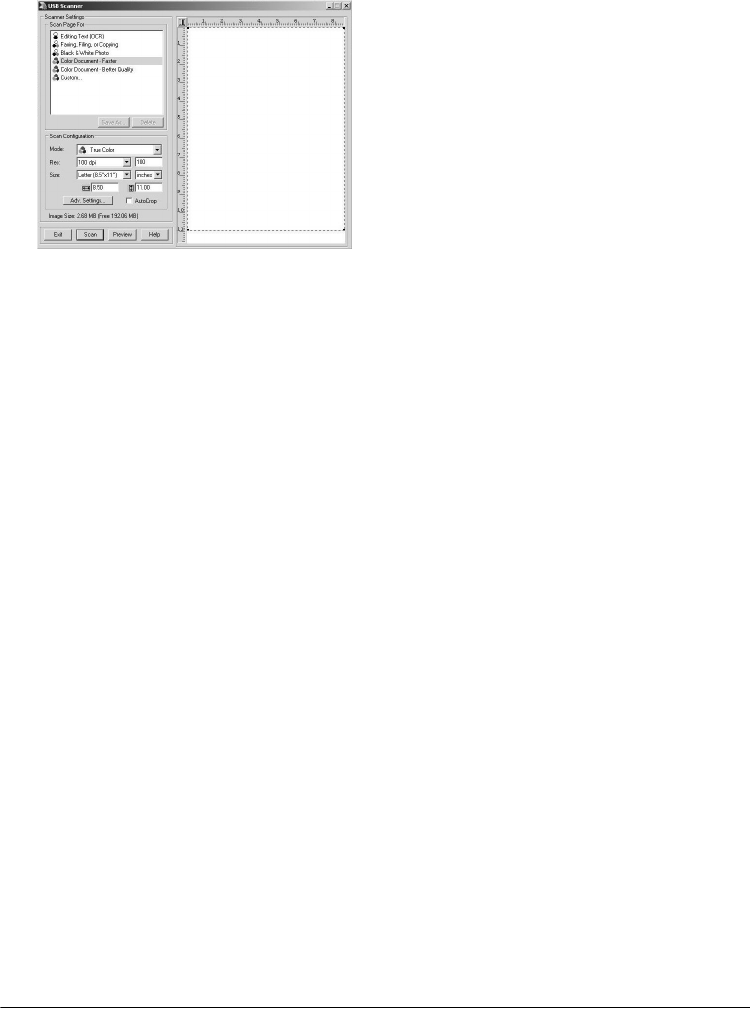
. The
USB Scanner
dialog box appears, let-
ting you preview the scanned image.
7. Make any adjustments, then click
Scan
to scan the final image.
8. Adjust the desired scanner settings as
follows.
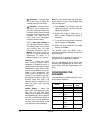
Scan Page For
— These options are
optimized for the various uses of
scanned images, such as scanning for
editing text or scanning in color. Select-
ing the proper scan setting before final
scanning provides the best results. The
scan setting determines the sharpness
of the object and the number of possible
shades of gray or color. Scan settings
also affect the speed of the scan and the
file size. You can select one of the fol-
lowing preset scan settings:
•
Editing Text (OCR)
— This setting is
best for scanning of letters, contracts,
memos, and other documents you
want to edit. It enhances the use of
OCR software for converting object
text to editable text, and provides
higher quality and larger file size than
the
Faxing, Filing, or Copying
scan
setting. This setting defaults to black
and white, 300 DPI.
•
Faxing, Filing, or Copying
— This set-
ting is best for scanning of newspaper
and magazine articles, receipts,
forms, and other text objects. It pro-
vides the fastest scan time and small-
est file size. This setting defaults to
grayscale, 200 DPI.
•
Black and White Photo
— This setting
is best for scanning of black-and-
white photographs. It defaults to gray-
scale, 100 DPI.
•
Color Document
—
Faster
— This
setting is best for scanning color
pages with many graphics, mixed
graphics and text, line art, and photo-
graphs requiring a quick scan. It cre-
ates a quality scanned color object in
a file that is not too large. This setting
defaults to color, 100 DPI.
•
Color Document
—
Better Quality
—
This setting provides the ideal setting
for color objects, object editing, desk-
top publishing, and high-quality out-
put. It produces a color scan with
slower scan time and larger file size.
This setting defaults to color, 200
DPI.
•
Custom
— This setting lets you use
the
Scan Configuration
dialog box
(described below) to define how you
want it to scan an object.
If you do not want to use one of these
preset options, you can manually select
the scan configuration options as shown
below. Note that when you select a pre-
set option, scan configuration settings
are for that preset option.
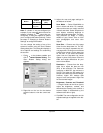
Scan Configuration
— Use this section
of the
USB Scanner
dialog box to manu-
ally select scan options for the image.