


5. Enter the Special Sender’s fax number (up to 20 characters).
6. Enter the administrator password if required.
7. Click [Apply].
8. Close the Web browser.
• A fax number can contain 0 to 9, “ ”, and space.
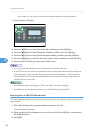
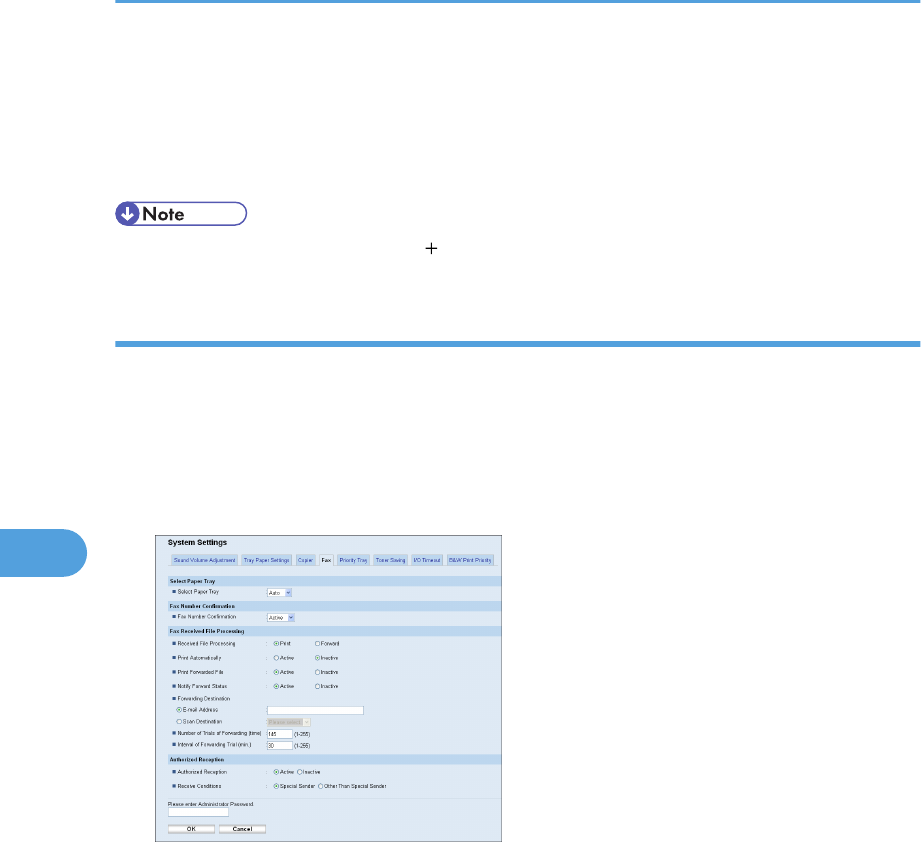
Limiting the incoming faxes
This section describes how to set the machine to receive (or reject) faxes only from the programmed
Special Senders.
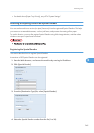
1. Start the Web browser, and access the machine by entering its IP address.
2. Click [System Settings].
3. Click the [Fax] tab.
4. For [Authorized Reception], click [Active].
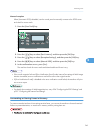
5. For [Receive Conditions], click [Special Sender] or [Other Than Special Sender].
• Special Sender
Select this to receive faxes from the Special Senders and reject faxes from all other senders.
• Other Than Special Sender
Select this to reject faxes from the Special Senders and receive faxes from all other senders.
6. Enter the administrator password if required.
7. Click [OK].
8. Close the Web browser.
6. Using the Fax Function
246
6