52
4 User's Reference
4-5
Description of Keys and Display Menus
Description of Keys
Default
value
Setting
range
FunctionSubmenu
Top
menu
Key
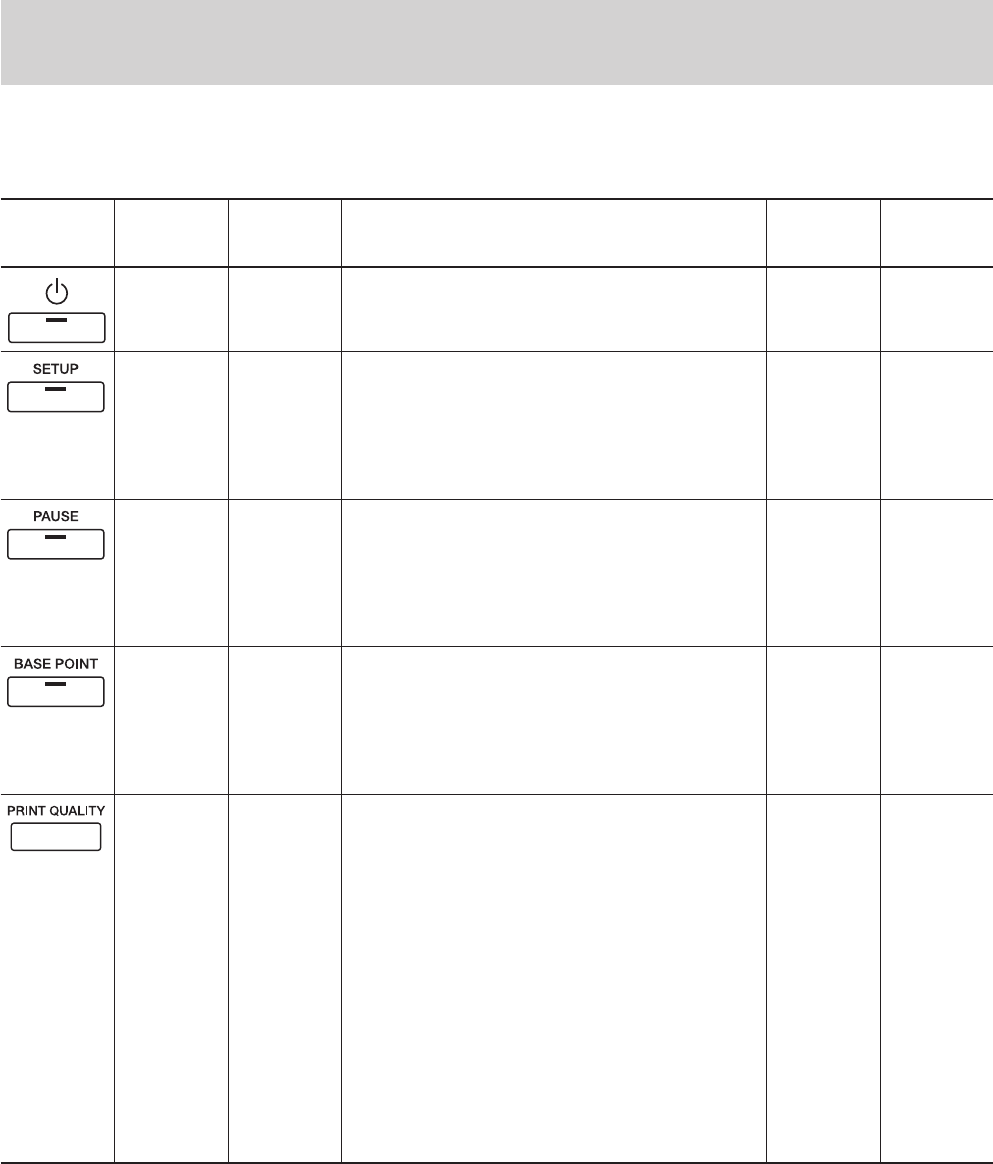
—— ——This switches on and off the sub power . When the
power is switched on, the POWER LED lights up.
—— ——This detects the presence and the width of the material,
and displays the printable width.
The SETUP LED flashes while detection of material
width is in progress. When setup finishes, the SETUP
LED lights up continuously.
Also press this key when removing the material.
—— ——The [PAUSE] key pauses operation. The PAUSE LED
lights up while paused.
Pressing this key again cancels the paused state.
Holding down the [SETUP] key for about 1 second
while paused causes remaining data to be cleared and
cancels the material's setup state.
—— ——This sets the print-start location in the horizontal
direction (the direction of carriage movement). For
more information, see "2-6 Printing -- Printing at the
Desired Location -- Specifying a location in the left-
right direction (the direction of carriage movement)."
PRINT
QUALITY
— [Printing
quality]
PHOTO
(
HS-PHOTO
)
SUPER
(
HS-SUPER
)
FINE
FINE2
NORMAL
FAST
DRAFT
[Printing
direction]
UNI-DIRECTION
BI-DIRECTION
[Printing
quality]
FINE
[Printing
direction]
BI-
DIRECTION
This displays the [PRINT QUALITY] menu for setting
image quality.
This is used to specify the printing quality and unidi-
rectional or bidirectional printing.
Settings cannot be made while printing is in progress.
To exit the [PRINT QUALITY] menu screen, press the
[MENU] key or the [CLEANING] key or the [SETUP]
key.
For more information, see "2-6 Printing -- Setting the
Printing Mode."


