


77
Chapter 4: A Wide Variety of Operations
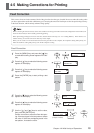
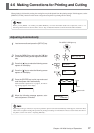
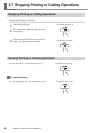
4-6 Making Corrections for Printing and Cutting
When printing is followed by cutting, the cutting line may be displaced from the printing margin. If this happens, use the
[PRINT-CUT ADJ.] function on the menu to align the start points for printing and for cutting.
Adjusting Automatically
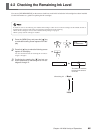
1
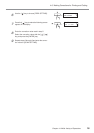
Load some media and press the [SETUP] key.
2
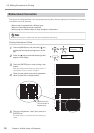
Press the [MENU] key, and press the [ ] key
to make the following screen appear on the dis-
play.
3
Press the [ ] key to make the following screen
appear on the display.
4
Press the [ ] key to make the following screen
appear on the display.
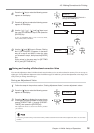
5
Press the [ENTER] key to print crop marks and
read the square mark automatically.
While automatic adjustment is in progress, the follow-
ing message appears on the display.
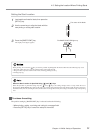
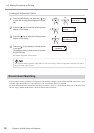
6
When the following message appears, auto-
matic adjustment is finished.
Before you run [PRINT - CUT ADJ.], run [ENV. MATCH]. For more information about how to adjust this, refer to "1-5
Switching On the Power for the First Time" and see "Step 2: Match the Machine to the Environment Where Installed."
The SETUP LED lights up
MENU
PRINT - CUT ADJ.
PRINT - CUT ADJ.
TEST PRINT
PRINT - CUT ADJ.
AUTO
Rear
Front
NOW PROCESSING...
PRINT-CUT ADJ.
COMPLETED
!!
Square mark
Depending on the type of media, it may not be possible to perform correction automatically. If this happens, read in the offset
value from a test pattern and align the positions for printing and cutting. For information on how to read an offset value from a
test pattern, see the next section, "Adjusting Manually."