


Operation
Runco VX-4000d/VX-5000d Owner’s Operating Manual 41
PRE
L
IMINAR
Y
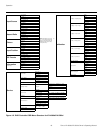
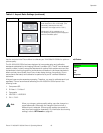
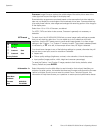
Main MenuThe Main Menu is the starting point for accessing all projector functions.
(The Calibration and Service menus are hidden and not accessible until you enter a
passcode.)
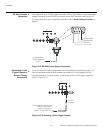
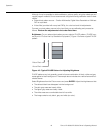
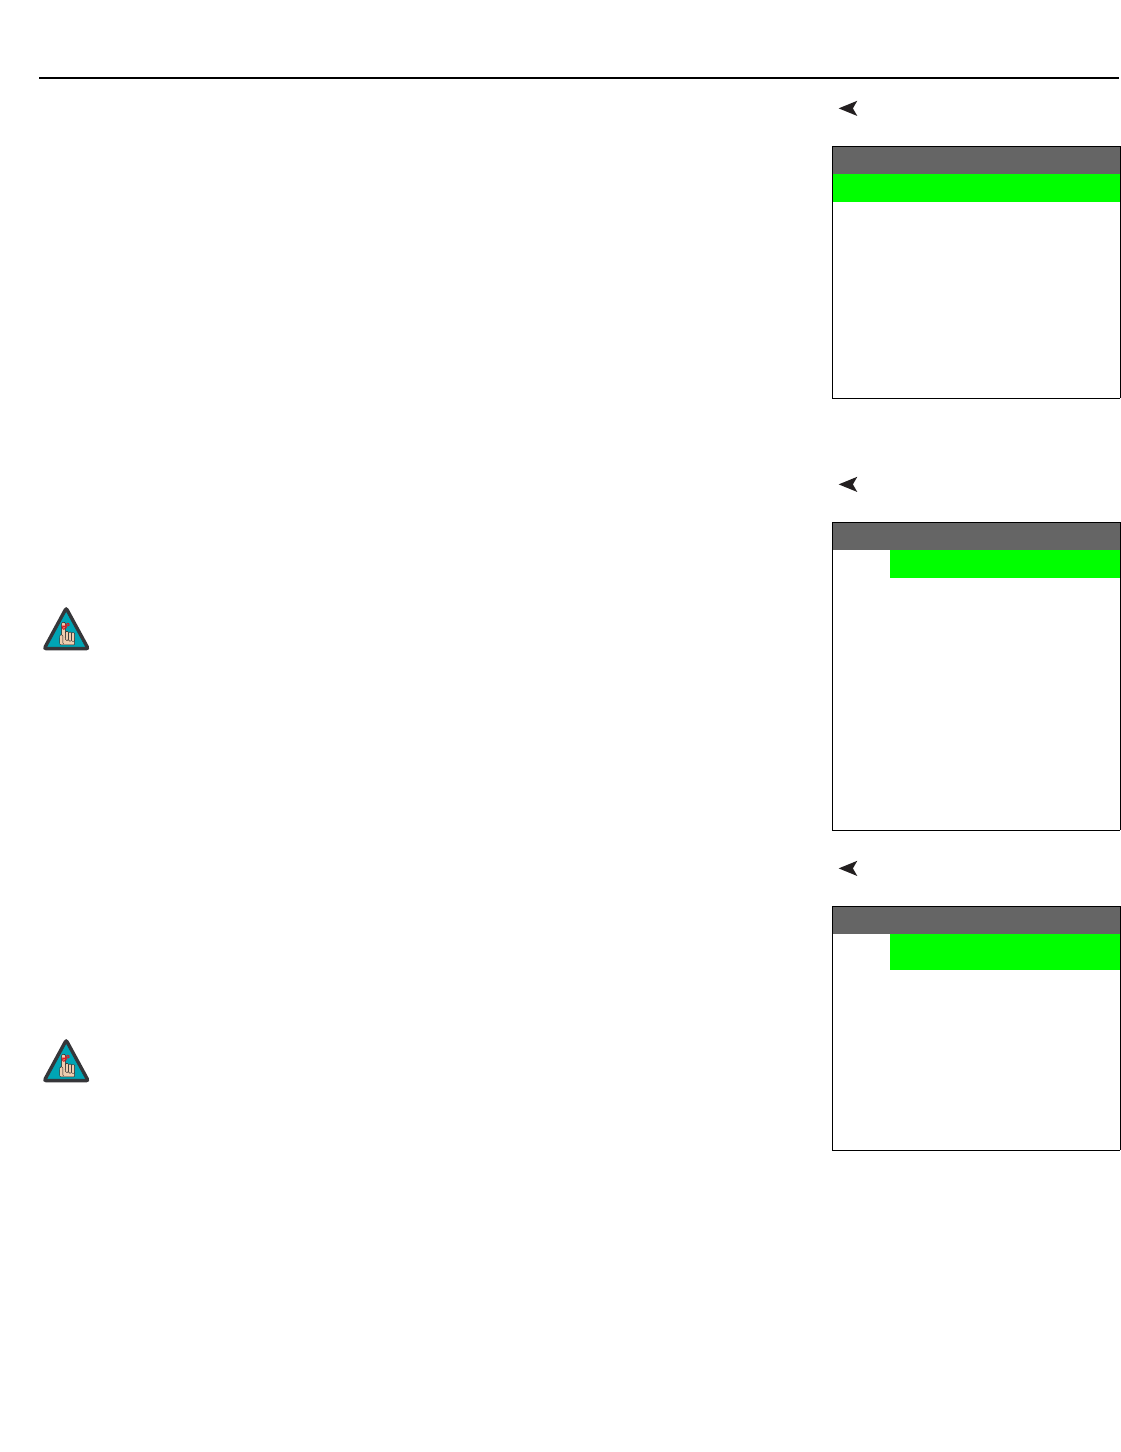
Input SourceFrom the Main Menu, select Input Source to choose a video signal source.
The active source is indicated by an arrow (>) to its left; in the example at right, Composite
is the active source.
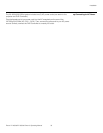
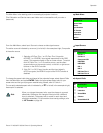
Aspect Ratio To change the aspect ratio (size and shape) of the projected image, select Aspect Ratio
from the Main Menu and press ENTER. Select the appropriate aspect ratio for your
screen size and the type of program material being viewed; refer to
Table 4-1.
The currently-selected aspect ratio is indicated by a “7” to its left; in the example at right,
Anamorphic is selected.
Runco Video
Input Source
Aspect Ratio
Picture
Input Position
ISF Presets
Information
Calibration
Service
Input Source
>
Composite
S-Video 1
S-Video 2
Component SD
HD/RGB 1
HD/RGB 2
DVI 1
DVI 2
HD Pass Thru 1
HD Pass Thru 2
1. Selecting HD Pass Thru 1 or HD Pass Thru 2 loops the
HD/RGB
1 or HD/RGB 2 input signal respectively to the RGB
output. This prevents display of the on-screen menus. To switch
from HD Pass Thru 1 or 2 to another source, use the direct
access buttons on the remote control, or the left- or right-arrow
buttons on the DHD Controller.
2. If the DVI 1 or DVI 2 input is active and the input signal is
HDCP-encrypted, the RGBHV output of the DHD Controller is
disabled.
Note
Aspect Ratio
7
Anamorphic
Standard 4:3
Letterbox
VirtualWide
Cinema
Virtualwide 2.35
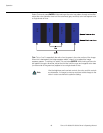
When you change the aspect ratio, save the change to a preset
afterwards. Otherwise, the change will be lost when a different
input is selected. (The aspect ratio is saved for each input and
resolution separately.) For information about saving settings, refer
to
ISF Presets on page 48.
Note