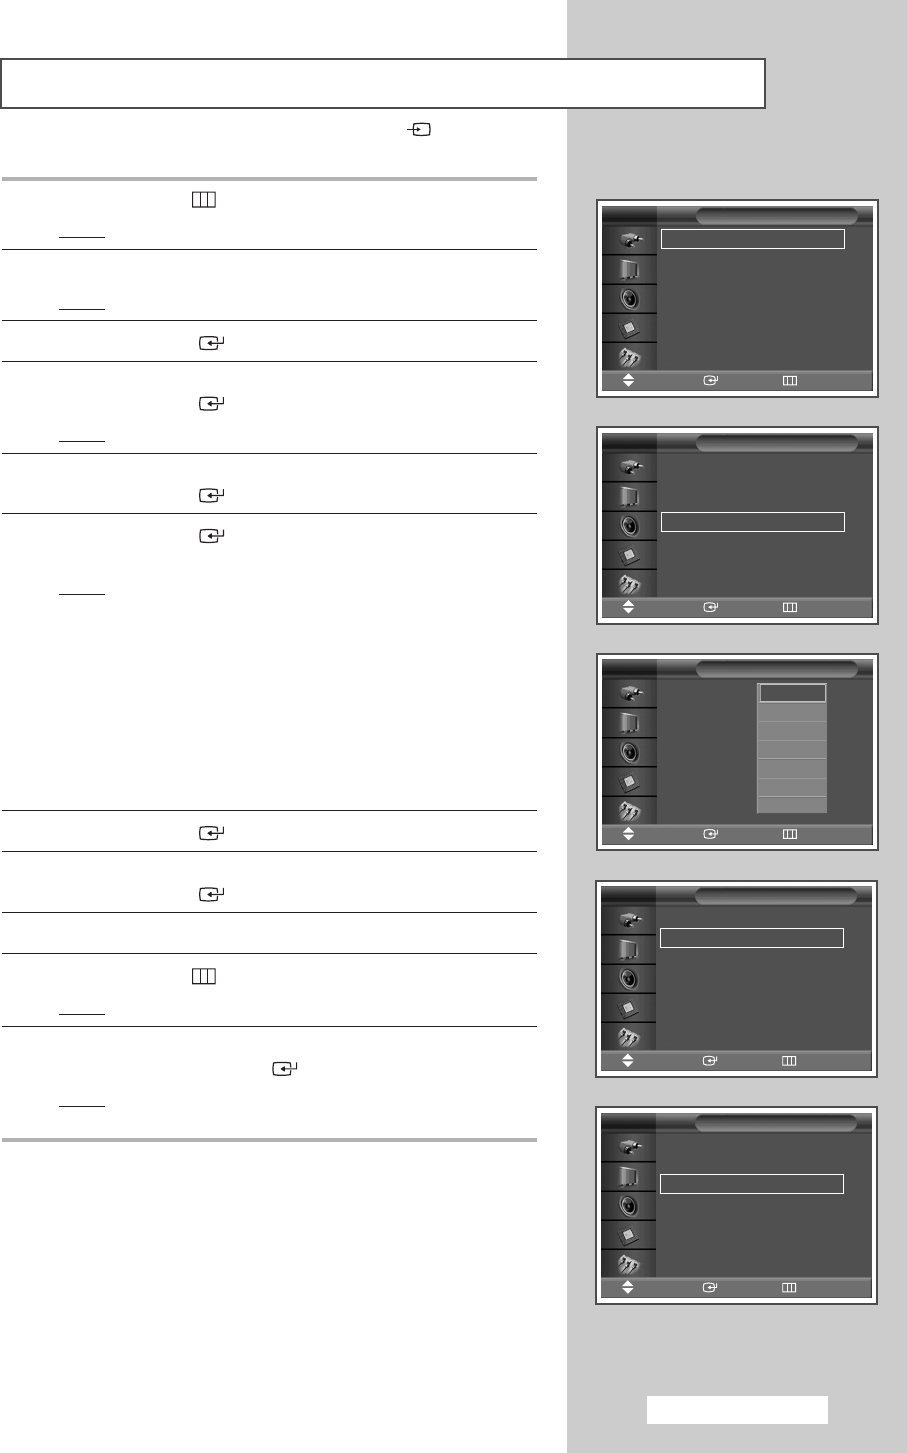
Using Zoom function (PC Mode)
English - 21
Zoom : 1
√√
Position
√√
Reset
√√
Zoom
Move Enter Return
Zoom : 1
√√
Position
√√
Reset
√√
Zoom
Move Enter Return
Zoom : 0
Position
Reset
Zoom
Move Enter Return
0
1
2
3
4
5
6
1 Press the MENU ()button.
Result
: The main menu is displayed.
2 Press the … or † button to select Setup.
Result
: The Setup menu is displayed.
3 Press the ENTER () button.
4 Press the … or † button to select PC.
Press the
ENTER () button.
Result
: The PC menu is displayed.
5 Press the … or † button to select Zoom.
Press the
ENTER () button.
6 Press the ENTER () button again.
Select the required option by pressing the
… or † button.
Result
: The following options are available.
0 - 1 - 2 - 3 - 4 - 5 - 6
➢
◆ Option 0 represents a normal screen.
The greater the number, the more magnified the screen.
◆ You can select the position and reset functions by
selecting options 1 through 6. (If you select option 0, the
position and reset functions are not selected.)
◆ If you have selected the Zoom function as between 1~6,
you will not be able to select the Auto Adjustment function.
7 Press the ENTER () button.
8 Press the … or † button to select Position.
Press the
ENTER () button.
9 Adjust the position by pressing the …, †, œ, or √ button.
10 Press the MENU () button.
Result
: The
Zoom menu is displayed again.
11 To return the factory defaults, select Reset by pressing the … or
† button. Press the ENTER () button.
Result
: The previously adjusted settings will be reset to the
factory defaults.
➢
Preset to the PC mode by pressing the SOURCE () button.
Time
√√
Language : English
√√
PC
√√
Setup
Move Enter Return
Auto Adjustment
√√
Image Lock
√√
Position
√√
Zoom
√√
Information
√√
PC
Move Enter Return
BN68-00848F-00Eng_0803 8/3/05 9:52 AM Page 21
