


KVM-8 Installer/User Guide
8
Basic Installation
9
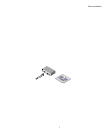
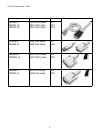
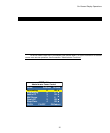
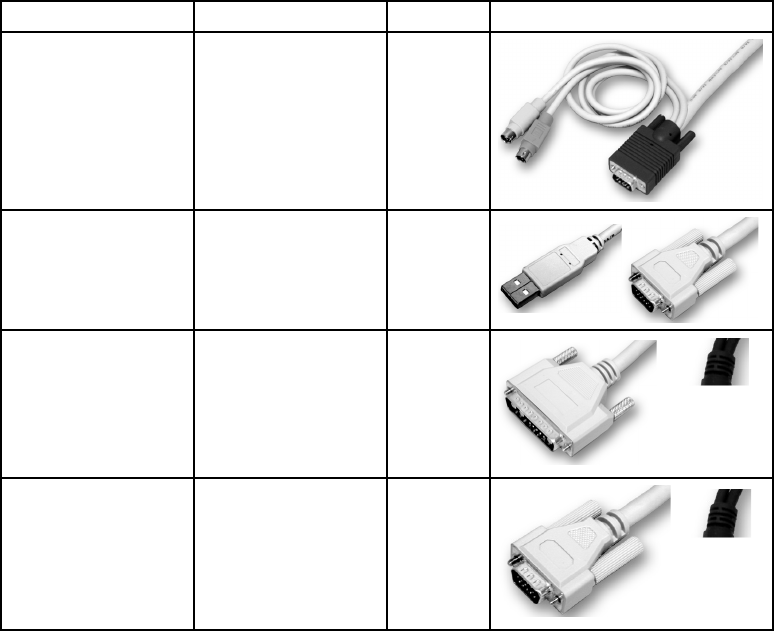
Cable Description Length Photo
CBVPS-8
CBVPS-15
CBVPS-30
PS/2 VGA cable
PS/2 VGA cable
PS/2 VGA cable
8 ft.
15 ft.
30 ft.
CBVSB-8
CBVSB-12
USB VGA cable
USB VGA cable
8 ft.
12 ft.
CBWSN-8
CBWSN-15
SUN 13W3 cable
SUN 13W3 cable
8 ft.
15 ft.
CBVSN-8
CBVSN-15
SUN VGA cable
SUN VGA cable
8 ft.
15 ft.
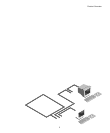
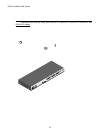
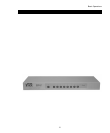
Connecting computers to the KVM Switch
1. Locate the input cable appropriate to the computer you are connecting. (KVM
Switch cable types are identied on this page.) Plug this cable into any numbered
channel port on the rear of the KVM Switch. The other end of the input cable
will have up to three connectors depending on type. The PS/2 mouse connector is
designated by a mouse icon.
Use only the keyboard and mouse connectors that are appropriate for your machine,
and leave the others unconnected.
Plug these connectors into the matching ports on your computer.
2. Locate your next input cable. Repeat this step until all computers are properly
attached to the KVM Switch.