19
This chapter explains how to specify destination addresses, including selecting an address from the Address Book and
retrieving an address by entering a search number.
SPECIFYING DESTINATIONS IN THE
ADDRESS BOOK
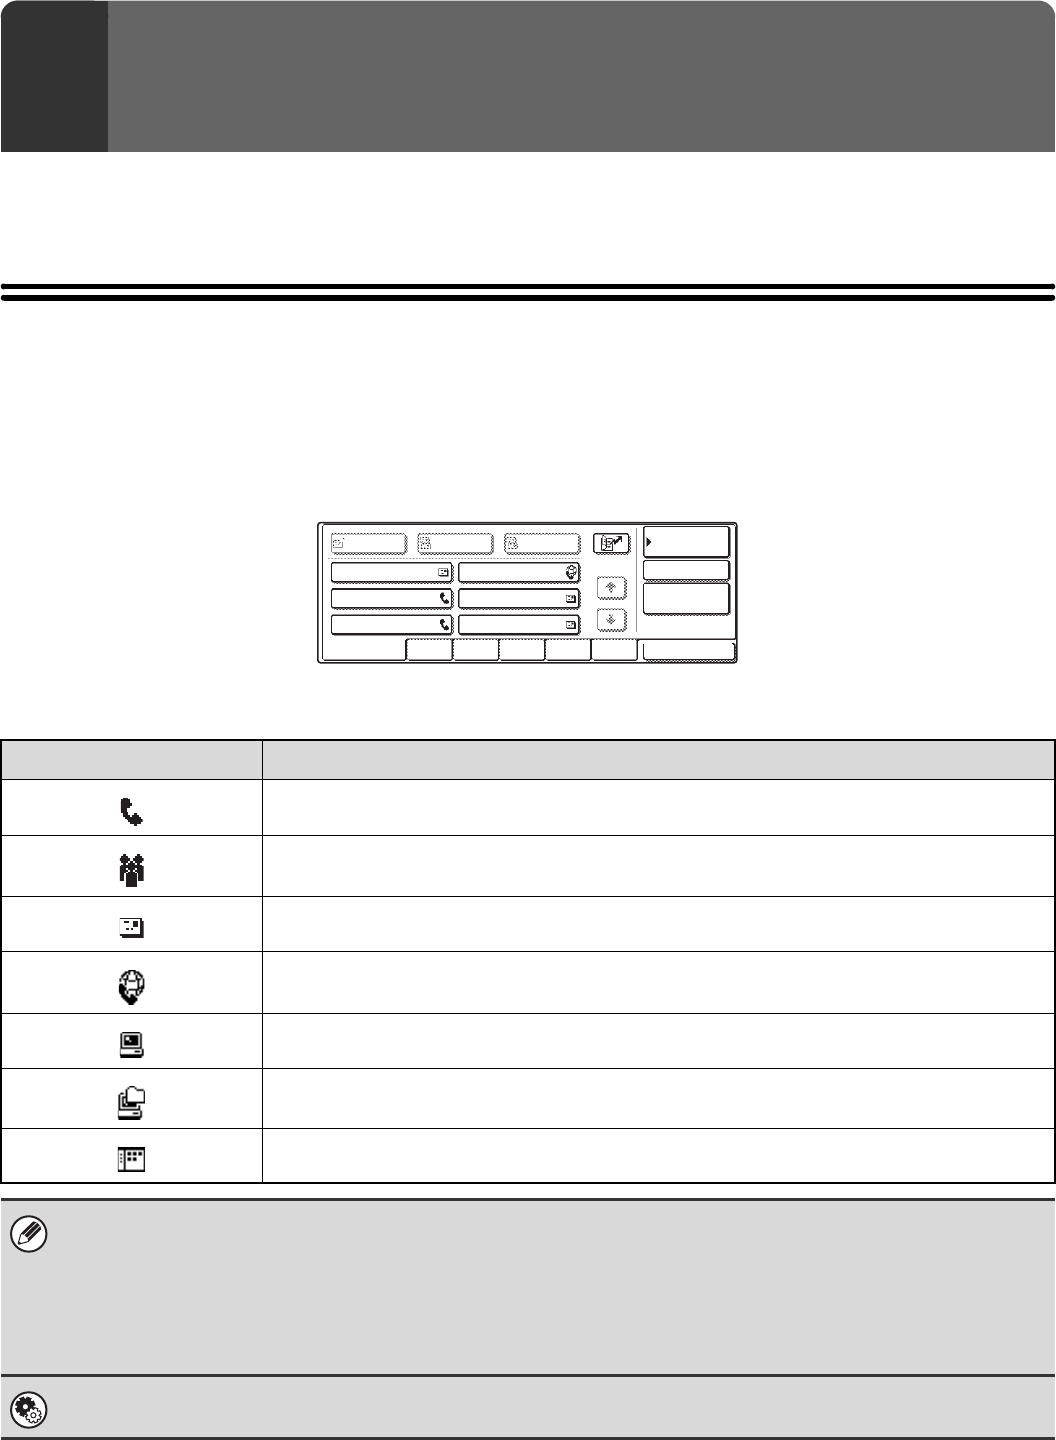
The Address Book screen shows destinations as one-touch keys.
The destinations are displayed in order by search number. To make it easy to find a destination, the destinations are
grouped on alphabetical index tabs.
The Address Book screen shows the destinations of all modes of the image send function. Each one-touch key shows
the name of the destination and an icon indicating the mode to be used.
2
ENTERING DESTINATIONS
Icon Mode used
Fax
Group key with multiple destinations, such as Scan to E-mail and Internet fax destinations
Scan to E-mail
Internet fax
Scan to FTP
Scan to Network Folder
Scan to Desktop
• The Scan to Desktop destination is stored when Network Scanner Tool is installed from the CD-ROM that accompanies
the machine (or that accompanies the network scanner expansion kit when the MX-2300G/2700G is used). The sender
name and sender address can also be stored in the Web pages. Click [Address Book] in the Web page menu, and click the
[Add] button that appears. Select [Desktop] in [Address Type] and then store the sender name and address.
☞ STORING A DESTINATION FOR SCAN TO DESKTOP (page 9)
• For information on storing addresses in the address book, see "STORING DESTINATION ADDRESSES FOR EACH
SCAN MODE IN THE ADDRESS BOOK" (page 8).
System Settings: Address Control
This is used to store addresses of Scan to E-mail and Internet fax destinations in one-touch keys.
Global
Address Search
AAA AAA
CCC CCC
EEE EEE
BBB BBB
DDD DDD
FFF FFF
ABCD EFGHI JKLMN OPQRST UVWXYZ
1/1
Frequent Use
BccCcTo
Sort Address
Address Review
Condition
Settings
