


-28
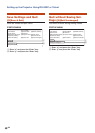
Carrying out Network Ping
Test
(ADVANCED[5]Network Ping Test)
It is possible to confi rm that a network
connection between the projector and a
computer etc. is working normally.
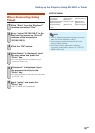
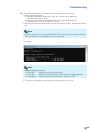
advanced>5
Ping Test IP addr :192.168.150.1
Please Enter :192.168.150.152
(change) —> 192.168.150.152
32 bytes from 192.168.150.152: icmp_seq = 1, time = 0 ms
32 bytes from 192.168.150.152: icmp_seq = 2, time = 0 ms
32 bytes from 192.168.150.152: icmp_seq = 3, time = 0 ms
32 bytes from 192.168.150.152: icmp_seq = 4, time = 0 ms
*1
1
2
*2
1 Enter “5” and press the “Enter” key.
2 Enter IP address of device to be tested and
press the “Enter” key.
Display entered IP address (*1).
Display test result (*2).
If the “Enter” key is pressed without entering an
IP address, the Ping Test IP address used
previously is entered.
If there is a fault with the connection, “Error: No
answer” is displayed after a 5 second retry. In
this case, please confi rm the settings for the
projector and the computer, and contact your
network administrator.
•
•
Note
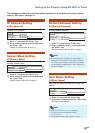
Setting of Accept IP Ad-
dress
(ADVANCED[6]Accept IP
Addr(1) - [8]Accept IP Addr(3))
It is possible to improve security of the
projector by allowing connection from only a
prescribed IP address. It is possible to set up
to three IP addresses allowing connection to
the projector.
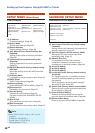
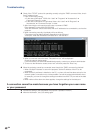
advanced>6
Accept IP Addr(1) : 0.0.0.0
Please Enter : 192.168.150.152
(change) —> 192.168.150.152
1
2
*
1 Enter “6”, “7” or “8” and press the “Enter”
key.
2 Enter numerical value and press the
“Enter” key.
Display set numerical value (*).
To invalidate the Accept IP Address being
currently set, enter “0.0.0.0”.
If there is one or more Accept IP Addr being
set, no connections are allowed from IP
addresses that are not yet set. They can be
cancelled using [9]Accept All IP Addr.
•
•
Note
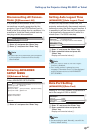
Accepting All IP Addresses
(ADVANCED[9]Accept All IP Addr)
Removes IP addresses set with “Accept IP
Addr”.
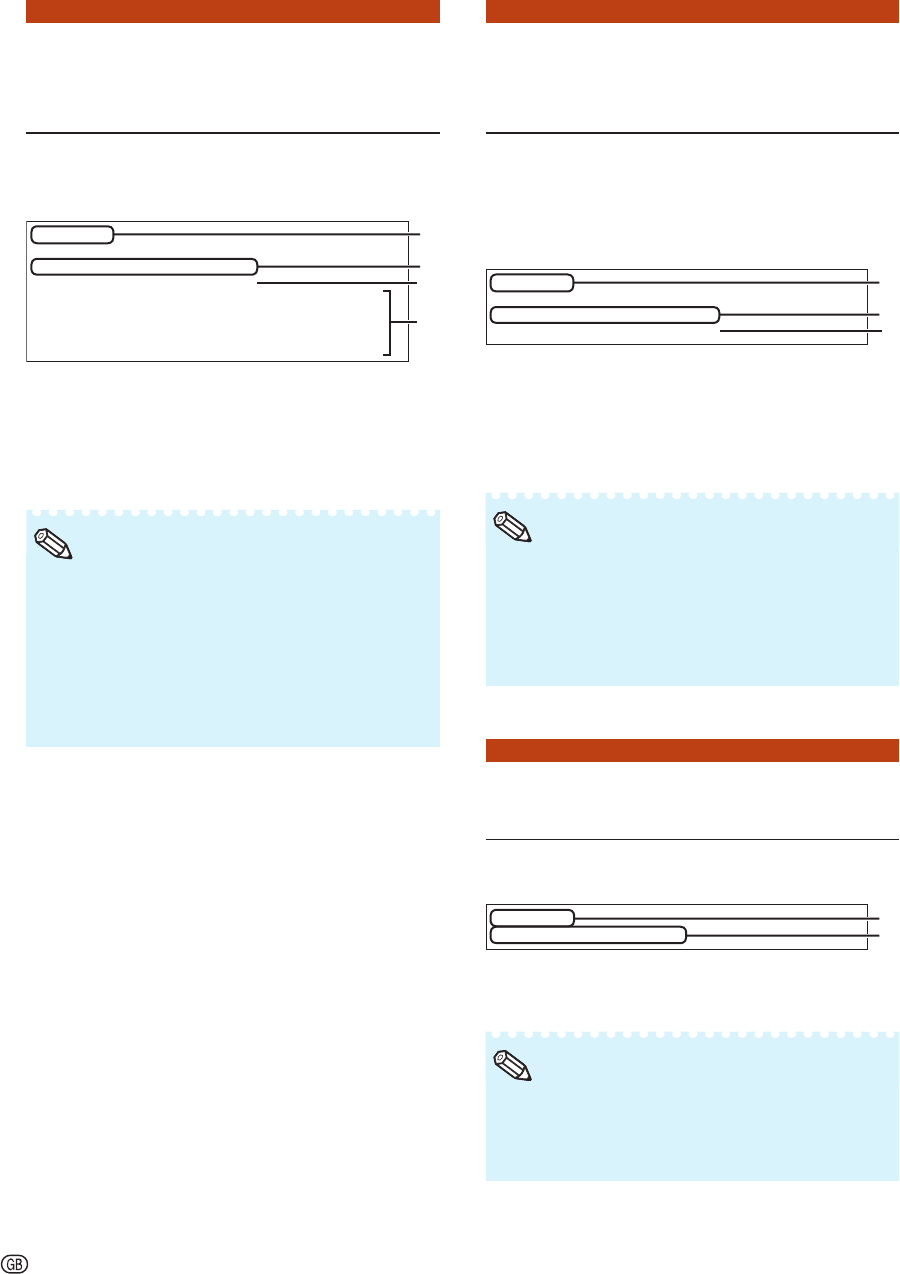
advanced>9
Accept All IP Addresses(y/n)? y
1
2
1 Enter “9” and press the “Enter” key.
2 Enter “y” and press the “Enter” key.
At the point in time where “y” was entered, the
numerical values for Accept IP Addr(1)-(3) are
reset to “0.0.0.0”.
If “n” is entered, setting is not altered.
•
•
Note
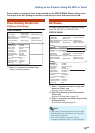
Setting up the Projector Using RS-232C or Telnet