


ENGLISH
8
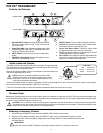
Wireless Mode
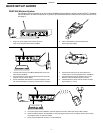
When you are using the P2R as a wireless receiver, or as a combination wired and wireless receiver, use the SELECT button on
the side of the P2R Receiver to set the frequency channel (1-8).
To Set the P2R to Wired Mode:
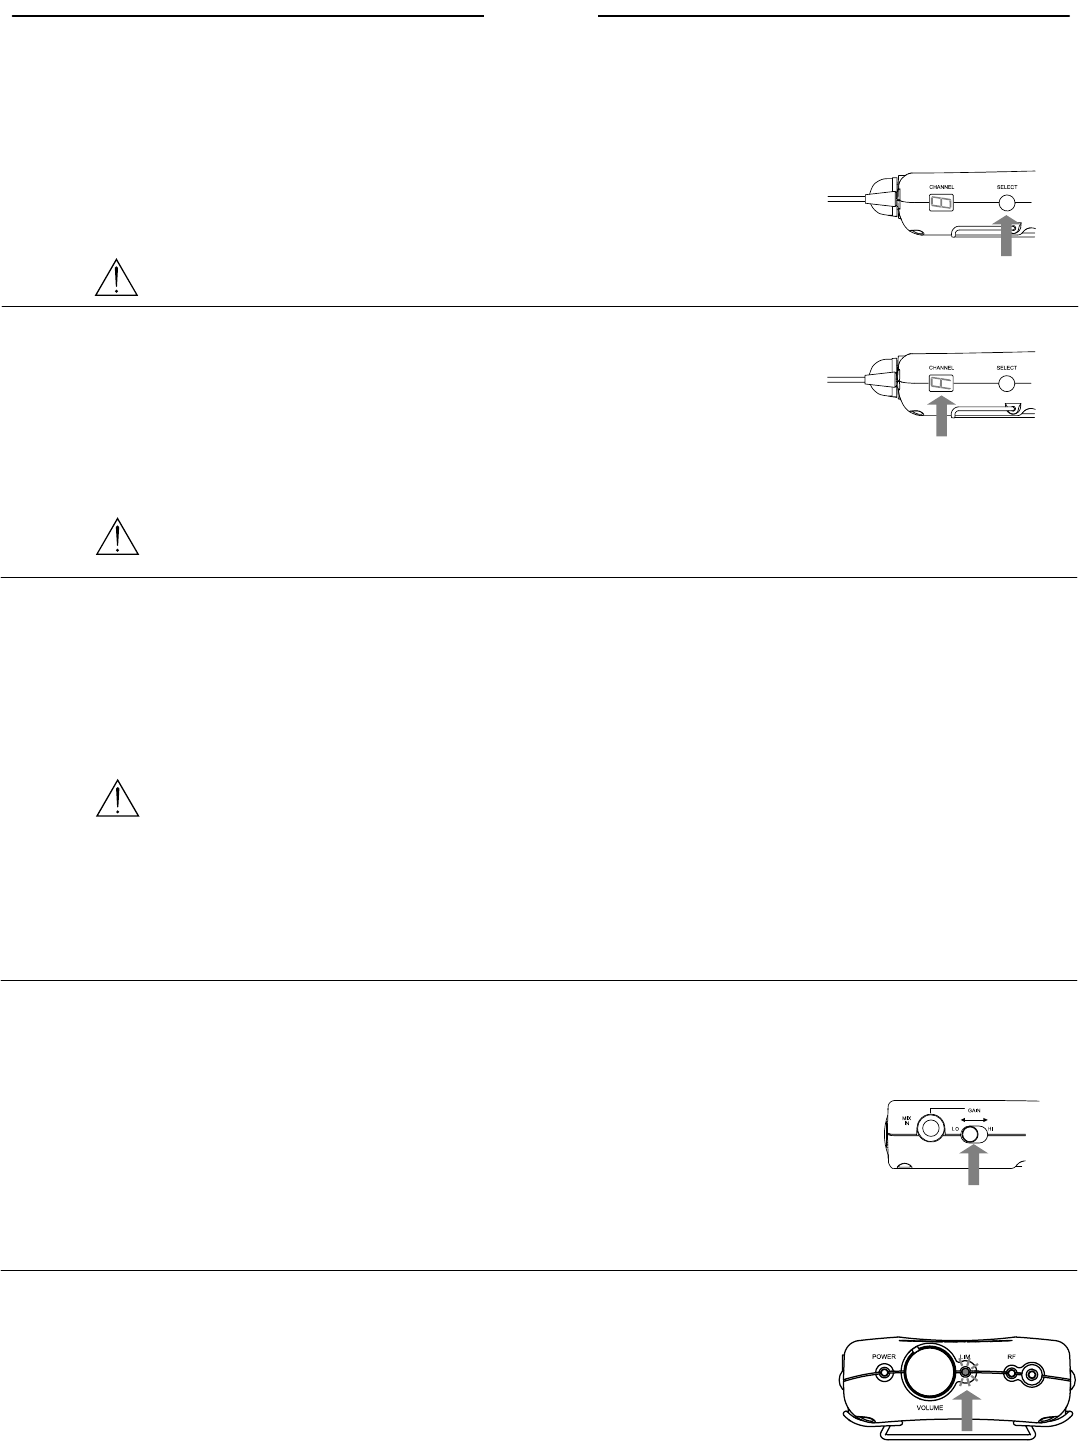
1. Press and hold the SELECT button until the CHANNEL LED indicator begins to flash.
2. When the LED indicator is flashing, press the SELECT button to scroll past channel 8 until the letter “A” appears in
the display.
3. Release the button. After 4 seconds the display will stop flashing and the P2R will automatically switch to wired mode.
NOTE: Setting the P2R receiver to wired mode disables its wireless capability.
To Select a Frequency Channel:
1. Press and hold the SELECT button until the CHANNEL LED indicator begins to flash.
2. When the LED indicator is flashing, press the SELECT button to scroll to the desired
frequency channel.
3. Release the button. After 4 seconds the display will stop flashing and the P2R
will automatically switch to the specified channel.
NOTE: Set the P2R to the same channel as the P2T TransMixer.
Wired Mode
When you are using the P2R Receiver as a stand-alone wired monitor, you can set the unit
to wired mode. This deactivates the RF circuitry and extends the battery life.
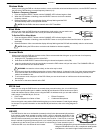
Scanner Mode
When you are using the P2R as a wireless receiver, Shure recommends that during set–up you first scan for a frequency
channel that is free from interference:
1. Unplug the P2T TransMixer and turn off the P2R.
2. Hold down the P2R SELECT button while turning its volume knob past the click (ON).
3. Insert the earphones into your ears and slowly increase the P2R volume until you hear noise. The CHANNEL LED will
blink to confirm the unit is in Scanner Mode.
WARNING: Increase the volume slowly, as the noise may be loud.
4. Scroll through the eight available frequencies to locate a clear channel. A channel is clear if you hear uninterrupted white
noise from the P2R. Avoid channels that have no sound. This indicates interference on that frequency channel, which
makes it unsuitable for use.
5. To exit scanner mode, simply turn off the P2R. When you turn the unit back on it will be set to the channel that you
last selected.
6. Set the P2T to the same channel as the P2R.
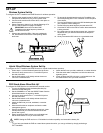
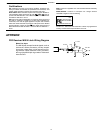
MIX IN Jack
When you are using the P2R Receiver as a stand-alone personal monitor, the
1
/
4
-inch MIX IN jack
serves as the primary audio input. In addition, the MIX IN jack allows the P2R to function as a hybrid
wired and wireless receiver. When you are using the P2R in its wireless mode, you can add a second
audio source via the MIX IN jack, such as.
S Click Tracks
S Pre-Amp Outputs from Guitar or Bass
S Effects Processors
S Condenser Microphones
Next to the jack is a two-position GAIN switch that gives you a choice between LO and HI gain settings
for the input. For specific information on how the MIX IN jack functions, refer to the wiring diagram on
page 14.
LIM LED
The P2R Receiver has a non–defeatable (constantly active) limiter that automatically activates
if the receiver output level exceeds a certain volume, which is calibrated specifically for the
Shure E2 earphones. The LIM LED on the top of the unit lights up when the limiter is on. If the
LIM LED blinks occasionally, turn down the volume of the receiver.* If the LED is on and you
haven’t reached a high enough listening level, try re-inserting the earphones for a better seal,
or adjust the mix that is being sent to the receiver to include only the most essential inputs.**
* When the LED is on, the volume will not increase. ** The limiter is designed to work best with the Shure E2 earphones.
Using the P2R with Shure E1 or E5, or earphones made by other
manufacturers, can result in higher limited volume levels.