


2 PMWT-660/680 Installation Guide
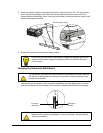
Other Precautions
For operating safety and to avoid damage, read this guide carefully before setting up and using the
projector mount. Observe the following precautions:
• Adding more weight or applying an unexpected force to the projector support may cause it to
break and possibly cause injury.
• Do not hang anything from the support or hit or jostle it in any way.
• If you require replacement parts, the service technician must use replacement parts that are
specified by SMART Technologies or SMART-approved parts with the same characteristics as
the original.
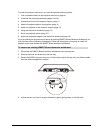
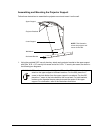
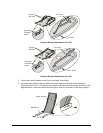
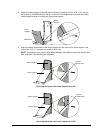
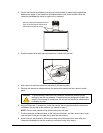
Accessory Kit Contents
NOTE: If you’re installing a new SMART Board interactive whiteboard at the same time as the
projector mount, unpack the interactive whiteboard and its accessories, and check the contents
against the list included in the SMART Board Setup Instructions. However, don’t attach the
interactive whiteboard’s wall mount bracket to the wall as described in the interactive whiteboard’s
installation instructions. You will instead attach the wall mount bracket to the assembled projector
mount, as described on page 11.
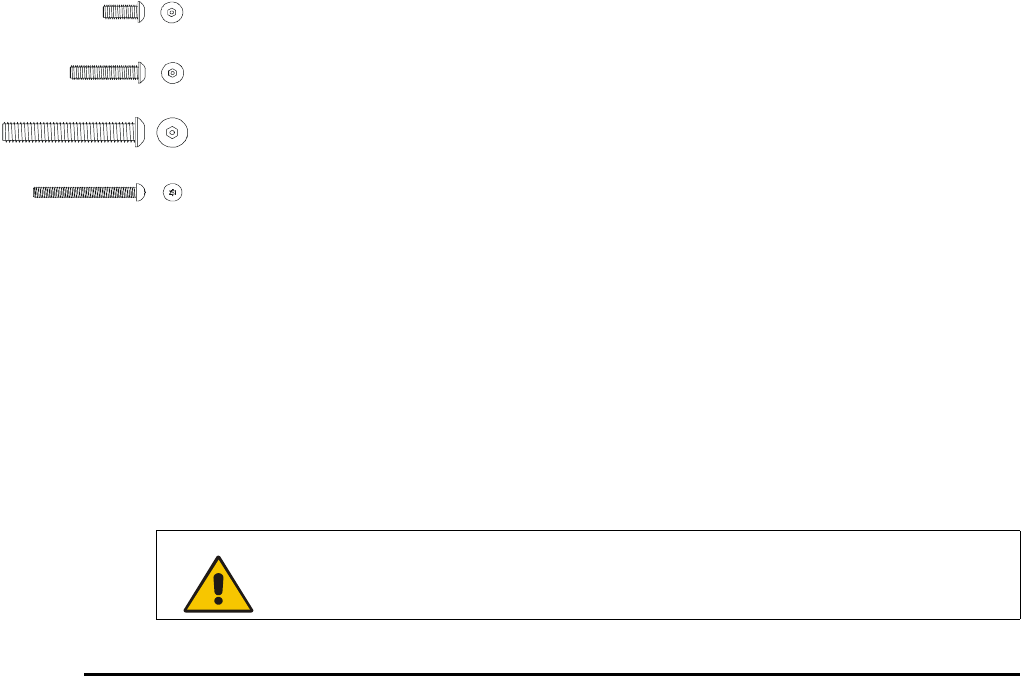
This accessory kit contains:
• a hole placement template
• a wall mount
• a horizontal bracket
• six 1/4-20 toggle wall anchors
• a lower support
• an upper support
• two projector brackets
• a projector plate
• ten No. 8-32 × 1/2" security hex
screws
• four No. 8-32 × 1" security hex
screws
• six 1/4-20 × 2" security hex
screws
• four TORX® M4 × 40 mm security
screws
• a 5/32" security hex key
• a TR20 security TORX key
• five No. 6-32 acorn nuts
Tools required (but not supplied):
• a Phillips® No. 2 screwdriver
• a ladder
• an electric drill with a 1/2" bit
• a four-foot level
• a pencil
• a tape measure
• a 5/16" socket wrench or nut-driver
The following items are required (but
not supplied) for an installation on
concrete or cinder block:
• six anchoring devices that are
suitable for the type of wall and
compatible with the provided
1/4-20 × 2" security hex screws.
Such anchors are likely to require a
drill and bit of a particular type and
size. For more information, consult
the directions that come with your
anchoring devices.
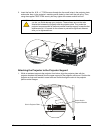
WARNING
To avoid equipment damage or injury, you’ll need an assistant for portions of this
installation.
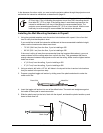
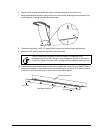
Approximately
50% of actual
size