


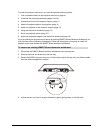

PMWT-660/680 Installation Guide 3
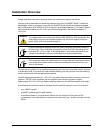
To install the projector wall mount, you must complete the following tasks:
1. Find a suitable location for the projector wall mount (page 4).
2. Install the wall mounting hardware (pages 4 and 5).
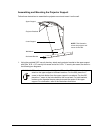
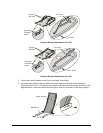
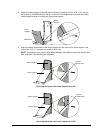
3. Assemble and mount the projector support (page 7).
4. Attach the projector plate to the projector (page 11).
5. Attach the projector to the projector support (page 12).
6. Hang the interactive whiteboard (page 13).
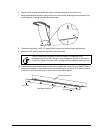
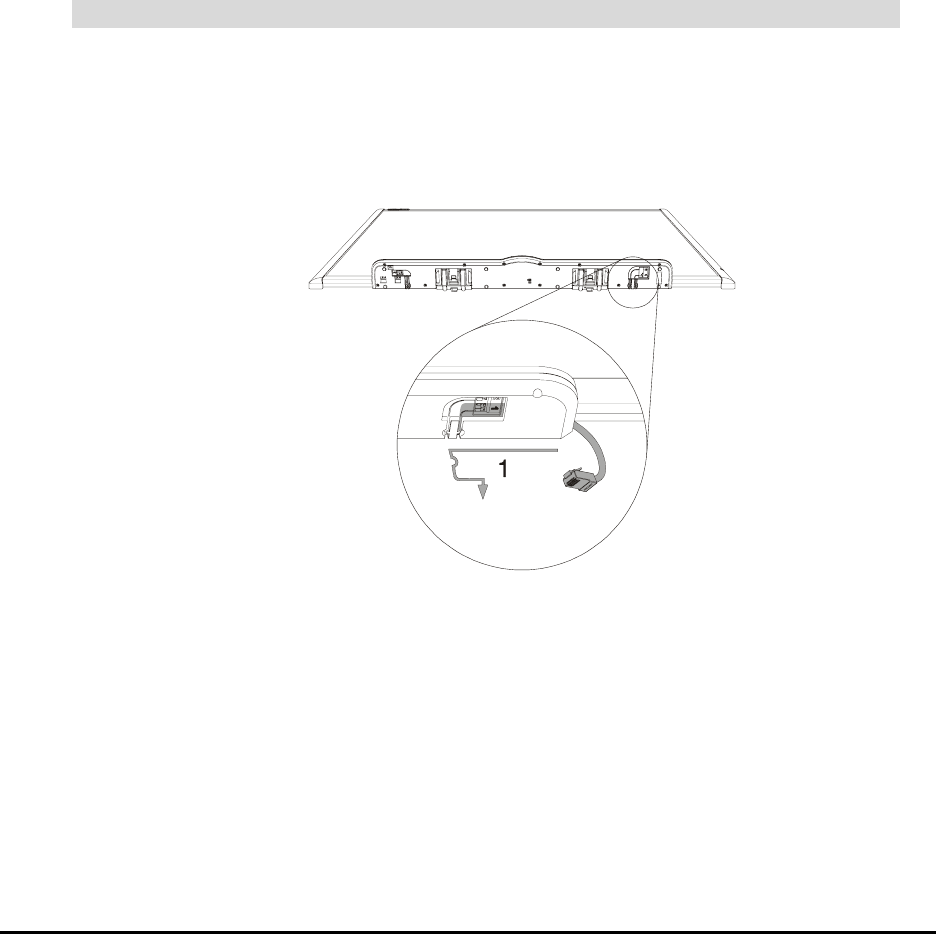
7. Route the projector cables (page 15).
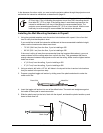
8. Adjust the projected image on the interactive whiteboard (page 16).
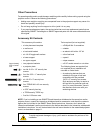
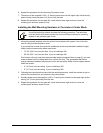
If you’re installing the projector mount above an existing SMART Board interactive whiteboard, you
must first remove the interactive whiteboard. Follow the instructions in this guide to install the
projector mount and reinstall the SMART Board interactive whiteboard.
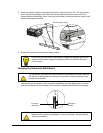
1. Disconnect the SMART Board interactive whiteboard from the computer.
2. Remove the pens and eraser from the pen tray.
3. Detach the MOD6 connector from port 1 at the bottom-right of the pen tray, and free the cable
from the cable management channel.
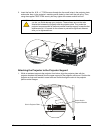
4. Unlock the pen tray from its support brackets by gently pulling down on the tab locks.
To remove an existing SMART Board interactive whiteboard