


4 PMWT-660/680 Installation Guide
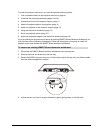
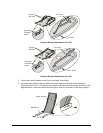
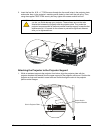
5. Slide the pen tray off its support brackets, and set it aside in a safe location.
6. Use a No. 2 Phillips screwdriver to remove the two screws that secure the pen tray brackets to
the wall. Set the screws aside, as you will reinsert them after you attach the interactive
whiteboard to the projector mount.
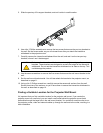
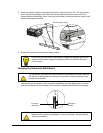
7. Carefully remove the interactive whiteboard from the wall, and rest it on the two pen tray
brackets, where it won’t be damaged.
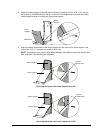
8. Use the same screwdriver to remove the five screws that secure the wall mount bracket to the
wall.
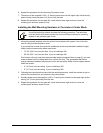
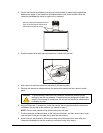
9. Set the wall mount bracket aside. You will later attach the bracket to the projector mount, as
described on page 11.
10. Using a No. 2 Phillips screwdriver, carefully remove the seven wall anchors from the wall.
Save at least two of the anchors, as you’ll reuse them to secure the interactive whiteboard to
the wall, as described on page 14.
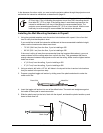
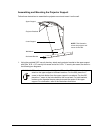
Finding a Suitable Location for the Projector Wall Mount
It’s important that you find a suitable location for the projector wall mount. If you center the
projector mount on a wall stud, you can install a wall outlet behind the projector mount that’s
accessible through the large hole in the wall mount bracket. You could then use this outlet to run
the projector power, video and network cables up through the wall and to the outlet, resulting in a
tidier installation.
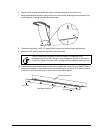
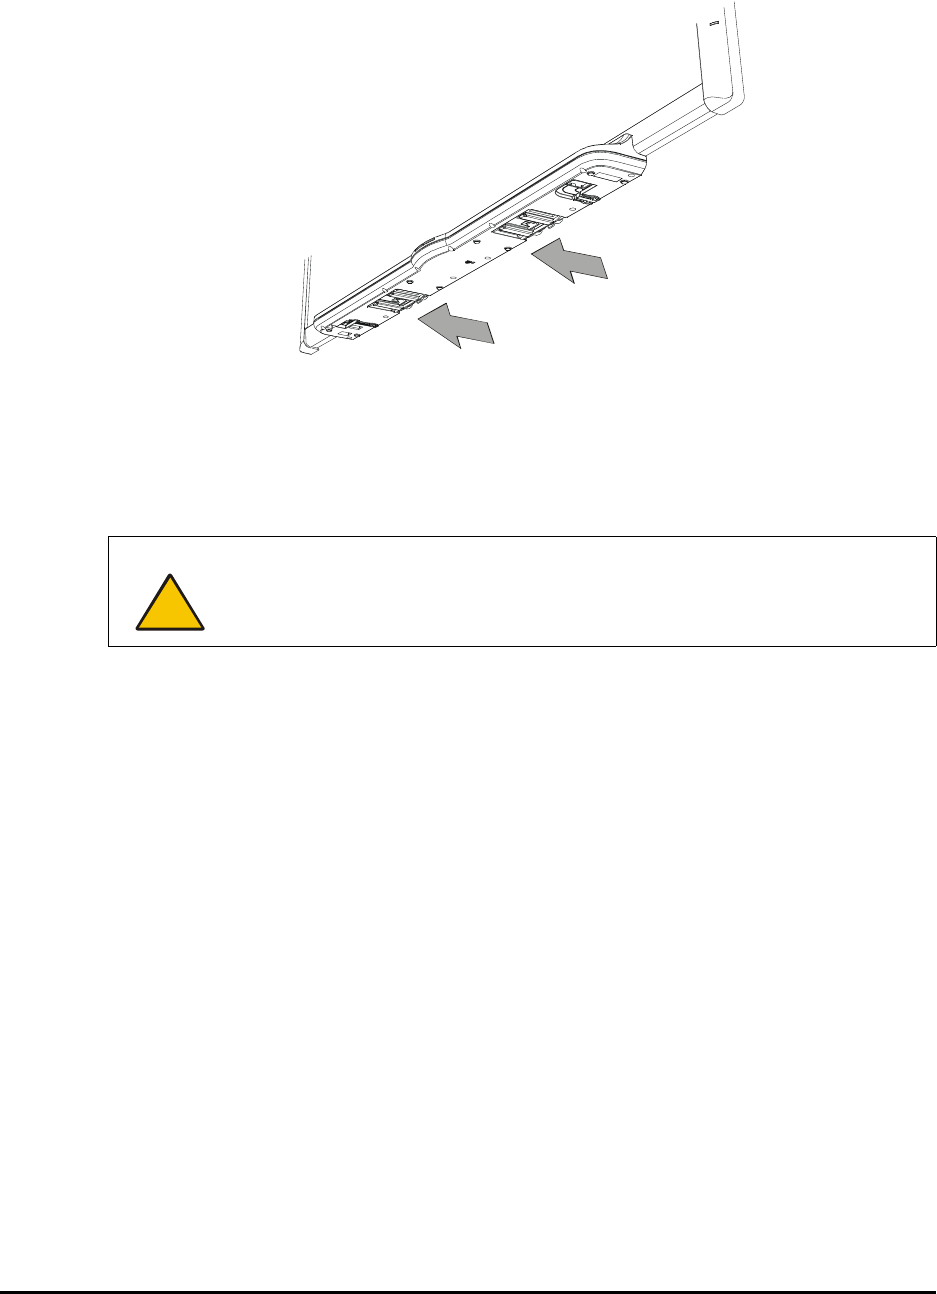
CAUTION
Make sure the interactive whiteboard remains upright, resting on the pen tray
brackets. These brackets are designed to sustain the weight of the interactive
whiteboard. Do not rest the interactive whiteboard on its sides or the top. This
could damage the product.