


26 (GB)
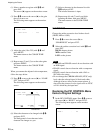
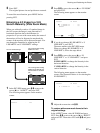
6 Press M/m to move the cursor (B) to “V SIZE”
and press ENT.
The following menu appears on the monitor
screen.
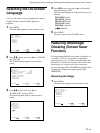
VSIZE : 00
7 Press M/m to resize the picture.
M: to expand vertical size
m: to reduce vertical size
The vertical picture size is indicated on the
monitor screen from MIN (–50) to MAX (+50).
The factory preset value is 00.
8 Press ENT.
The menu returns to the PIC SIZE menu.
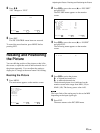
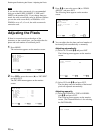
Adjusting the Picture Position
1 In the PIC SIZE menu, press M/m to move the
cursor (B) to “H SHIFT” and press ENT.
The following menu appears on the monitor
screen.
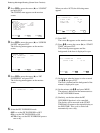
HSHIFT : 00
2 Press M/m to shift the picture.
M: to shift the picture to the right
m: to shift the picture to the left
The horizontal picture position is indicated on the
monitor screen from MIN (–50) to MAX (+50).
The factory preset value is 00.
3 Press ENT.
The menu returns to the PIC SIZE menu.
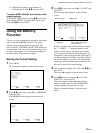
4 Press M/m to move the cursor (B) to “V SHIFT”
and press ENT.
The following menu appears on the monitor
screen.
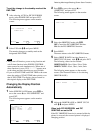
VSHIFT : 00
5 Press M/m to shift the picture.
M: to shift the picture upward
m: to shift the picture downward
The vertical picture position is indicated on the
monitor screen from MIN (–50) to MAX (+50).
The factory preset value is 00.
6 Press ENT.
The menu returns to the PIC SIZE menu.
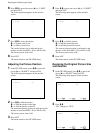
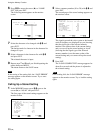
Restoring the Original Picture Size
and Position
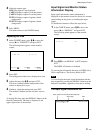
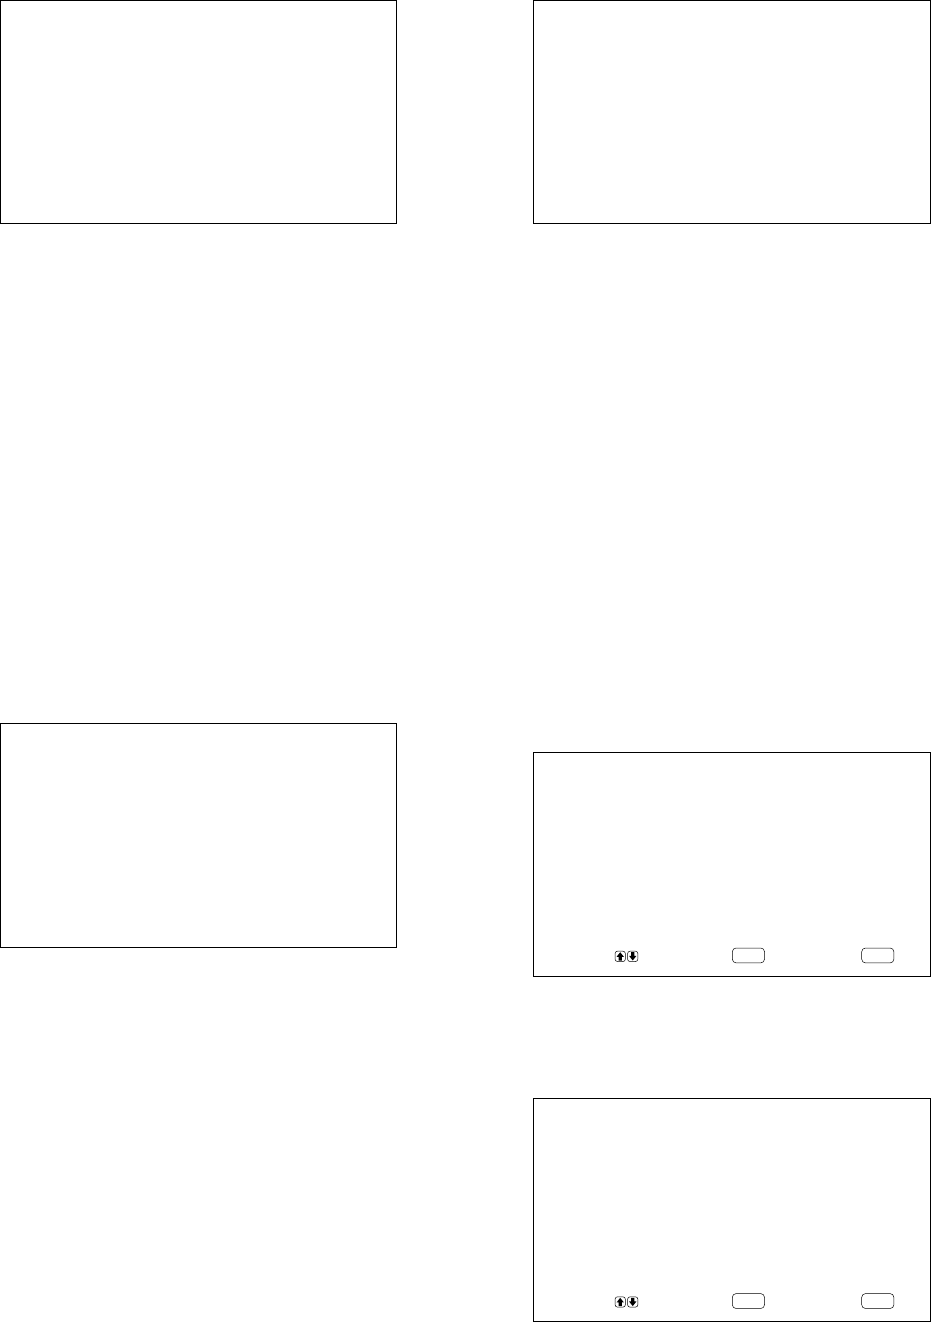
1 In the PIC SIZE menu, press M/m to move the
cursor (B) to “RESET” and press ENT.
The following menu appears on the monitor
screen.
ENTER
MENU
RESET : NO
SELECT SET END
2 Press M/m.
“NO” changes to “YES”.
ENTER
MENU
RESET : YES
SELECT SET END
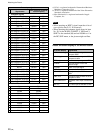
Resizing and Positioning the Picture