


16
GB
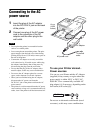
Basic printing
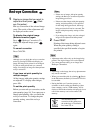
Prepare a memory card that contains images for
printing: “Memory Stick”, “Memory Stick
Duo”, SD Memory Card, or an xD-Picture
Card.
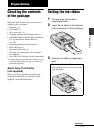
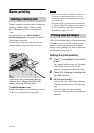
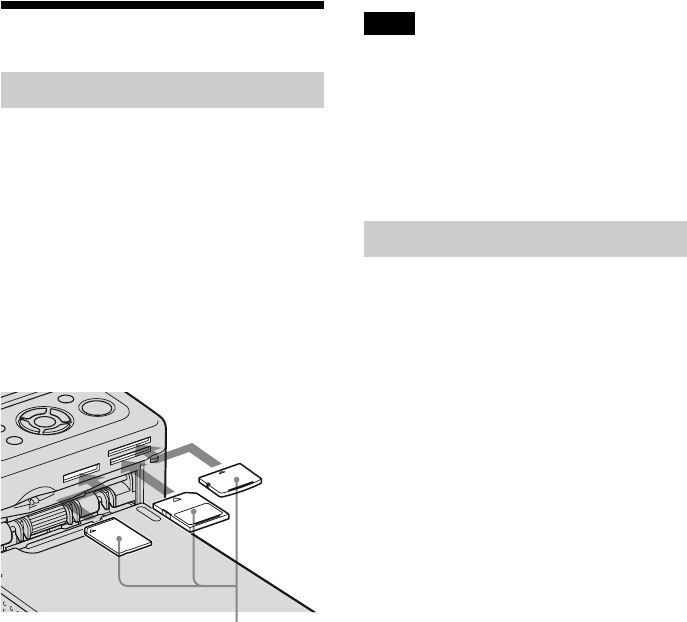
Insert the desired card with its labelled
surface facing up into the proper slot until it
clicks firmly into place.
For the types of memory cards you can use
with the printer, please see pages 61 to 63.
From the left, with the label side facing up,
“Memory Stick”, (“Memory Stick Duo”), SD
Memory Card, and xD-Picture Card
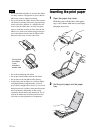
To eject a memory card
Remove the memory card from the slot slowly
in the reverse direction it was inserted.
Notes
• Insert only the memory card that you want to use
for printing. When multiple memory cards are
inserted, the memory card inserted first will have
the first priority.
• The printer supports both standard and small sizes.
A “Memory Stick Duo” adaptor is not necessary.
• To use a memory card, follow the notes
described on pages 61 to 63.
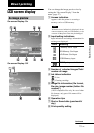
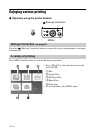
This section explains how to display the images
of a memory card or a USB memory on the
printer’s LCD screen and print the selected
images (direct printing). For how to print from
a USB memory, see page 30.
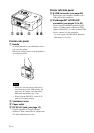
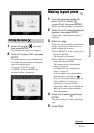
Setting the print quantity
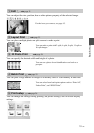
1 Press 1 (on/standby) to turn on the
printer.
The standby indicator turns off. An image
stored in the memory card or USB
memory is displayed on the LCD screen.
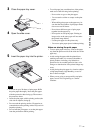
2 Press g/G to display the image that
you want to print.
3 Set the print quantity.
To print one copy of the displayed image,
skip this procedure and go on to the next
step.
Press f to display the print quantity
indication. Then specify the print quantity
with f/F.
Inserting a memory card
Printing selected images