


23
GB
Direct printing
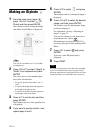
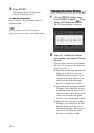
1 Press g/G to select (Exit) and
then press ENTER.
The confirmation window is displayed.
2 Press f/F to select “OK”, and press
ENTER.
The menu operations are terminated and
the window displayed before entering the
menu is displayed again.
If you press CANCEL or select
“CANCEL” and press ENTER, the
previous window is displayed.
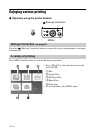
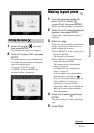
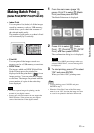
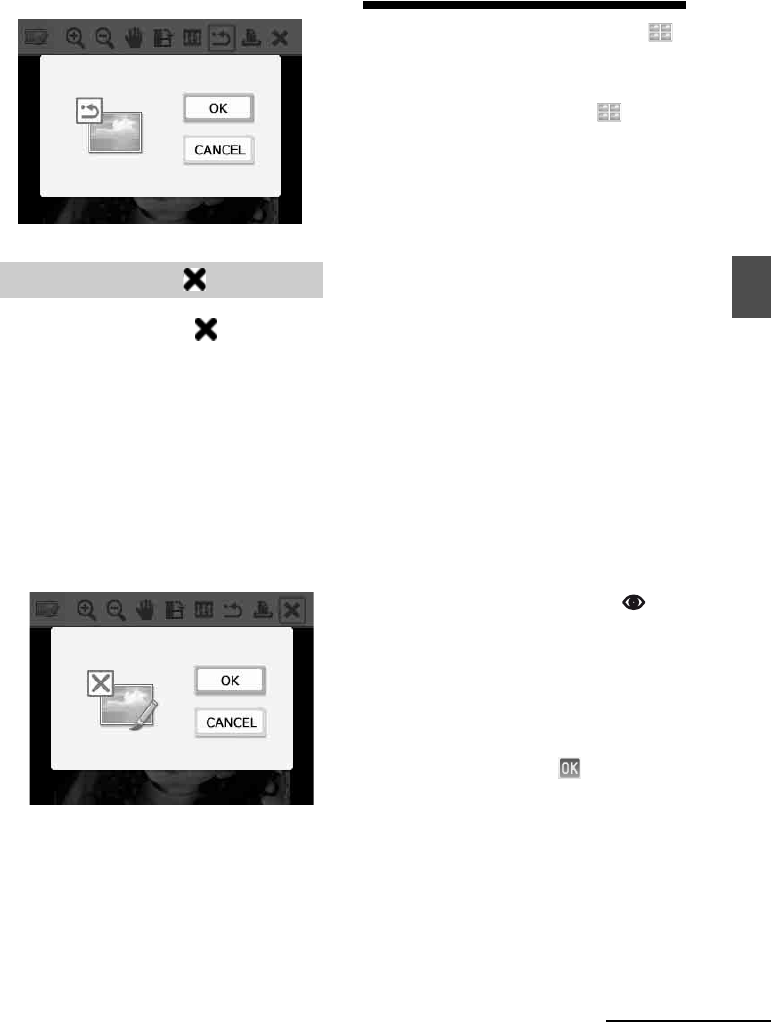
Making layout prints
1 From the main menu (page 18),
press g/G/f/F to select
(Layout Print), then press ENTER.
The Layout Print templates are displayed.
2 Press g/G/f/F to select the desired
template, then press ENTER.
The preview of the selected template is
displayed
3 Select an image.
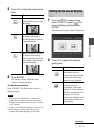
When you select a template with multiple
images, repeat the procedures below to
select an image for each area.
1Press g/G/f/F to select an image area,
then press ENTER.
The image list is displayed.
2Press g/G/f/F to select the desired
image, then press ENTER.
The window used for adjusting the
image is displayed.
For adjustment, see “Adjusting an
image” on page 21.
You can adjust red-eye phenomenon
automatically by pressing the
(Red-eye Correction) button (page 20).
After the Red-eye Correction is
performed, you cannot do other
adjustments. Make sure to perform the
Red-eye Correction after you finish
other adjustments.
4 Press g/G to select and press
ENTER.
The selected image is added to the image
area.
5 Press PRINT.
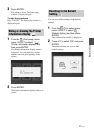
Exiting the menu
Continued