


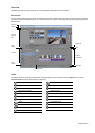


Marker bar
The marker bar is the area where you can place, name, and position markers and regions along the project’s timeline. These
informational tags can serve as cues or reminders highlighting important events in your project. For more information, see Adding
project markers and regions on page 41.
Transport bar controls
The transport bar contains the playback and cursor positioning buttons frequently used while working on and previewing your
project.
Record into track Stop playback
Loop playback Move cursor to start of project
Play from beginning of project Move cursor to end of project
Play project from cursor position Move cursor to previous frame
Pause project playback Move cursor to next frame
Tip:
Click and hold the Previous Frame and Next Frame buttons to move the cursor multiple frames.
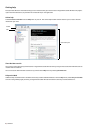
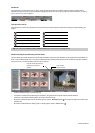
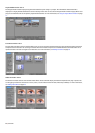
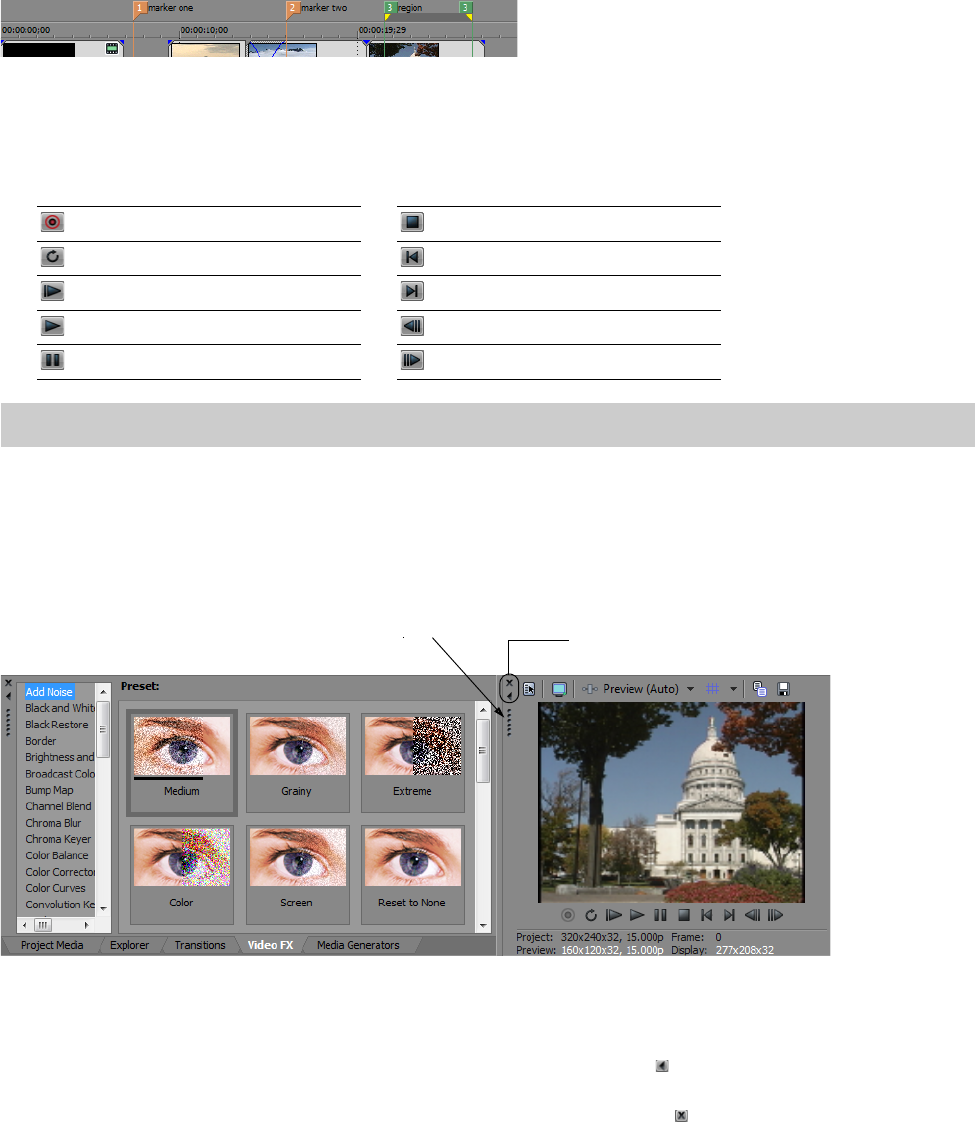
Window docking area and floating window docks
This area allows you to keep frequently used windows available but out of the way. Windows can be docked next to each other, in a
stack in the window docking area, or in a separate floating docking window. When stacked, each window has a tab at the bottom
with its name on it. Click the window’s tab to bring it to the top.
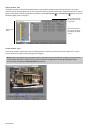
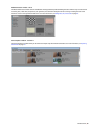
Drag the handle away from the
docking area to float the
Close window
window. Expand window
• To dock a window, drag it to the docking area.
• To remove a window from the docking area and float it, drag the handle on the left side of a docked window.
• To prevent a window from docking when you drag it, hold the Ctrl key.
• To expand a docked window so it fills the docking area, click the Maximize button ( ). Click again to restore the window to its
previous size.
• To remove a window from the docking area or a floating dock, click the Close button (
).
INTRODUCTION | 9