


NSP 100
System Administrator Setup
21
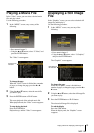
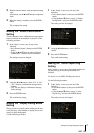
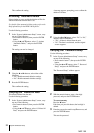
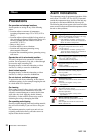
The “RS-232C Setup” screen appears.
To return to the “System Administrator Setup”
screen
Carry out any of the following.
• Press numeric button 1, then press the ENTER
button.
•Using the v and V buttons, select “1. Back to
System Administrator Setup,” and press the
ENTER button.
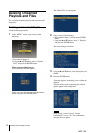
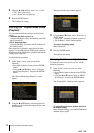
2
Carry out any of the following.
• Press numeric button 2, then press the ENTER
button.
•Using the v and V buttons, select “2. Control,”
and press the ENTER button.
The setting can now be changed.
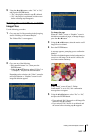
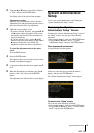
3
Using the b and B buttons, select the desired
setting, and press the ENTER button.
• When anything other than “Plasma Control” is
selected, the setting is confirmed.
• When “Plasma Control” is selected, continue to
step 4.
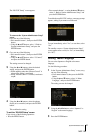
4
Using the b and B buttons, select the plasma
display to be controlled, and press the ENTER
button.
This confirms the setting.
To exit the “RS-232C Setup” screen
Carry out any of the following operations.
• Press the MENU button.
• Press numeric button 1, or using the v and V buttons,
select “1. Back to System Administrator Setup,” and
press the ENTER button.
To enable the new RS-232C settings, a message prompt
appears, asking if you want to reset the unit.
To reset immediately, select “Yes”; to reset later, select
“No.”
The standby screen or “System Administrator Setup”
screen appears after a reset (for “Yes”) or immediately
(for “No”).
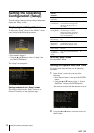
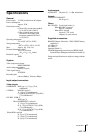
Setting “Menu Language”
You can select Japanese or English as the menu
language.
Use the following procedure.
1
In the “System Administrator Setup” screen, carry
out any of the following.
• Press numeric button 4, then press the ENTER
button.
•Using the v and V buttons, select “4. Menu
Language,” and press the ENTER button.
The setting can now be changed.
2
Using the b and B buttons, select “Japanese” or
“English” as the menu language.
3
Press the ENTER button.