System Administrator Setup
22
This confirms the setting.
Activating “Automatic Delete”
Select whether or not to enable the deletion of files for
which an automatic deletion date is set.
For details of the automatic deletion setting, refer to the
Help information for the BZNP-100 Software.
Use the following procedure.
1
In the “System Administrator Setup” screen, carry
out any of the following.
• Press numeric button 5, then press the ENTER
button.
•Using the v and V buttons, select “5. Activate
‘Automatic Delete,’” and press the ENTER
button.
The setting can now be changed.
2
Using the b and B buttons, select either of the
following.
• “Yes”: Enable automatic deletion settings.
• “No”: Disable automatic deletion settings.
3
Press the ENTER button.
This confirms the setting.
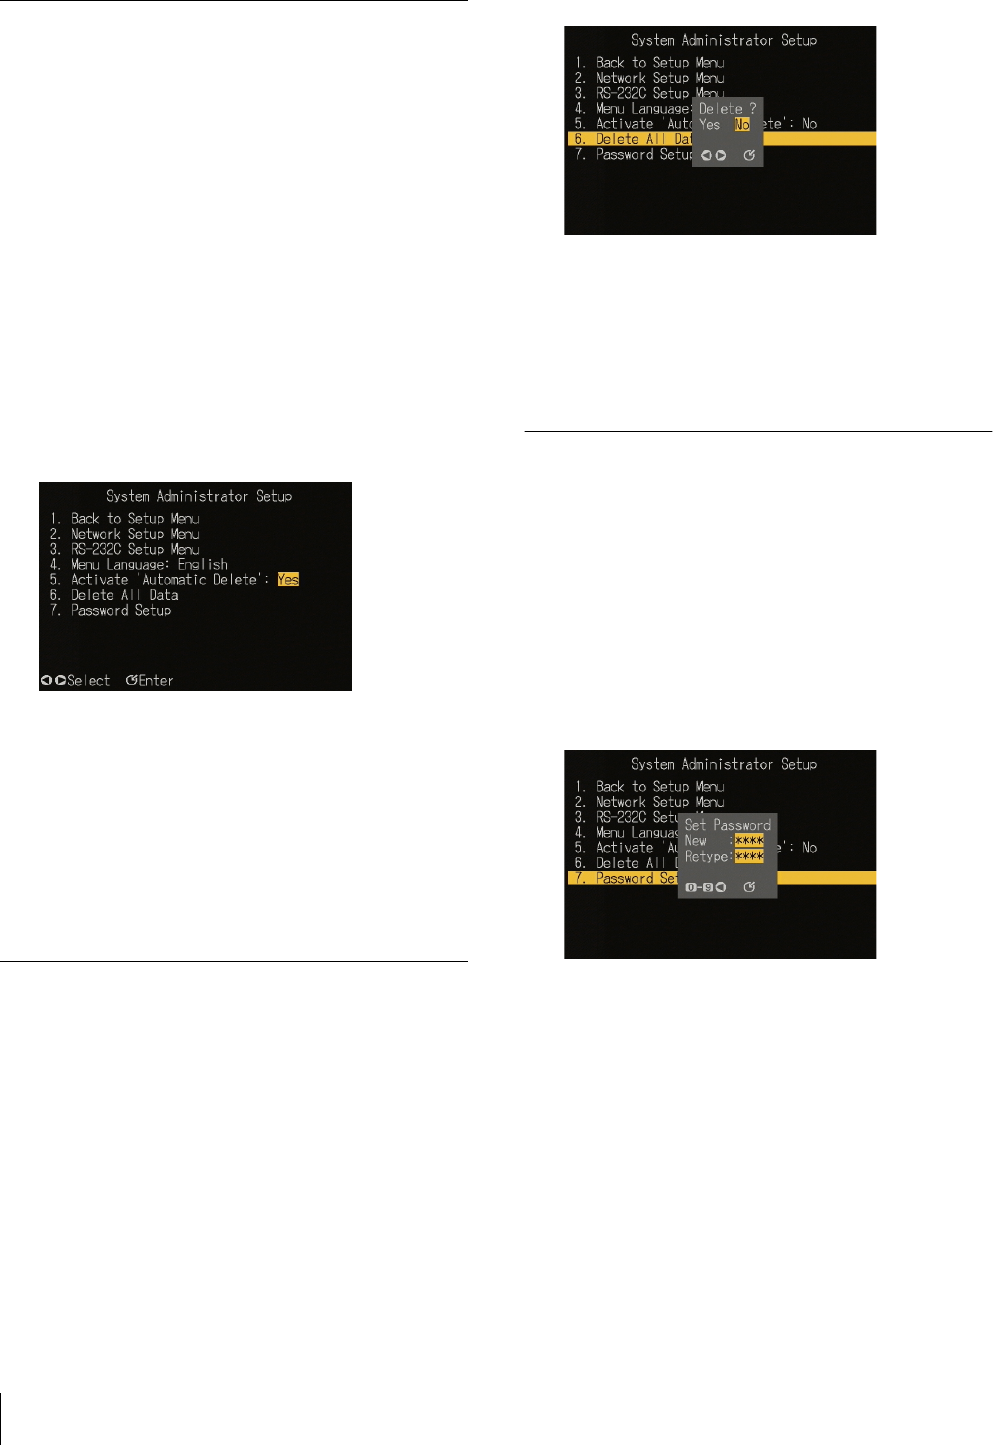
Carrying Out “Delete All Data”
This deletes all data from the unit.
Use the following procedure.
1
In the “System Administrator Setup” screen, carry
out any of the following.
• Press numeric button 6, then press the ENTER
button.
•Using the v and V buttons, select “6. Delete All
Data,” and press the ENTER button.
A message appears, prompting you to confirm the
deletion of all data.
2
Using the b and B buttons, select “Yes” or “No,”
and press the ENTER button.
• “Yes”: All data is deleted from the unit.
• “No”: The data is not deleted, and the original
screen reappears.
Carrying Out “Password Setup”
Use the following procedure.
1
In the “System Administrator Setup” screen, carry
out any of the following.
• Press numeric button 7, then press the ENTER
button.
• Using the v and V buttons, select “7. Password
Setup,” and press the ENTER button.
The “Password Setup” window appears.
2
With the numeric buttons, enter a four-digit
password, and press the ENTER button.
To correct an entry
Press the b button.
Each time you press this button, the last digit is
deleted.
3
Enter the password created in step 2 once more, and
press the ENTER button.
This sets the password.


