12 (GB)
Location and Function of Parts and Controls
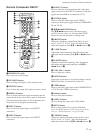
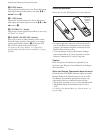
w; H SIZE button
Adjusts the horizontal picture size. Press this button,
then adjust the horizontal picture size with M/m or
</, buttons 9.
wa V SIZE button
Adjusts the vertical picture size. Press this button,
then adjust the vertical picture size with M/m or </
, buttons 9.
ws CONTRAST +/– button
Adjusts the contrast when Picture Mode is set to any
of “User1” to “User3.”
wd ID MODE (ON/SET/OFF) buttons
Press ON to show an index number on the screen.
Enter the index number of the display you want to
operate with Number buttons qh, then press SET.
Press OFF to return to the normal mode.
For details on the index numbers, see “Operating a
Specific Display With the Remote Commander” on page
49 (GB).
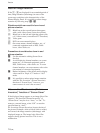
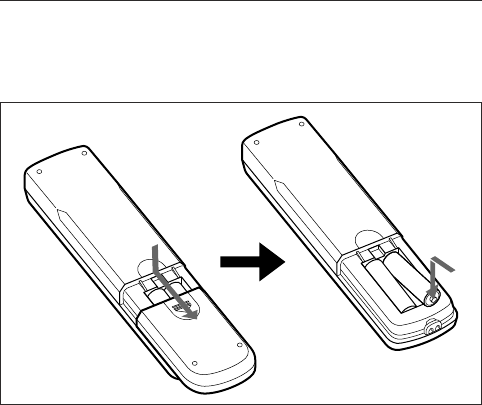
Be sure to
install the
negative <
–
end first.
Installing batteries
Insert two size AA (R6) batteries in correct polarity.
e
E
E
e
• In normal operation, batteries will last up to half a
year. If the Remote Commander does not operate
properly, the batteries might be exhausted sooner.
Replace them with new ones.
• To avoid damage from possible battery leakage,
remove the batteries if you do not plan to use the
Remote Commander for a fairly long time.
Caution
Risk of explosion if batteries are replaced by an
incorrect type. Dispose of used batteries according to
the instructions.
When the Remote Commander does not work
Check that the STANDBY indicator lights up and the
Remote Mode in the Remote menu is not set to Off.
The Remote Commander operates the display only
when both of the two conditions below are met.
• The display is turned on, or it is in the standby mode.
• The Remote Mode in the Remote menu is set to
“ON.”
For details on the Remote Mode, see “Remote menu” on
page 24 (GB).


