24 (GB)
LIGHT
NORMAL
VIDEO
SELECT
BA
VIDEO/S VIDEO
INPUT SELECT
BRIGHT
-
CONTR
PICTURE CONTROL
-
++
ON
STATUS
OFF
PIO
MUTING
BLKG
SIZE R
RGB
SHIFT
CENT
B
MEMORY
RESET
MENU
ENTER
ON
POWER
OFF
STANDBY
IR
--
SELECT
VIDEO MEMORY
SWITCHER INDEX
PIC ONAUDIO OFF
PATTERN
FOCUS
ZOOM
SHIFT
NORMAL
MUTING
STATUS
LCD LENS CONTROL
ON
COMMAND
OFF
SIZE
DOT PHASE
APA
SHIFT
RGB
R
B
CENT
ONSTANDBY
MEMORY
MENU
VIDEO
INPUT SELECT
ADBC
BLKG
SYS SET
RESET
FUNCTION
1423
5867
9
10/0(ALL)
SW NO/
OFF/GROUP
SWITCHER/VIDEO MEMORY/INDEX
ENTER
POSITION
BRIGHT
CONTR
PICTURE CONTROL
HUE
COLOR
SHARP
VOL
VIDEO/S VIDEO
LIGHT
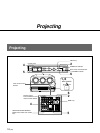
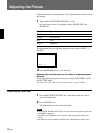
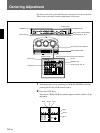
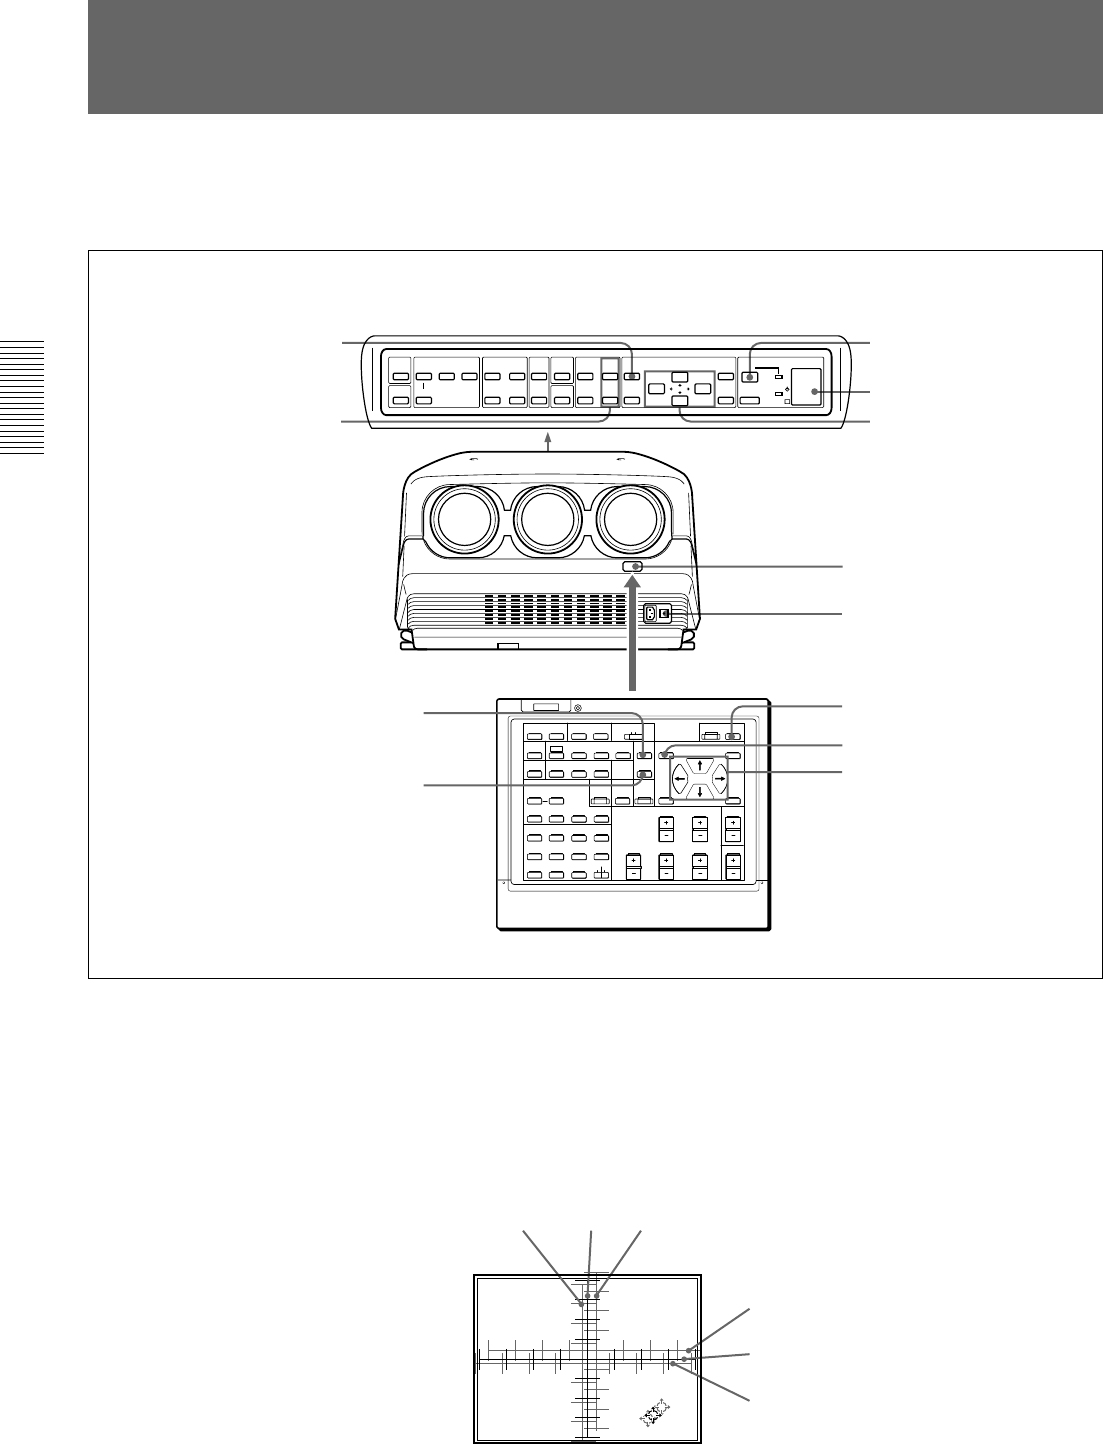
The three colors, red, green and blue must converge for correct projection.
If they do not converge, centering adjustment is necessary.
1 Turn the projector on by switching on the MAIN POWER switch and
pressing the ON key on the remote control.
2 Press the CENT R key.
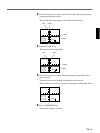
The built-in CROSS HAIR test pattern appears and the red line will be
adjustable.
Centering Adjustment
Control panel
POWER ON key
Rear remote control detector
Arrow keys (V, v, B, b)
Front remote control detector
MEMORY key
ON key
Arrow keys (V, v, B, b)
MAIN POWER switch
CENT R key
CENT B key
CENT R/B key
MEMORY key
ADJ:
ADJ:
Hc:128
Hf:128
Vc:118
Vf:130
Hc:128
Hf:128
Vc:118
Vf:130
R CENT ADJ
R CENT ADJ
R CENT ADJ
Hc:128
Hf:128
Vc:118
Vf:130
ADJ:
Blue Green Red
Red
Green
Blue
Remote control Point it toward the front remote control detector.


