


9When Simple Mode is Used
Setting the computer
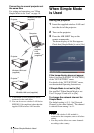
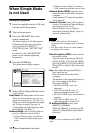
1 Start the Projector Station for Air
Shot.
When it starts, the [ ] icon appears in
the task bar.
When [Create Shortcut Icon into Startup
Folder.] is selected at installation, the
Projector Station for Air Shot starts
automatically.
2 Connect the USB wireless LAN
module to the USB terminal of the
computer.
After a while, the wireless setting is
automatically done. After the
connectable projector is searched, the
image of the computer is projected on
the searched projector.
When the USB storage media other
than the supplied one is used for
installation
Connect the USB wireless LAN module to
the USB terminal of the computer and add
the projector to be used. The added
projector appears in the select list.
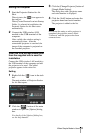
Setting
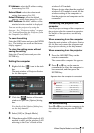
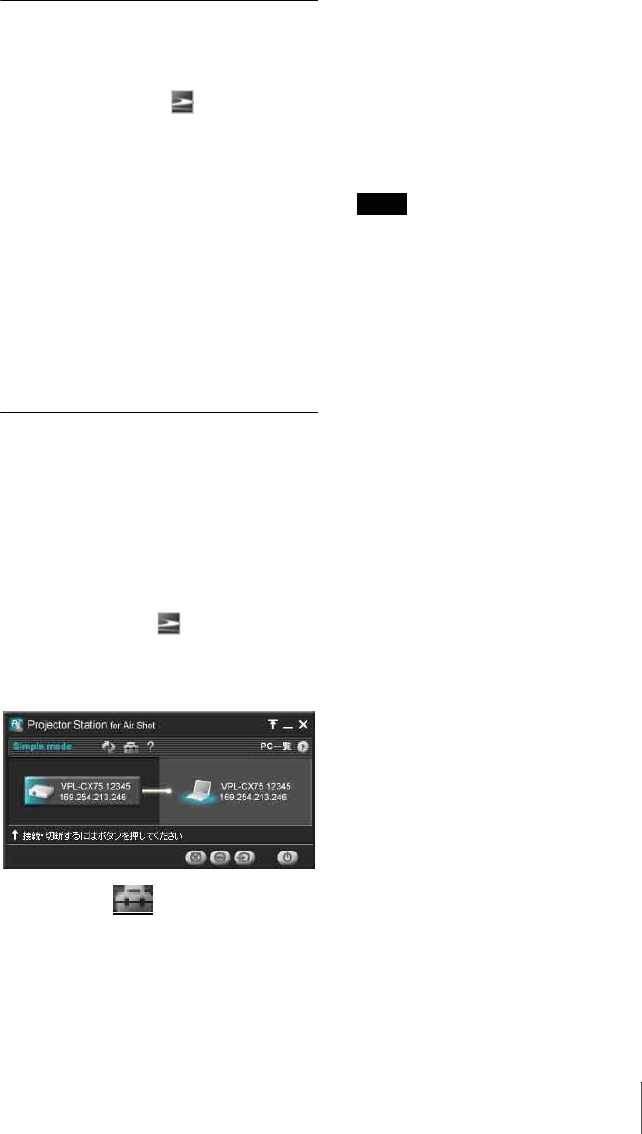
1 Right-click the [ ] icon in the task
bar.
The main window of Projector Station
for Air Shot opens.
2 Click the [ ] button of the main
window to open the [Option] dialog
box.
For details of the [Option] dialog box,
see the help manual.
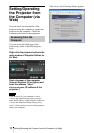
3 Click the [Change Projector] button of
[Simple Mode Setting].
The dialog box with a projector name
and serial number is displayed.
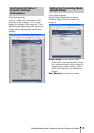
4 Click the [Add] button and enter the
projector name and serial number.
The projector is added to the list.
Even when the setting to add a projector is
completed, the projector name is listed
"Unknown" until the projector has been
connected once.
Note