


C-10
S
UPERSERVER 6014L-T User's Manual
Deleting a Bootable Array
To delete a bootable array:
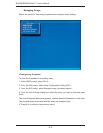
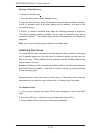
1. From the Main menu, select Manage Arrays.
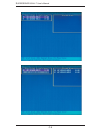
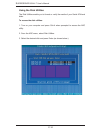
2. From the List of Arrays, select the bootable array you want to delete, and press
Ctrl+B. (A bootable array is an array marked with an asterisk, as shown in the
screenshot above.)
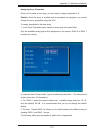
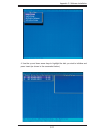
3. Enter Y to delete a bootable array when the following message is displayed:
"The array is already marked bootable. Do you want to make this array as not
bootable? (Yes/No):" The bootable array will then be deleted and the asterisk will
disappear.
Note: do not use the delete key to delete the bootable array.
Initializing Disk Drives
If an installed disk does not appear in the disk selection list for creating a new array
or if it appears grayed out, you may have to initialize it before you can use it as
part of an array. Drives attached to the controller must be initialized before they
can be used in an array.
Caution: Initializing a disk overwrites the partition table on the disk and makes any
data on the disk inaccessible. If the drive is used in an array, you may not be able
to use the array again.
Do not initialize a disk that is part of a boot array. To determine which disks are
associated with a particular array, please refer to Viewing Array Properties
.
To initialize drives:
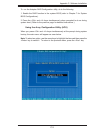
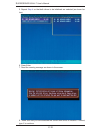
1. Turn on your computer and press Ctrl+A when prompted to access the ARC
utility.
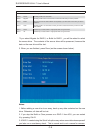
2. From the ARC menu, select the Array Confi guration Utility (ACU).
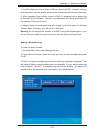
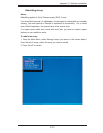
3. Select Initialize Drives (as shown in the next screenshot).