


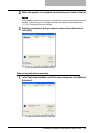

Scanning Remotely Using Remote Scan Driver 127
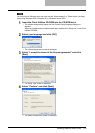
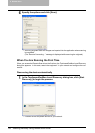
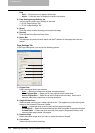
1) Devices
Click the arrow button to display the poll-down list and check the model name that you want
to search.
2) Network - Enable IPX/SPX Search
This is disabled because the Remote Scan driver does not support the IPX/SPX connection.
3) Network - Enable TCP/IP Search
Select this to search for devices connected to the TCP/IP network. This is available only
when the TCP/IP protocol is installed.
When this is enabled, select how it searches devices in the TCP/IP network.
- Search local subnet — Select this to search devices in local subnet.
- Specify a range — Select this to search devices in specific range of IP addresses.
When this is selected, enter the IP addresses in “From” field and “To” field to specify the
range.
- IPV4 — Select this to search for devices set with an IPv4 address.
- IPV6 — Select this to search for devices set with an IPv6 address.
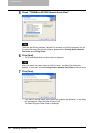
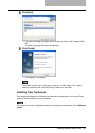
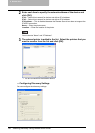
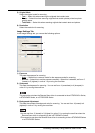
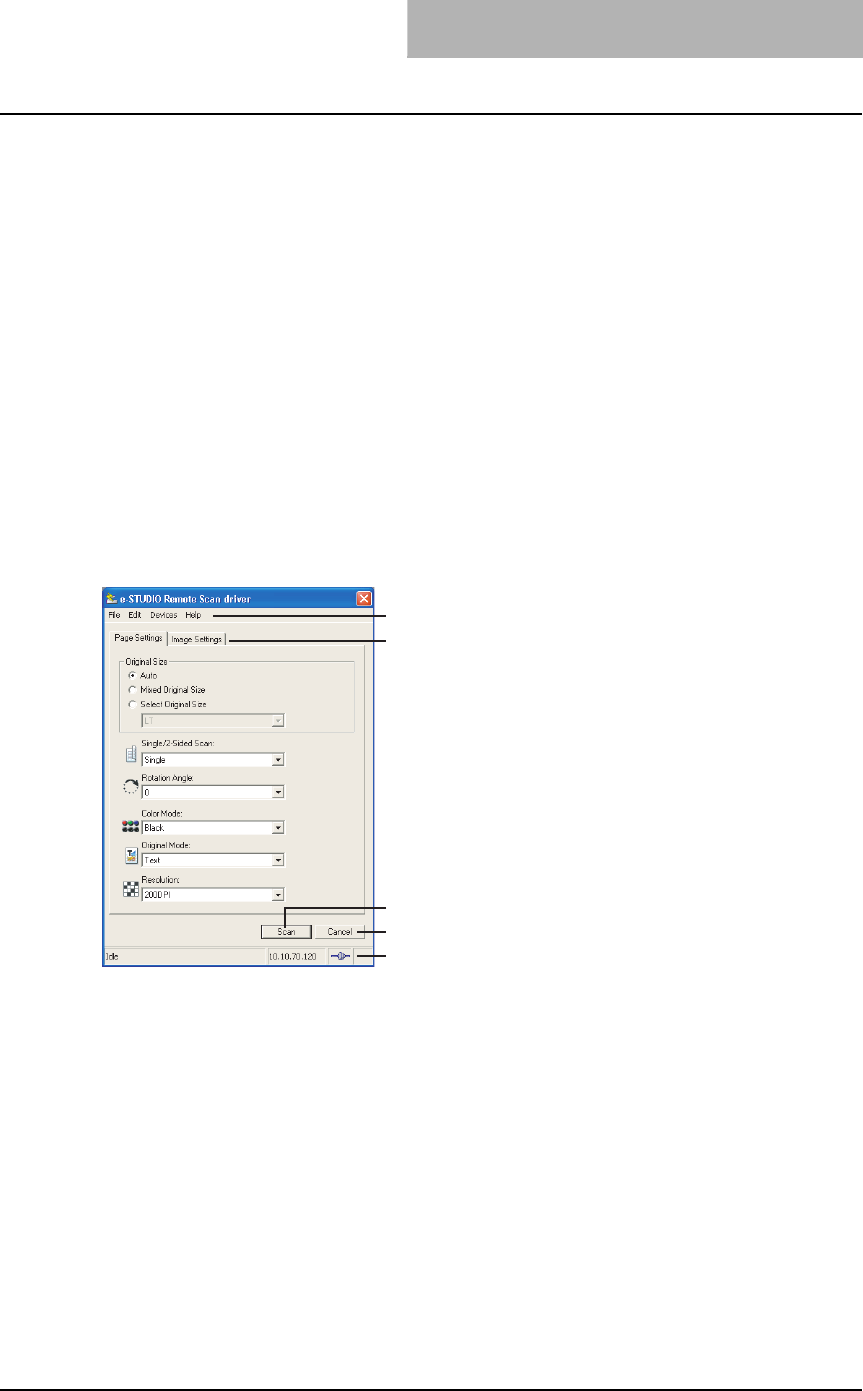
How to Use Remote Scan Driver
In the Remote Scan driver, you can set the various scan settings.
1) Menu Bar
You can select various functions from the menu.
File menu:
- Page Settings — Click this menu to display the Page Settings tab.
- Image Settings — Click this menu to display the Image Settings tab.
- Scan — Click this menu to start remote scanning and acquire the image.
- Close — Click this menu to close the Remote Scan driver.
Edit menu:
- Reset Settings — Click this to reset the all settings to the factory defaults.
Devices menu:
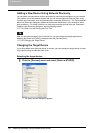
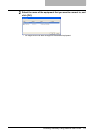
- Discovery — Click this menu to add a new connection to this equipment in your network
for the Remote Scan driver.
P.130 “Adding a New Device Using Network Discovery”
- Select e-STUDIO — Click this menu to change the target device when retrieving e-Filing
documents.
P.130 “Changing the Target Device”
1
2
4
5
3